Big Hollow Client Commission!

Bevan Frost of Big Hollow Guitars is killing it! He recently delivered a commission for our showroom, and is already fast at work on a commission for one of our clients as well.
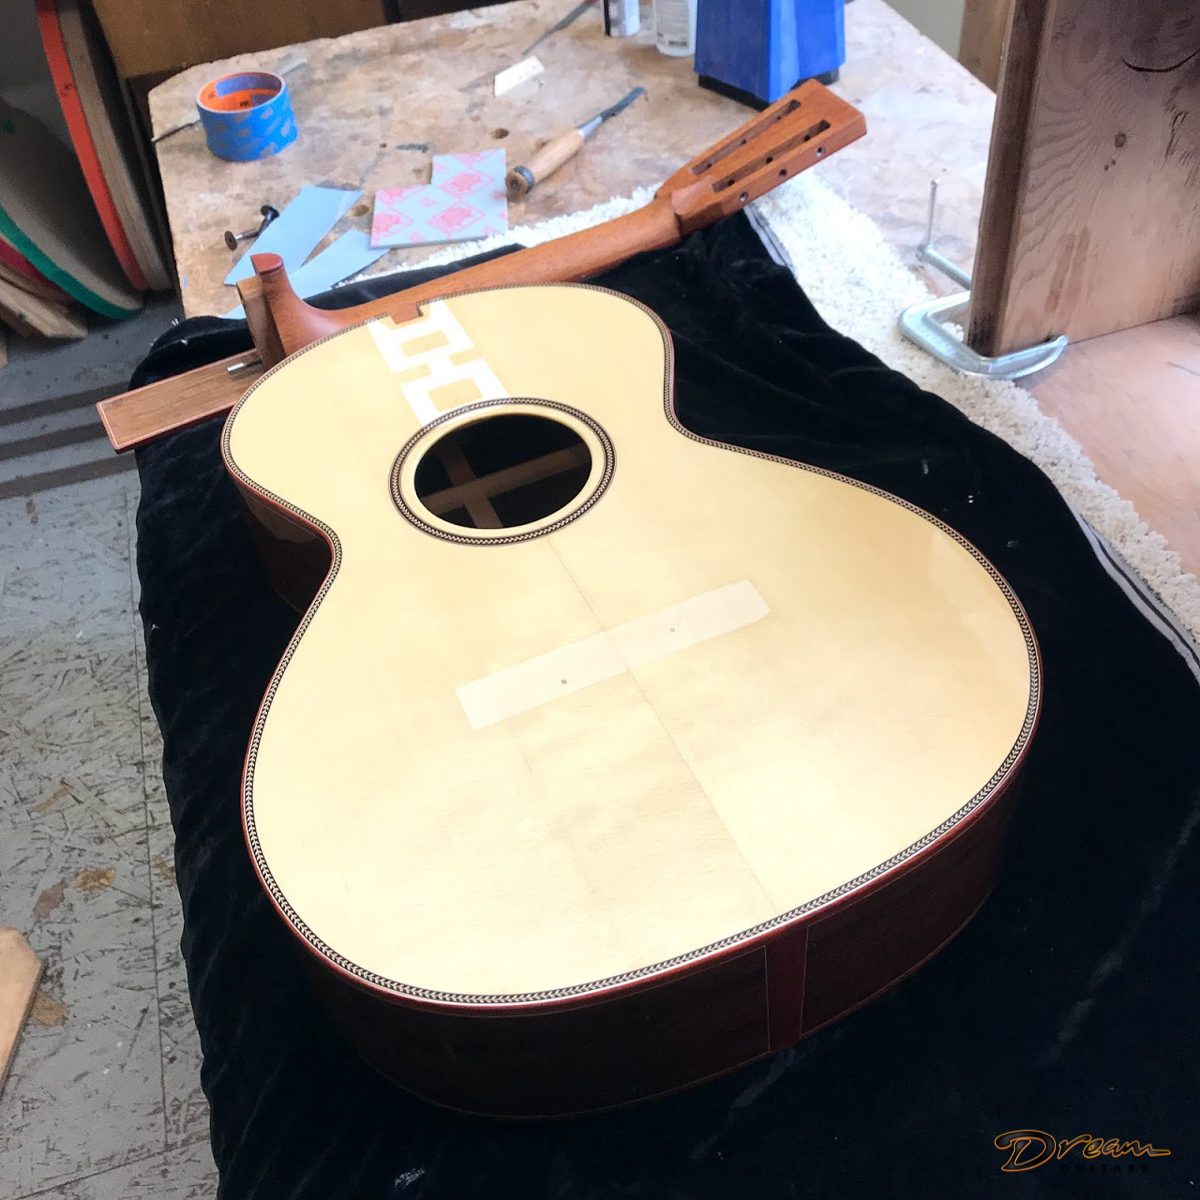
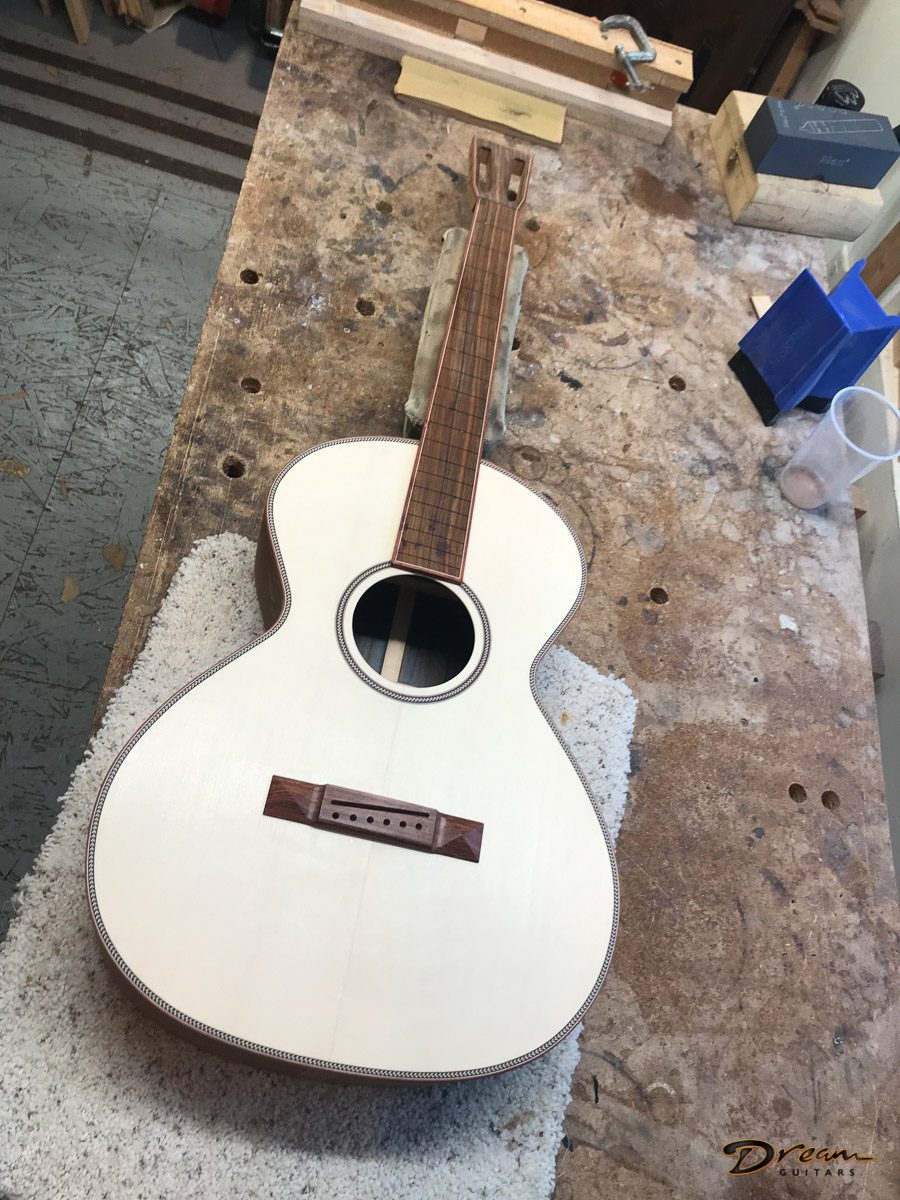
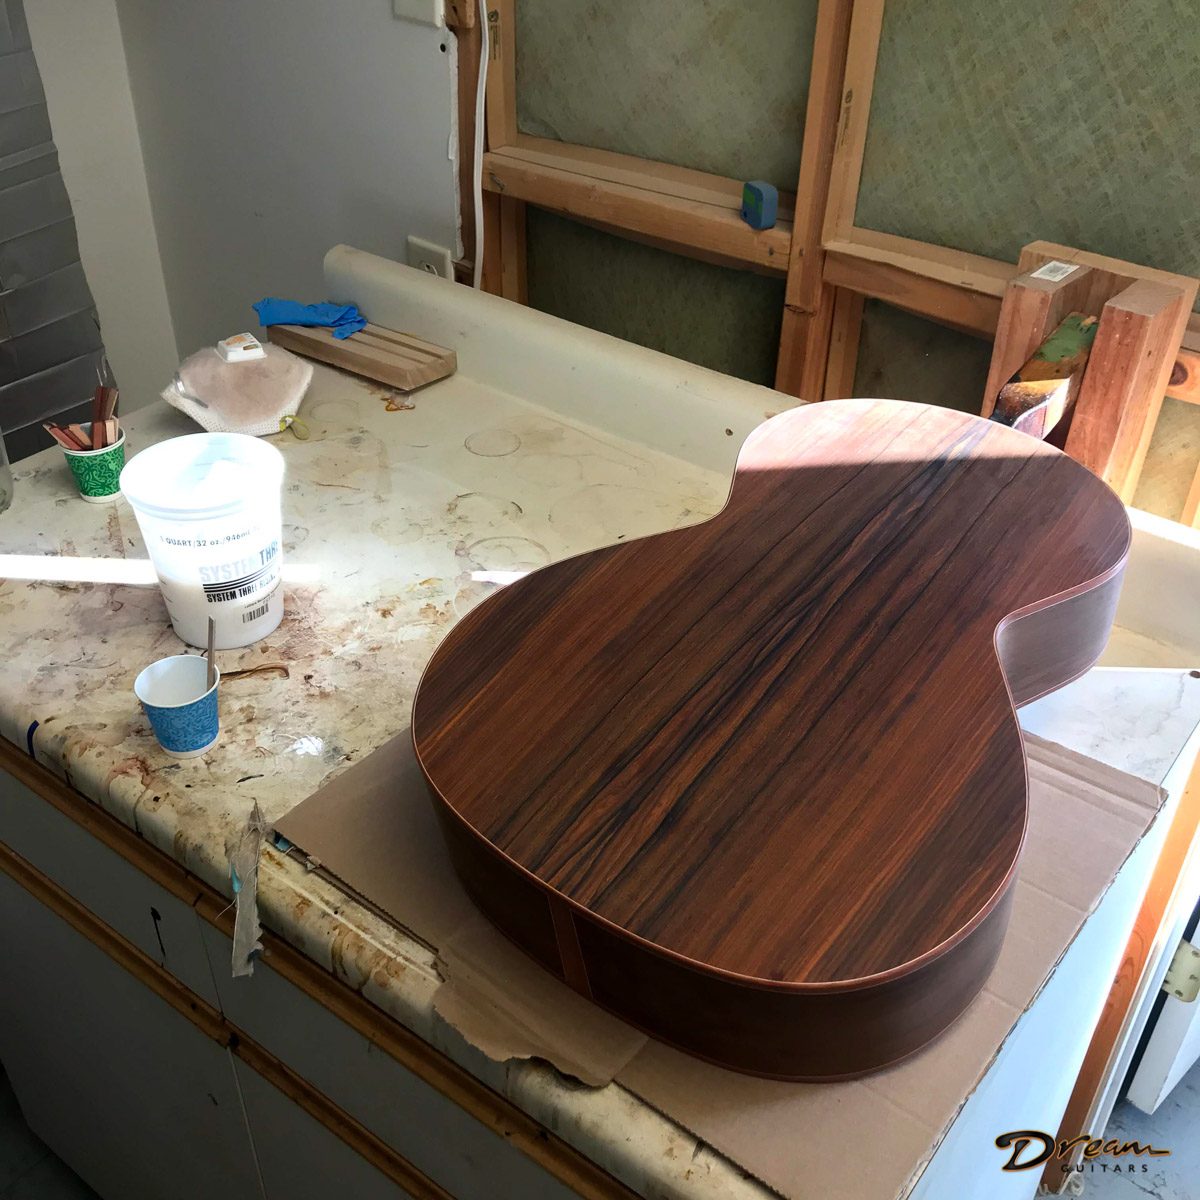
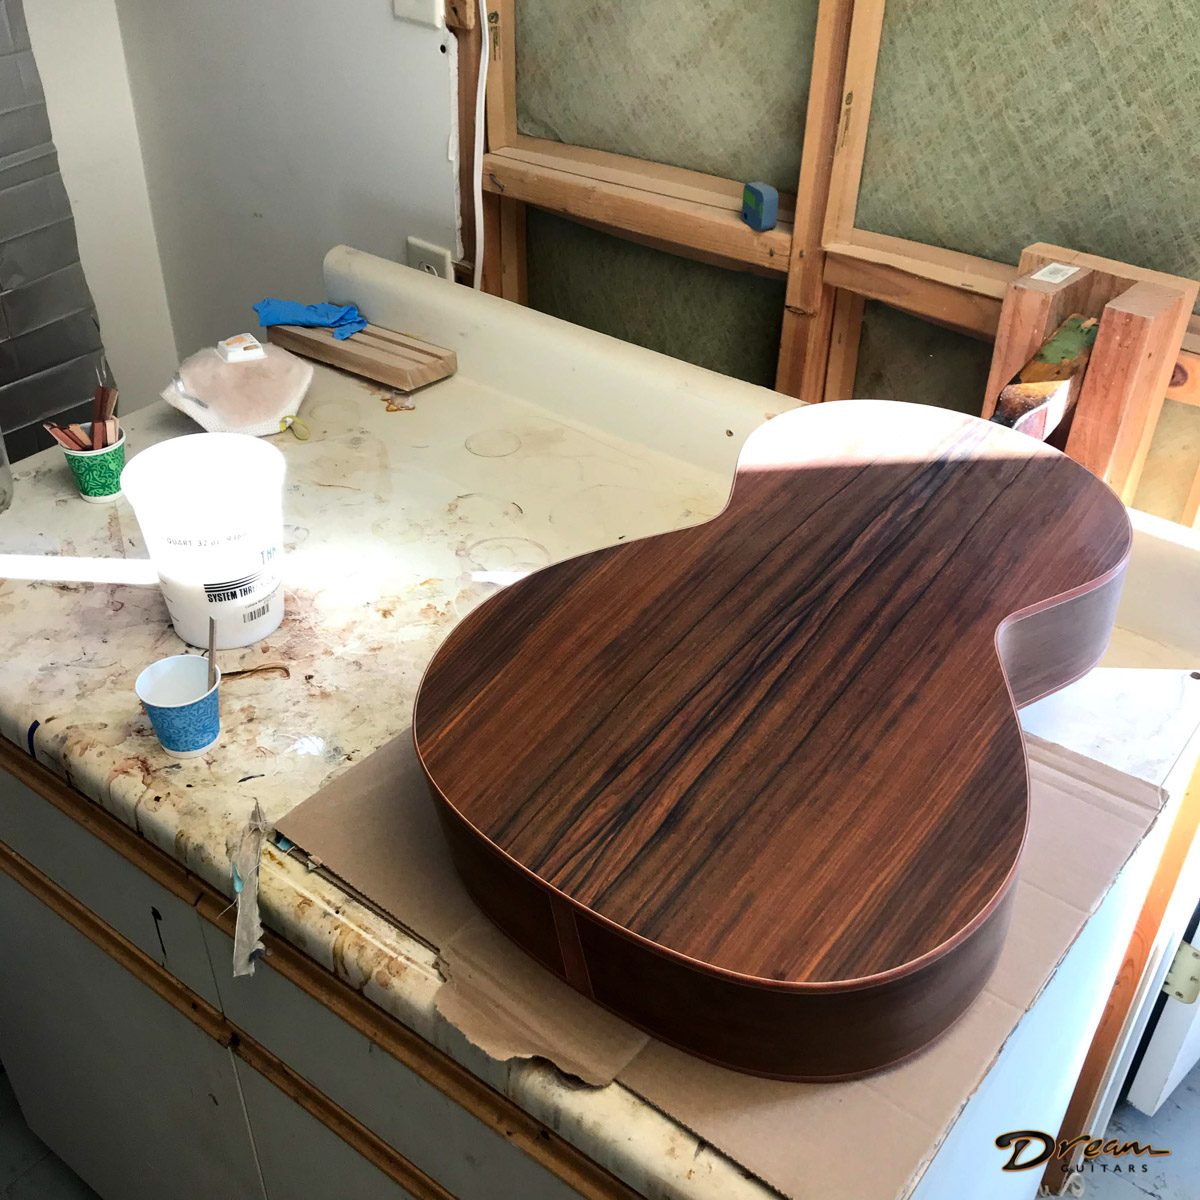
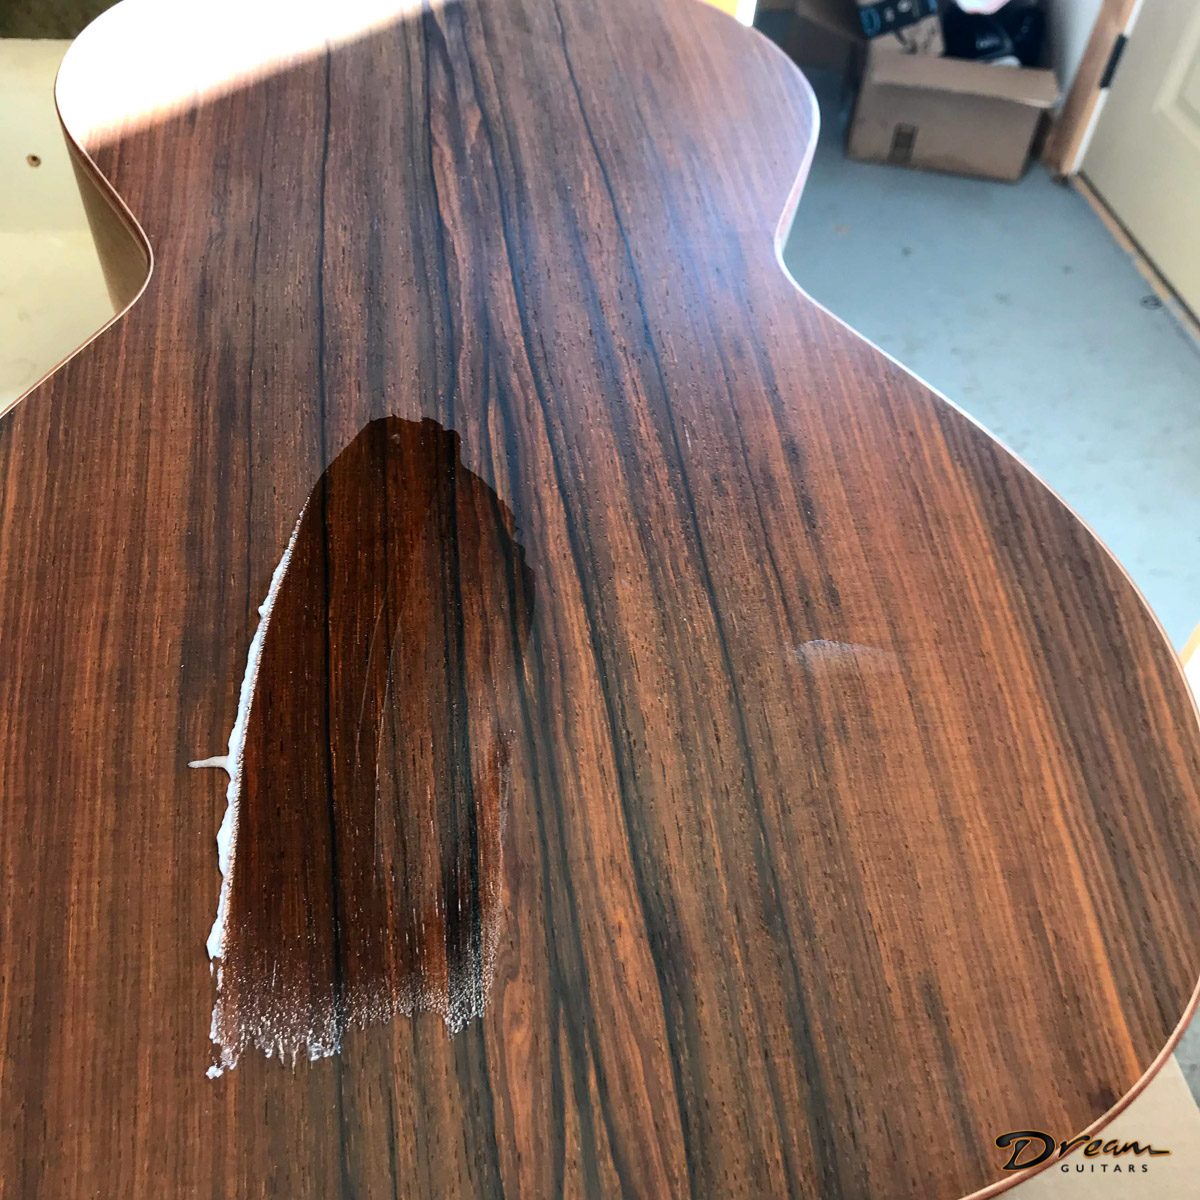
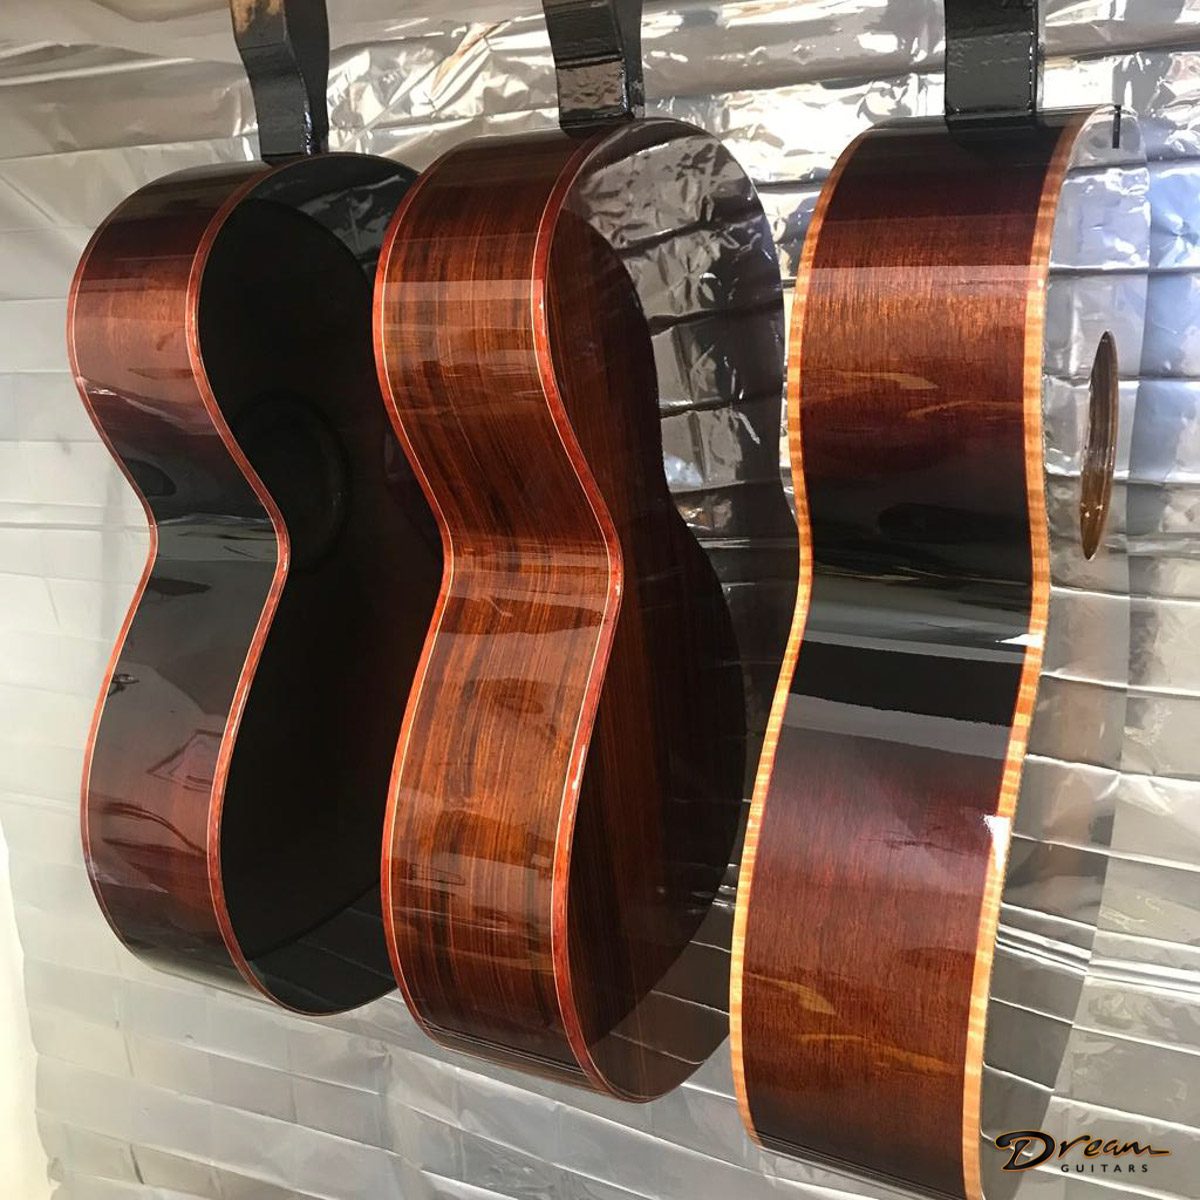
Big Hollow 00
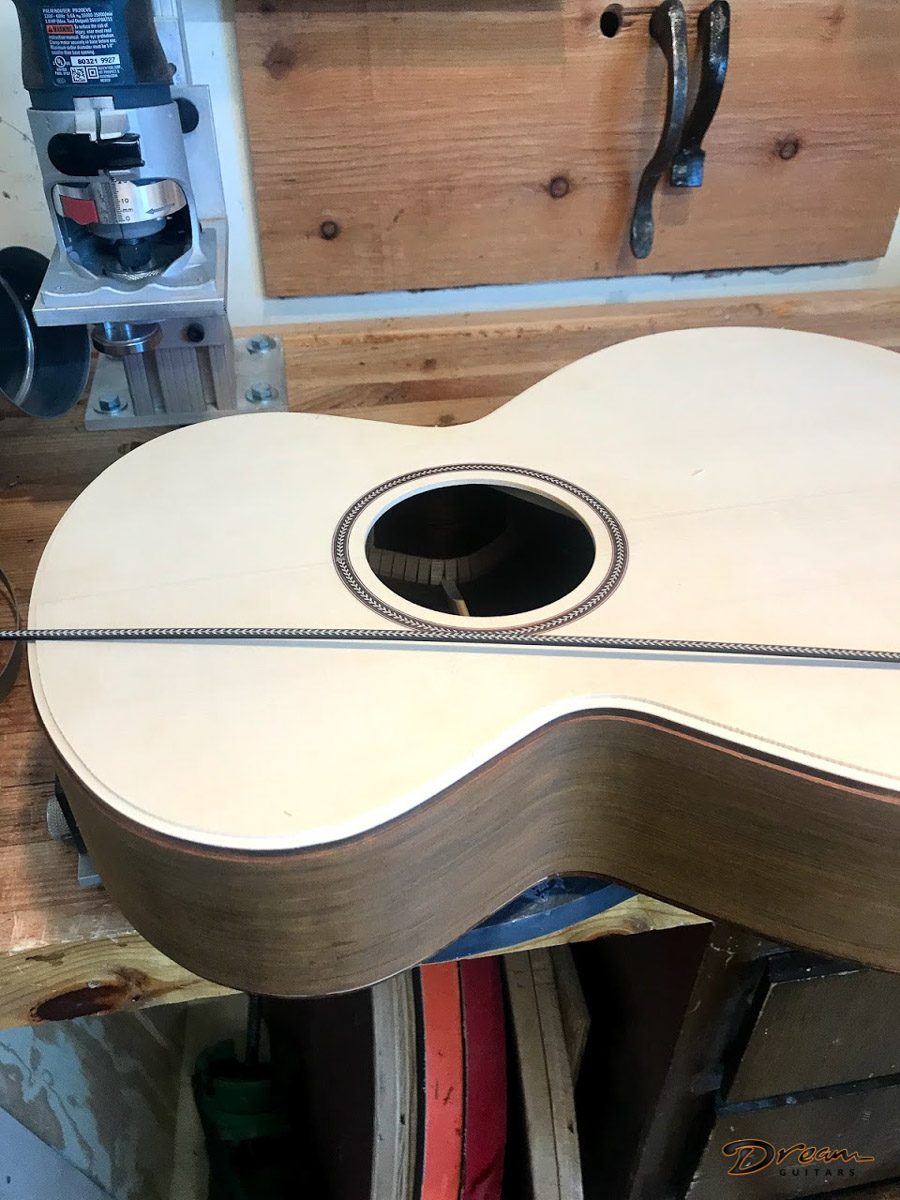
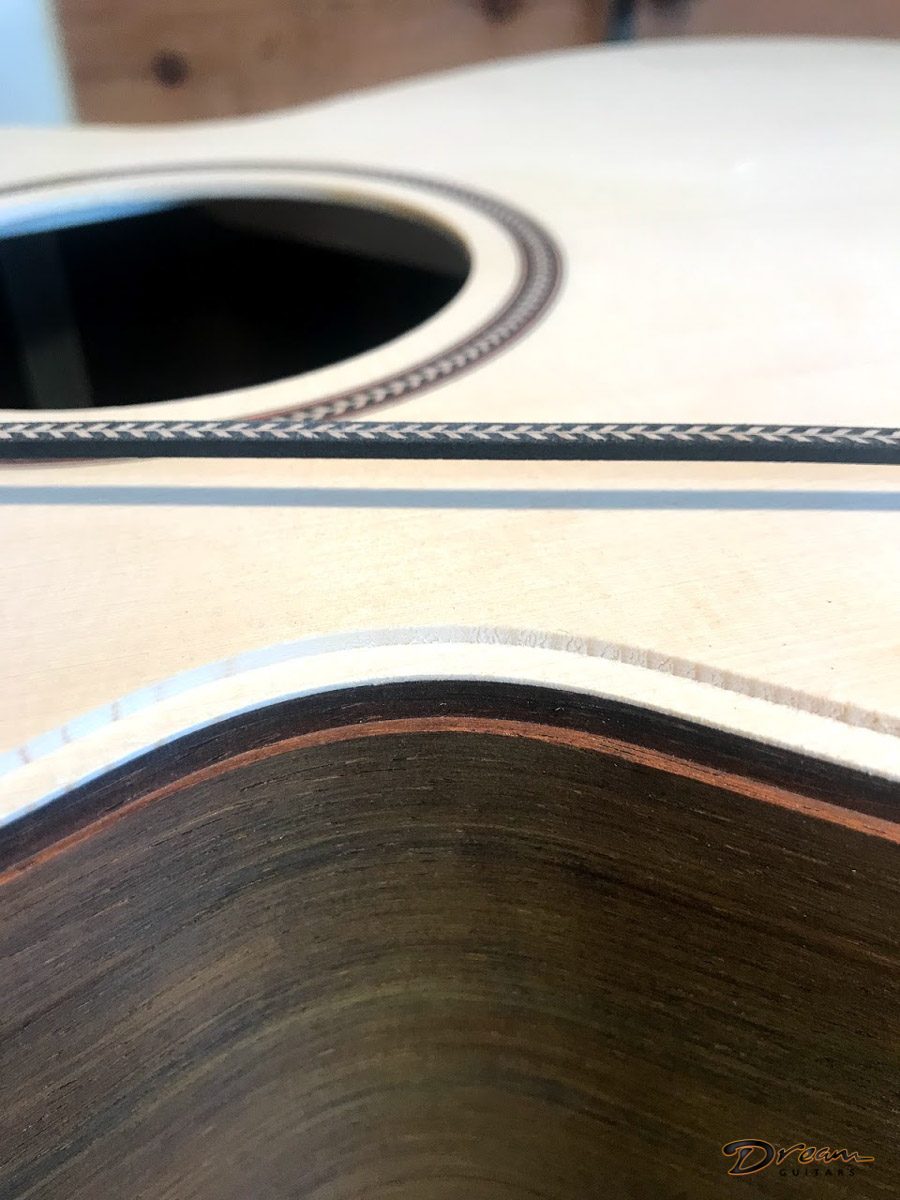
Top: Moonspruce, master grade
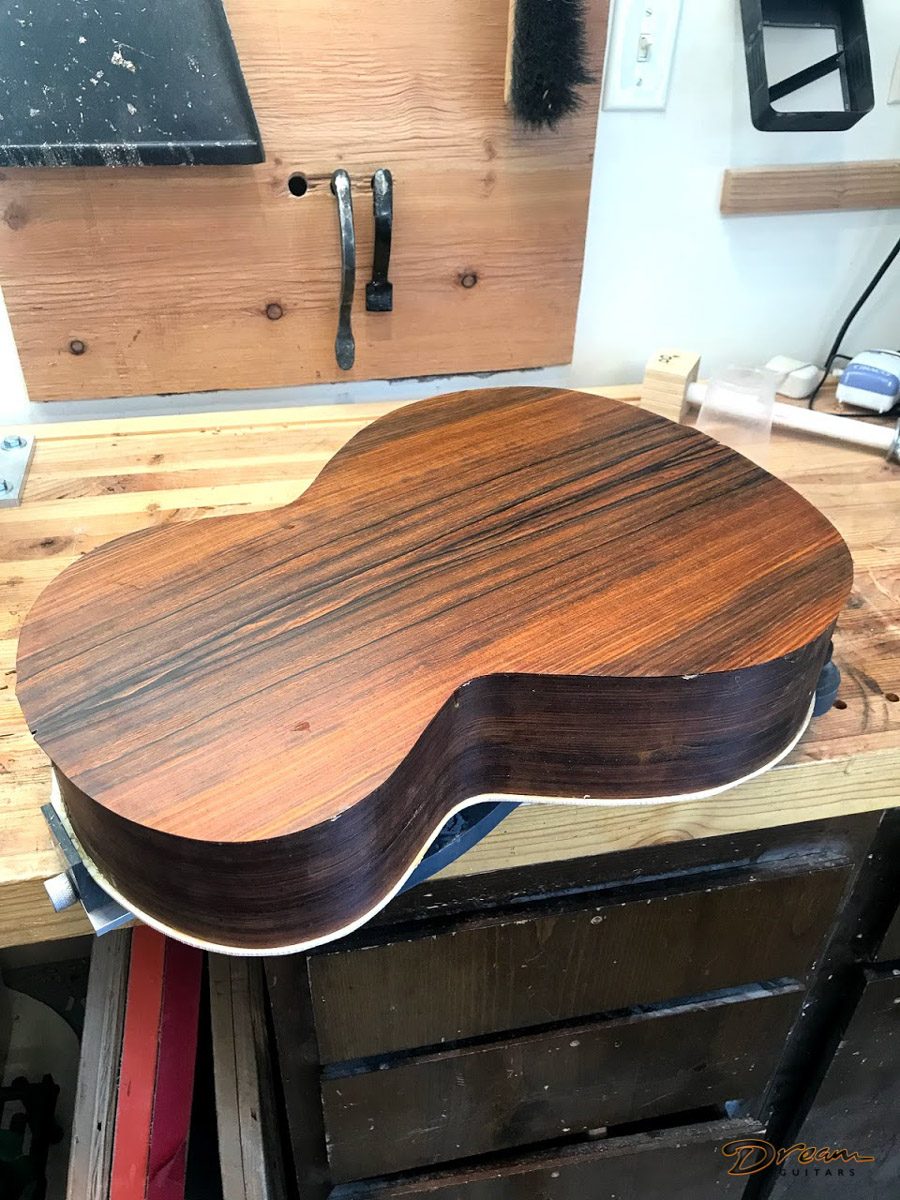
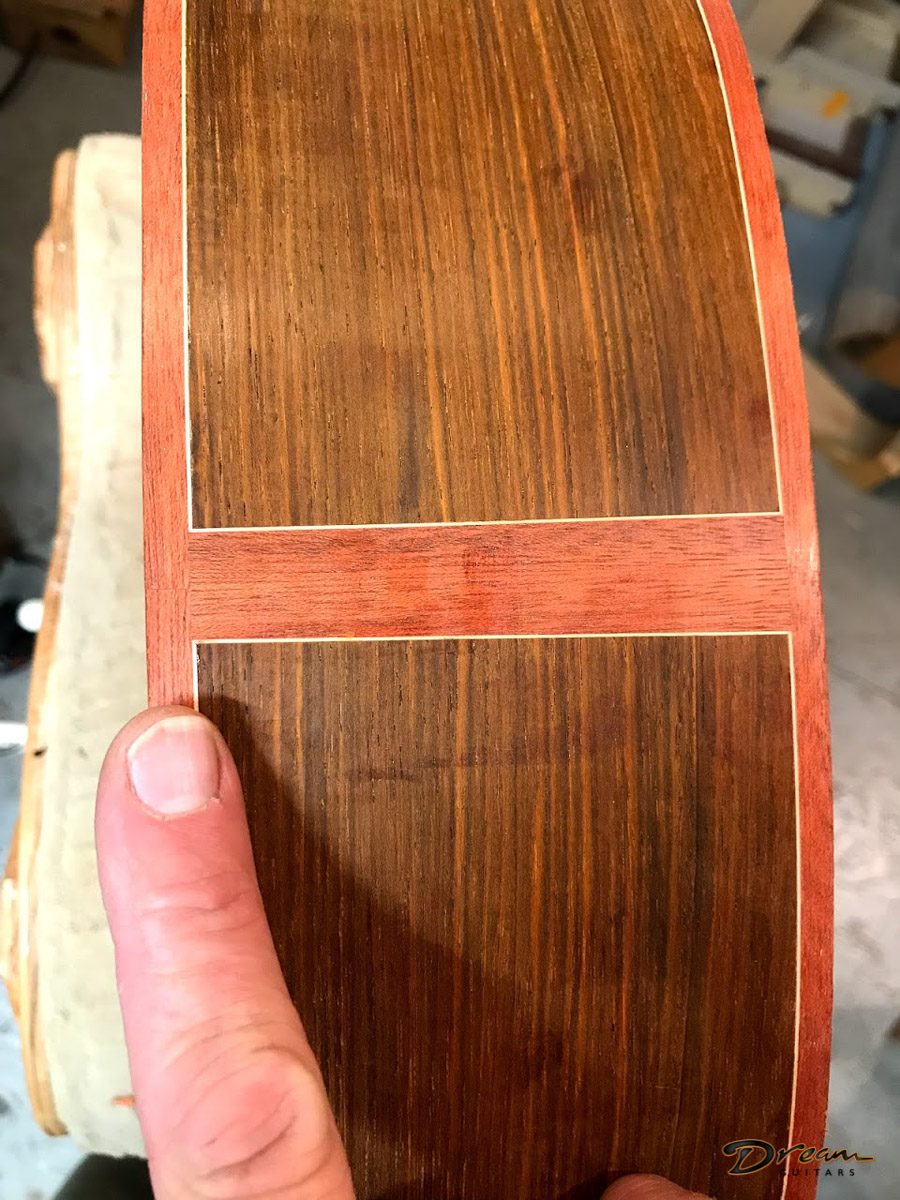
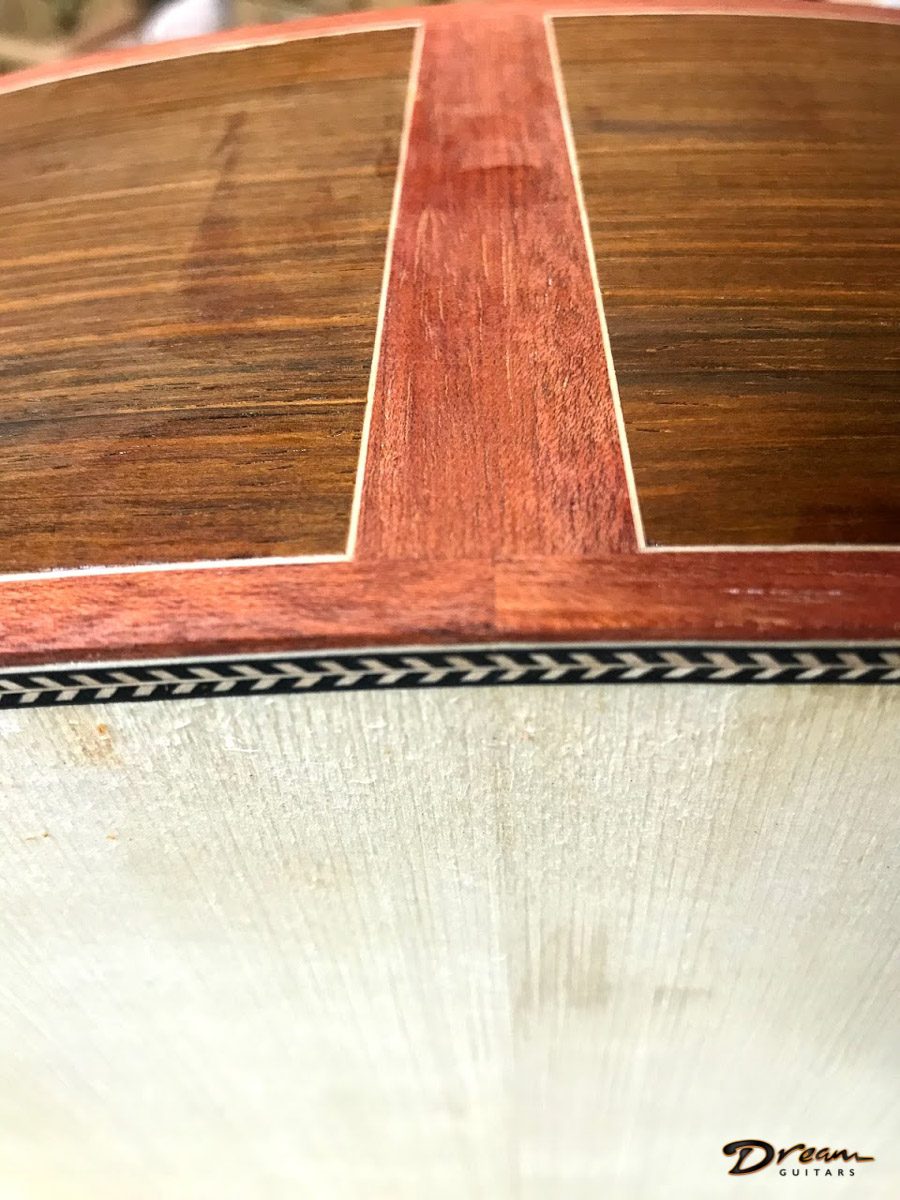
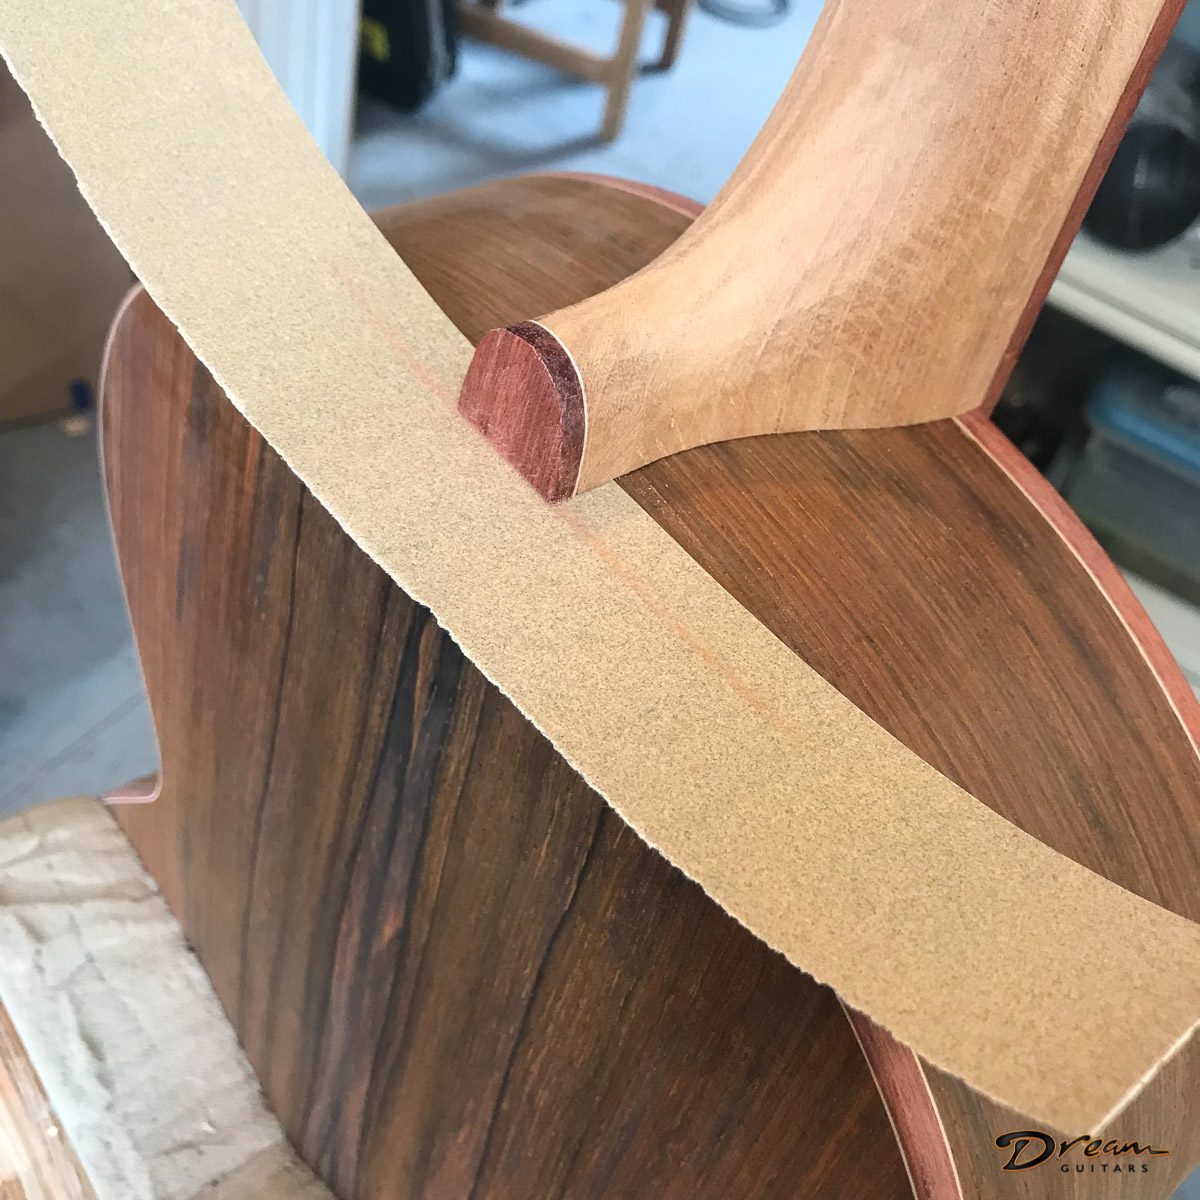
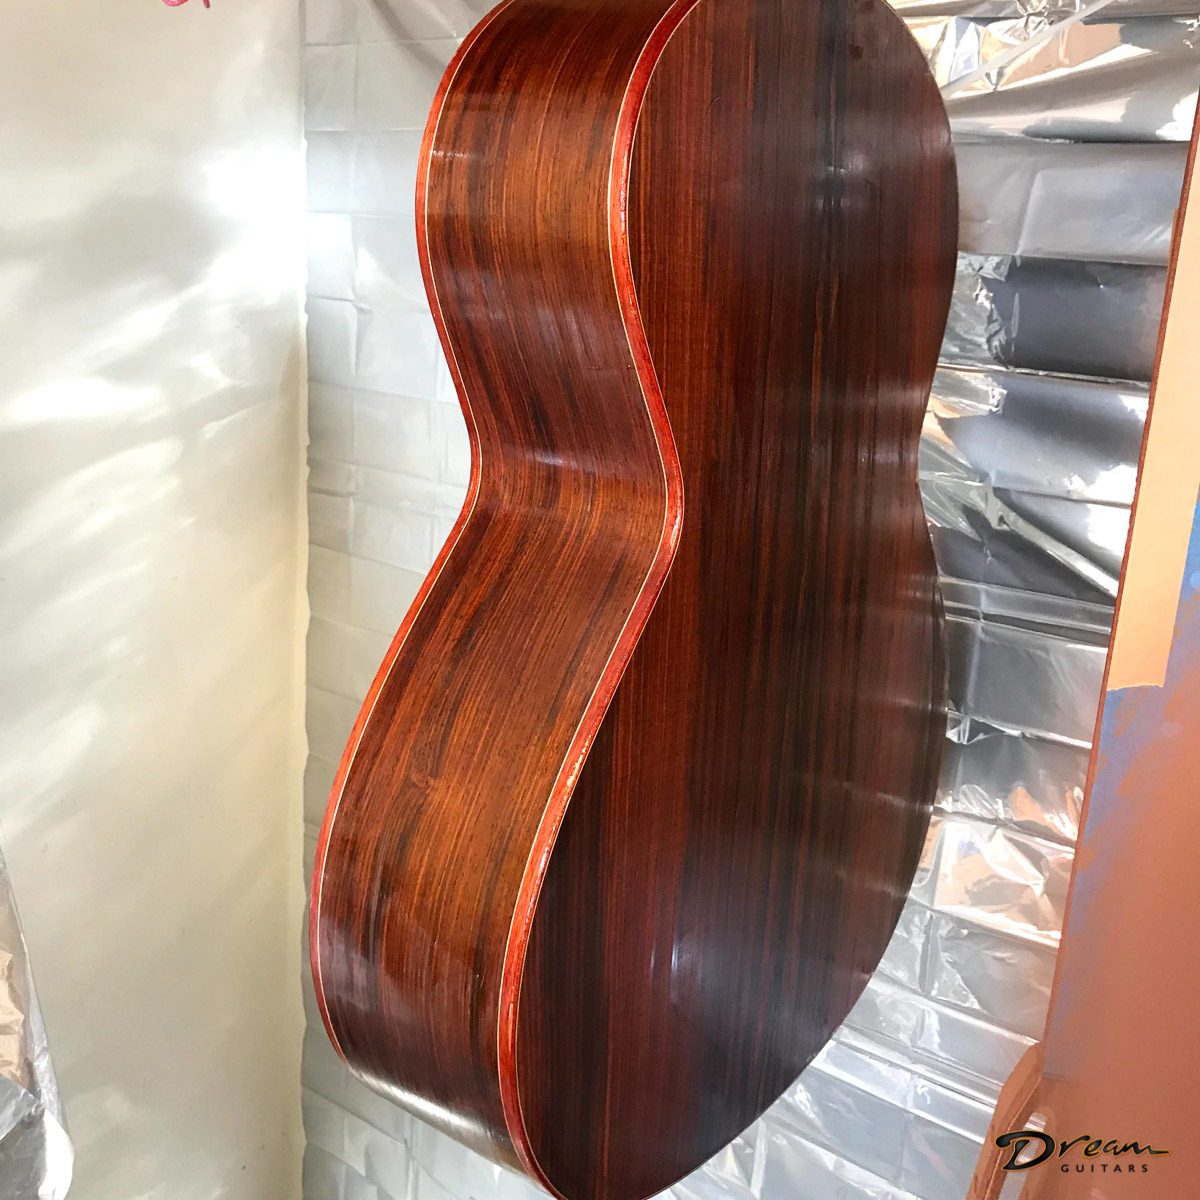
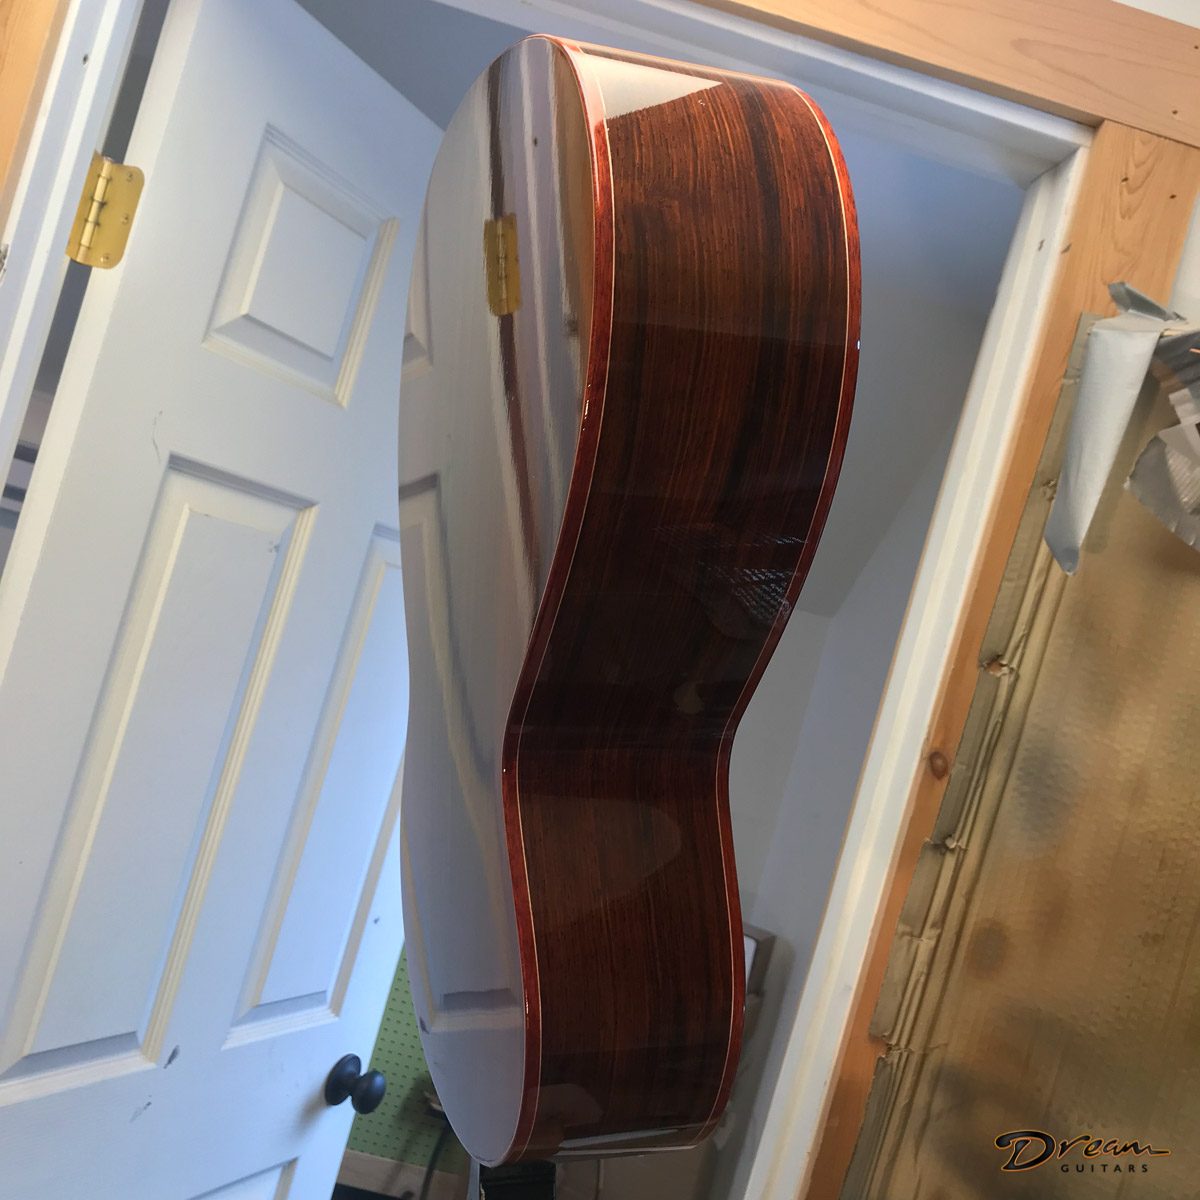
Back & Sides: Cocobolo
Scale Length: 25.4”
Nut Width: 1-3/4”
String Spacing at bridge: 2-5/16”
Fretwire: Gold EVO
Pickguard: Tigerstripe Celluloid
Finish: Natural
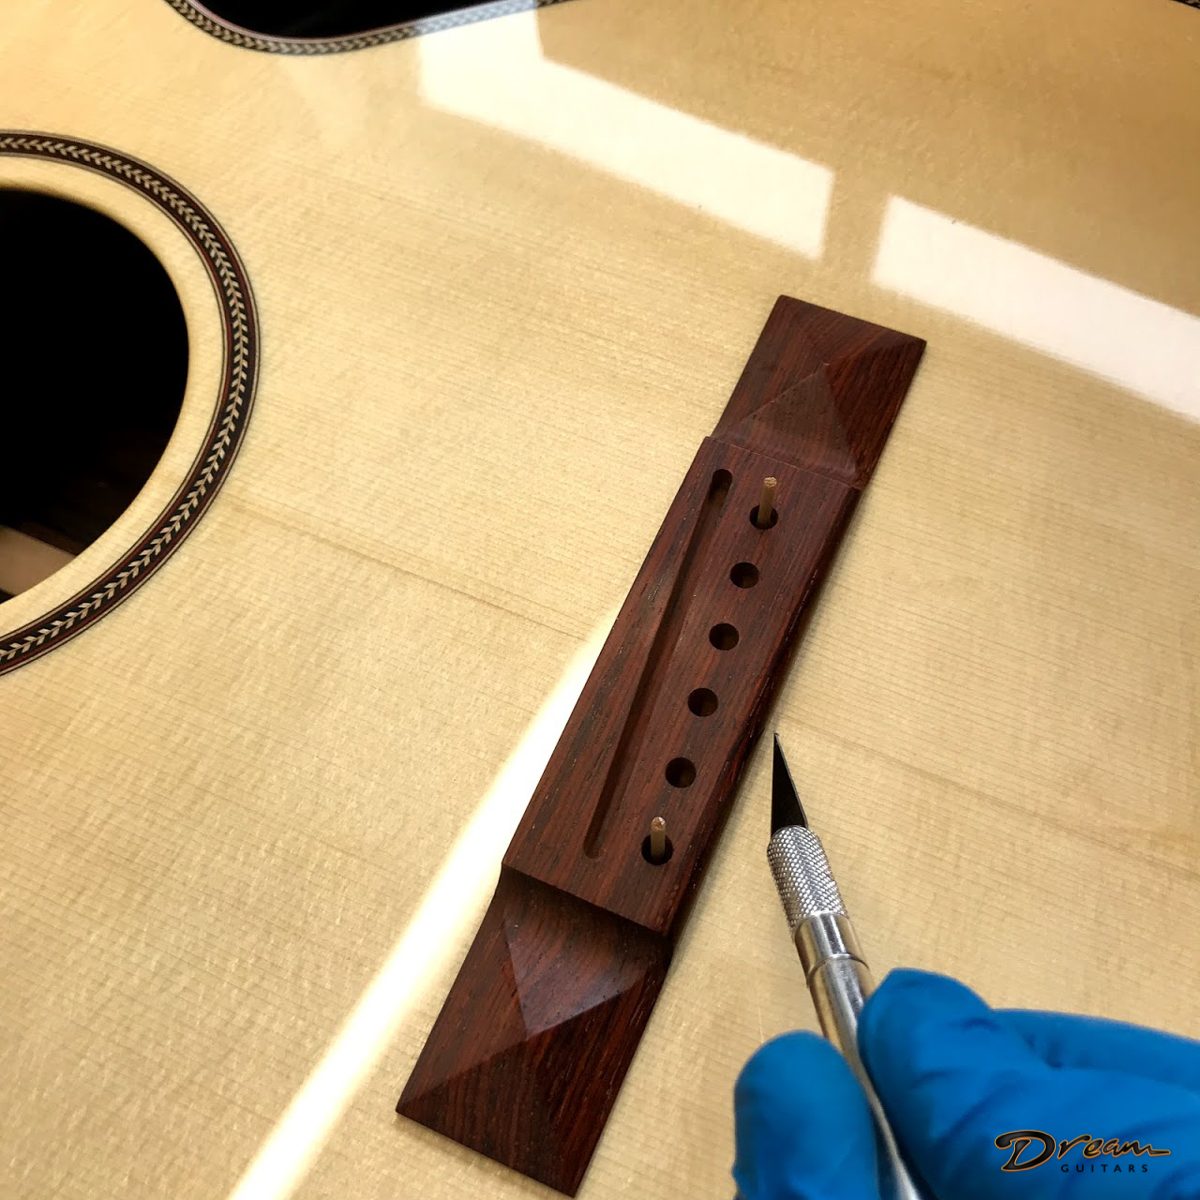
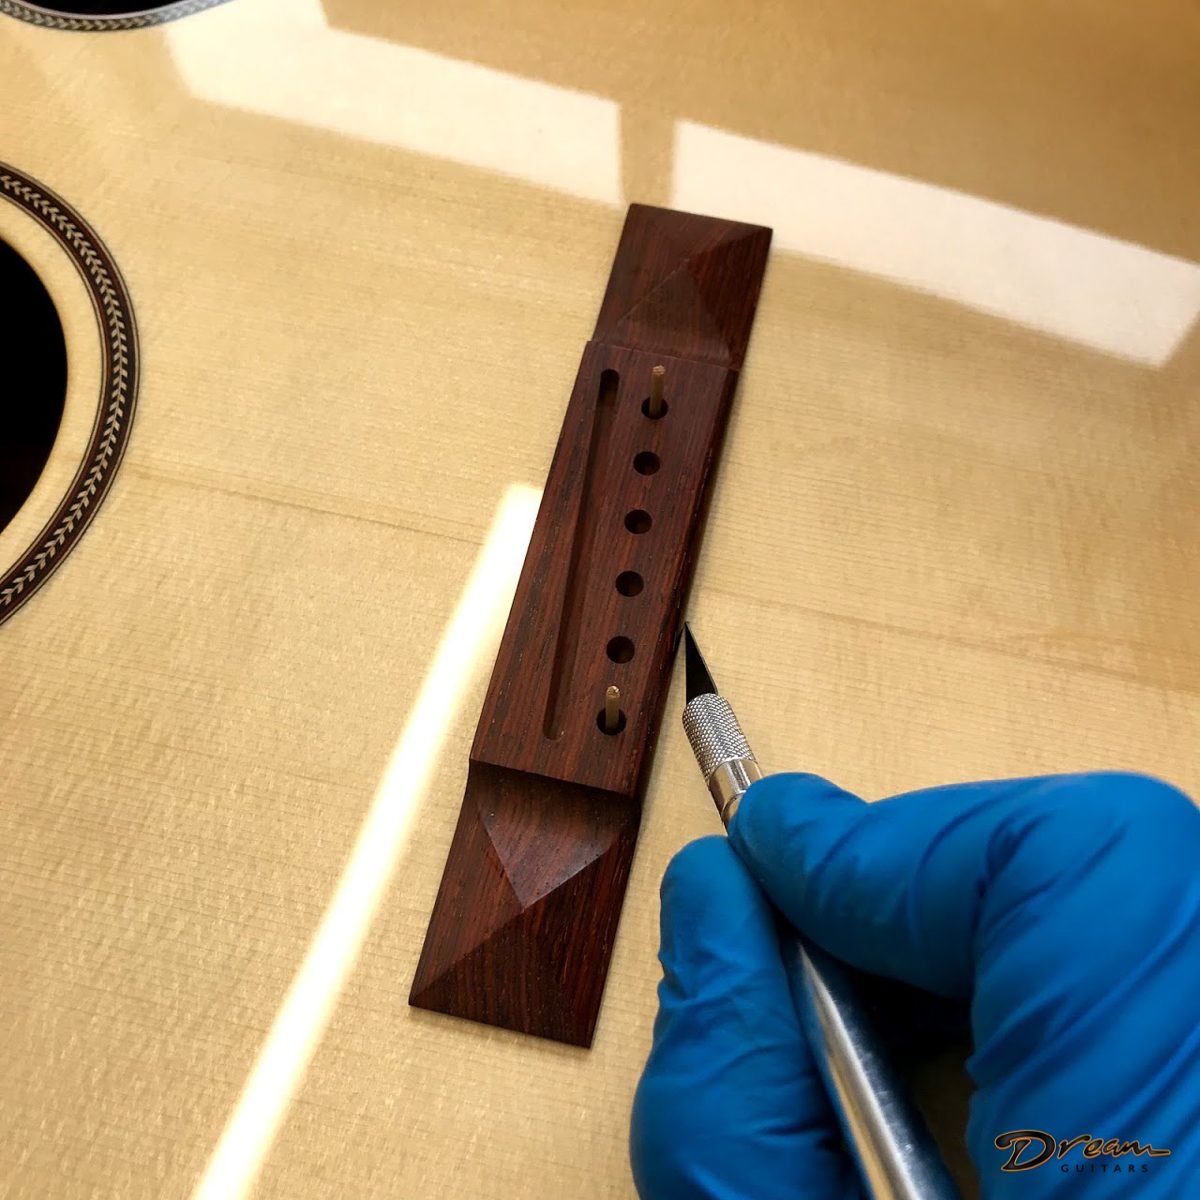
Bridge: Pyramid
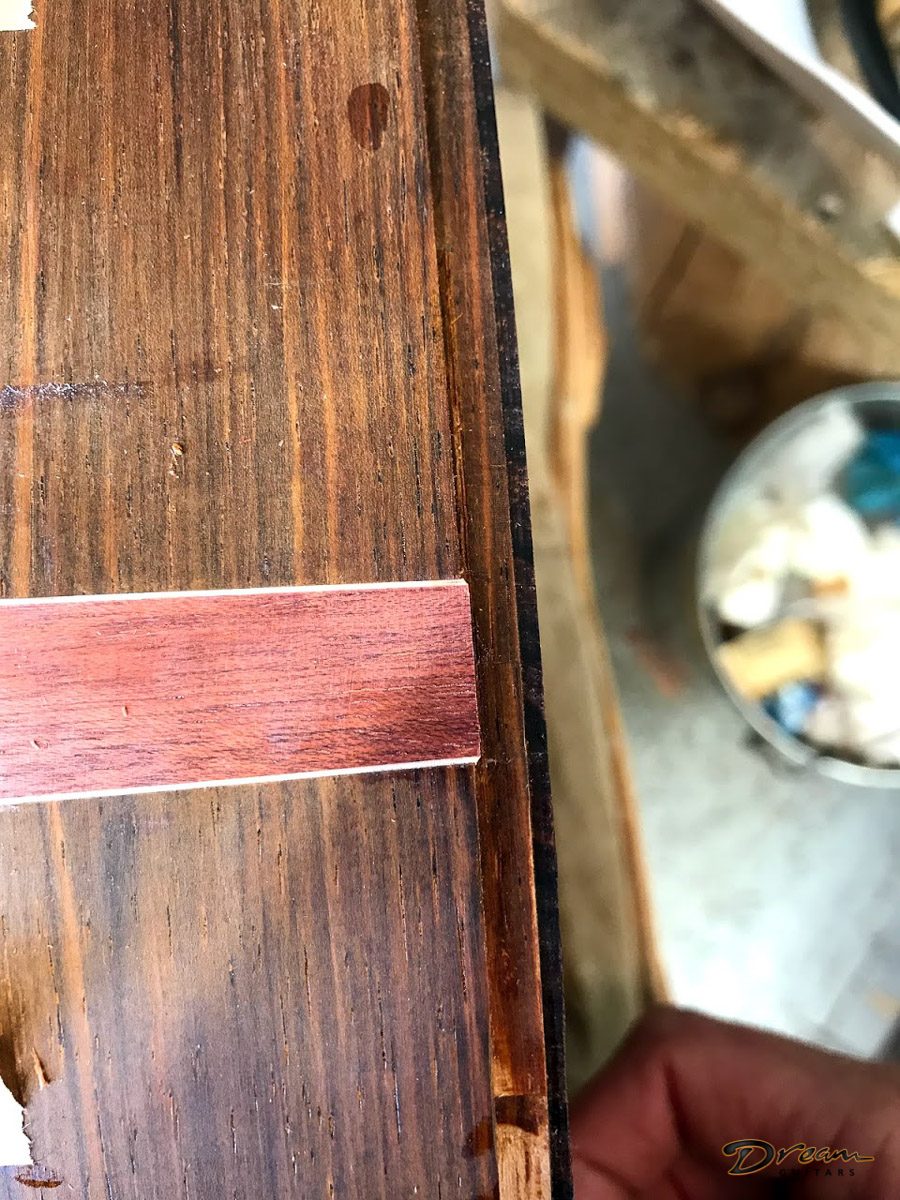
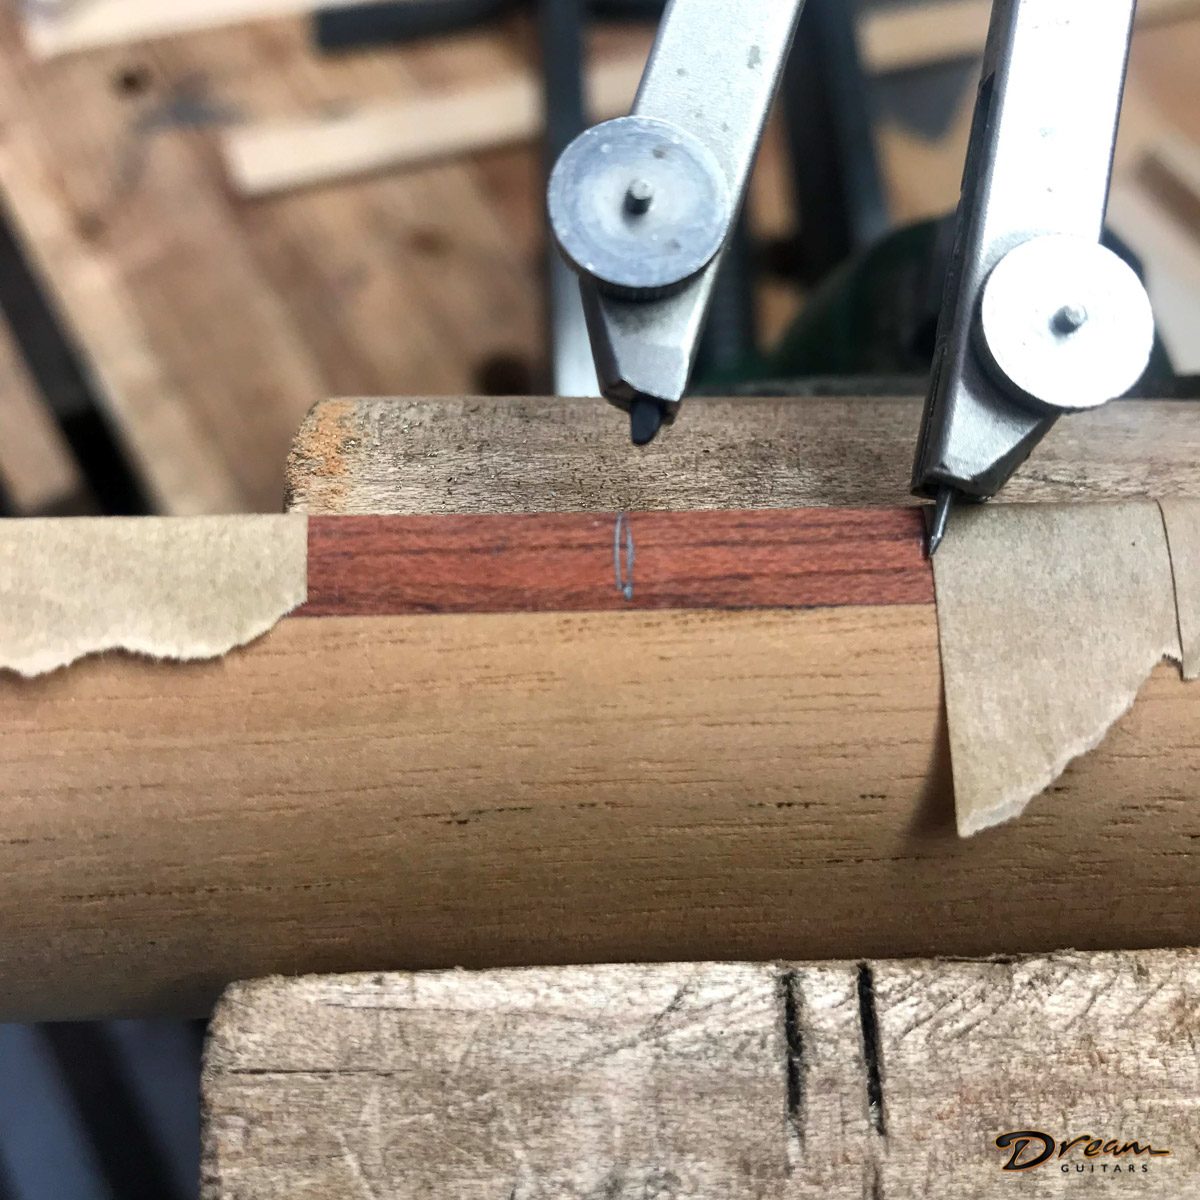
Trim: Bloodwood and bold herringbone
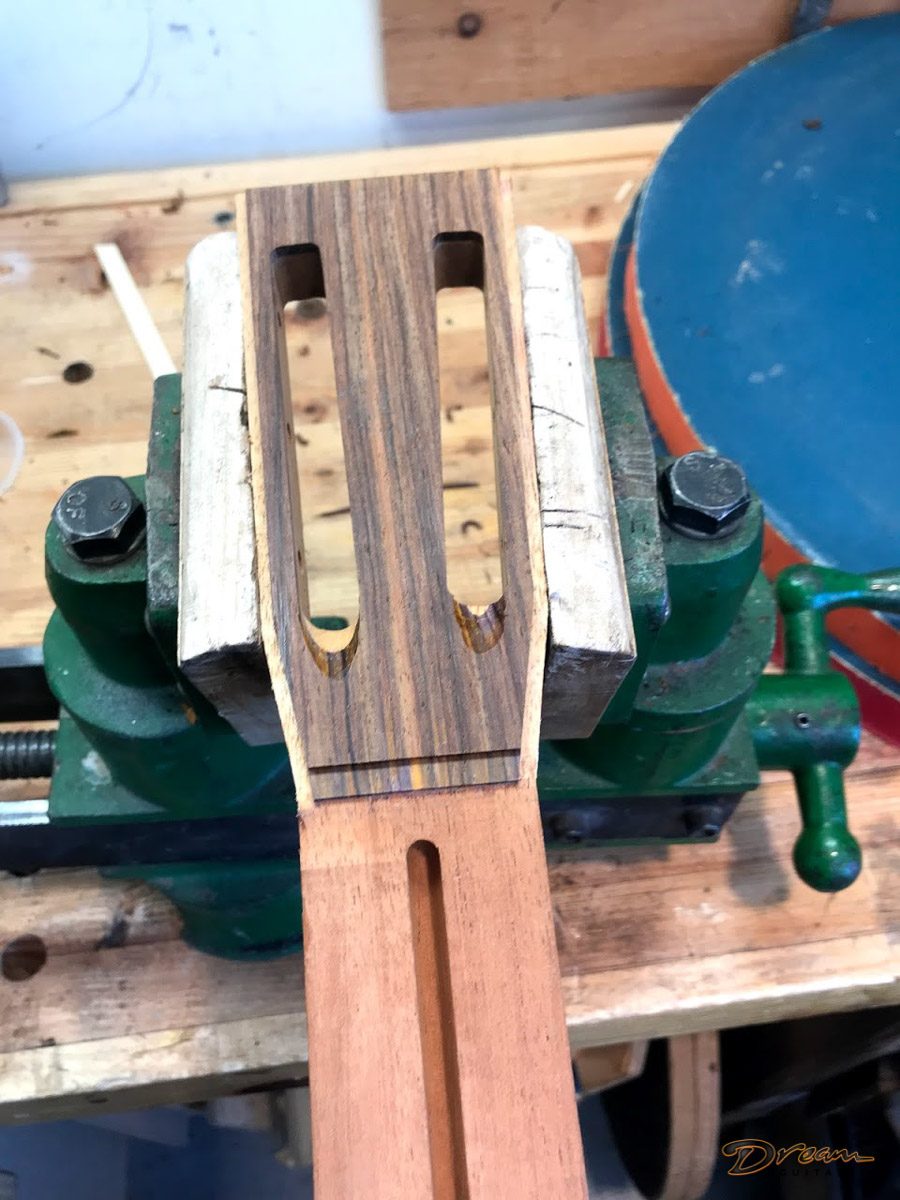
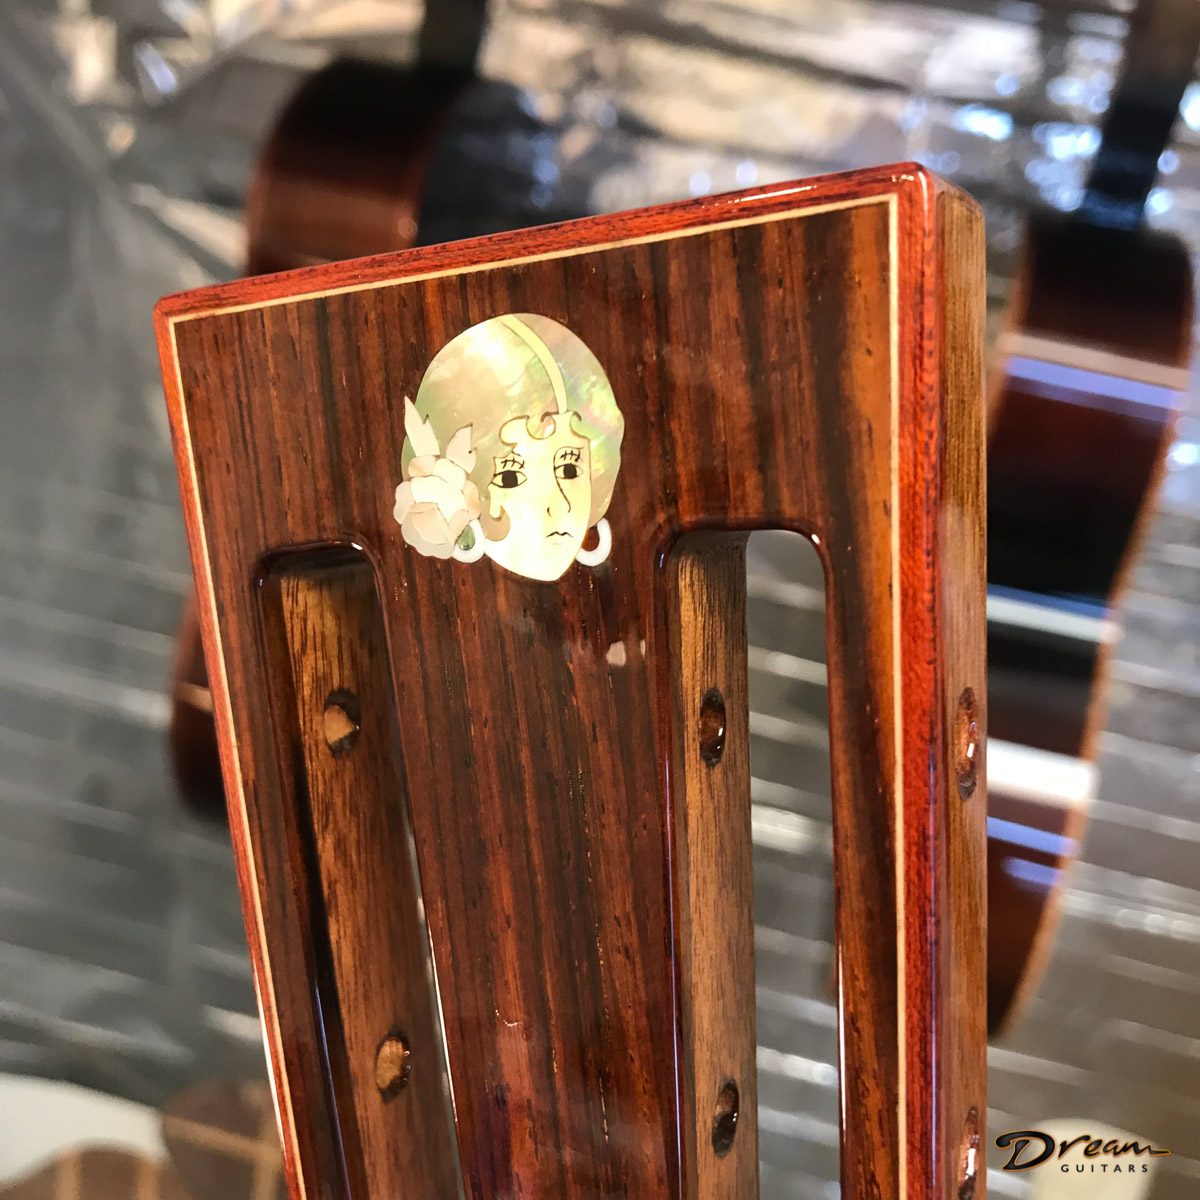
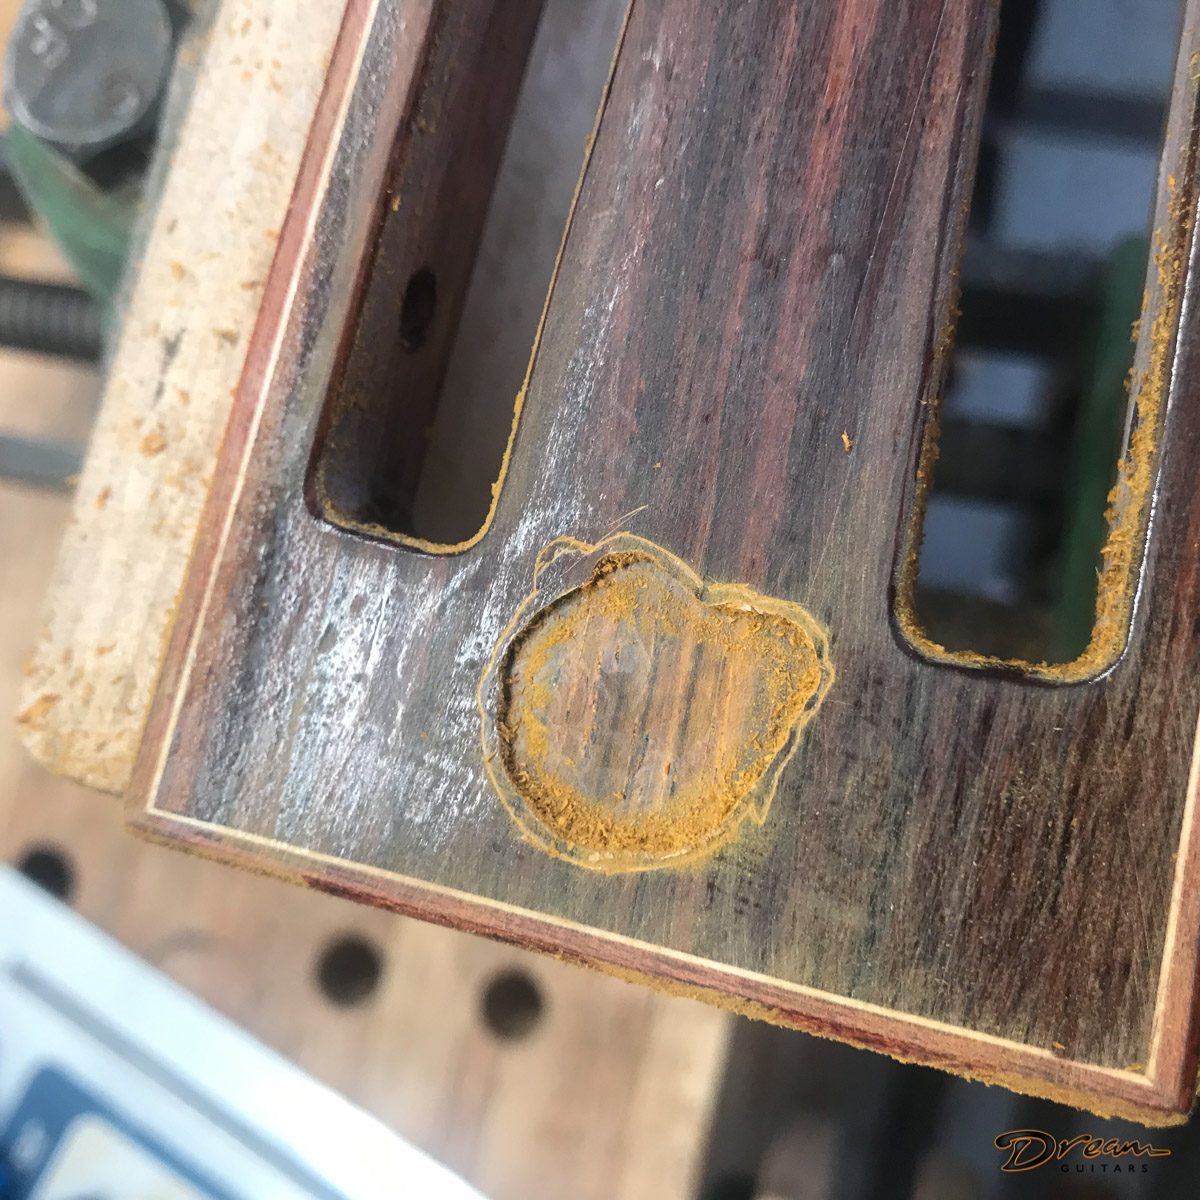
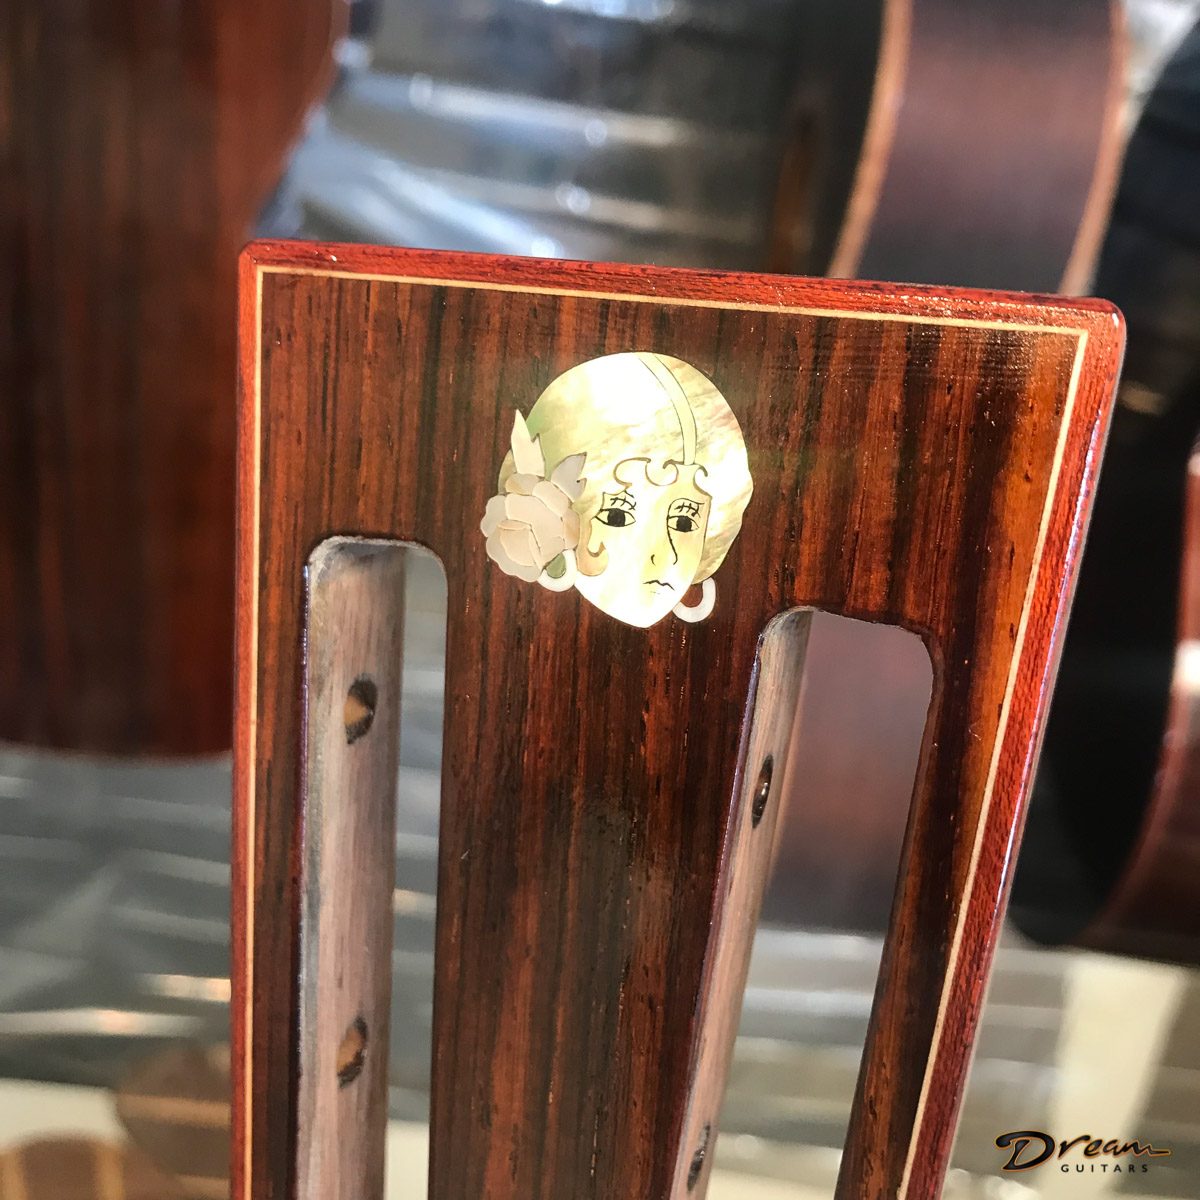
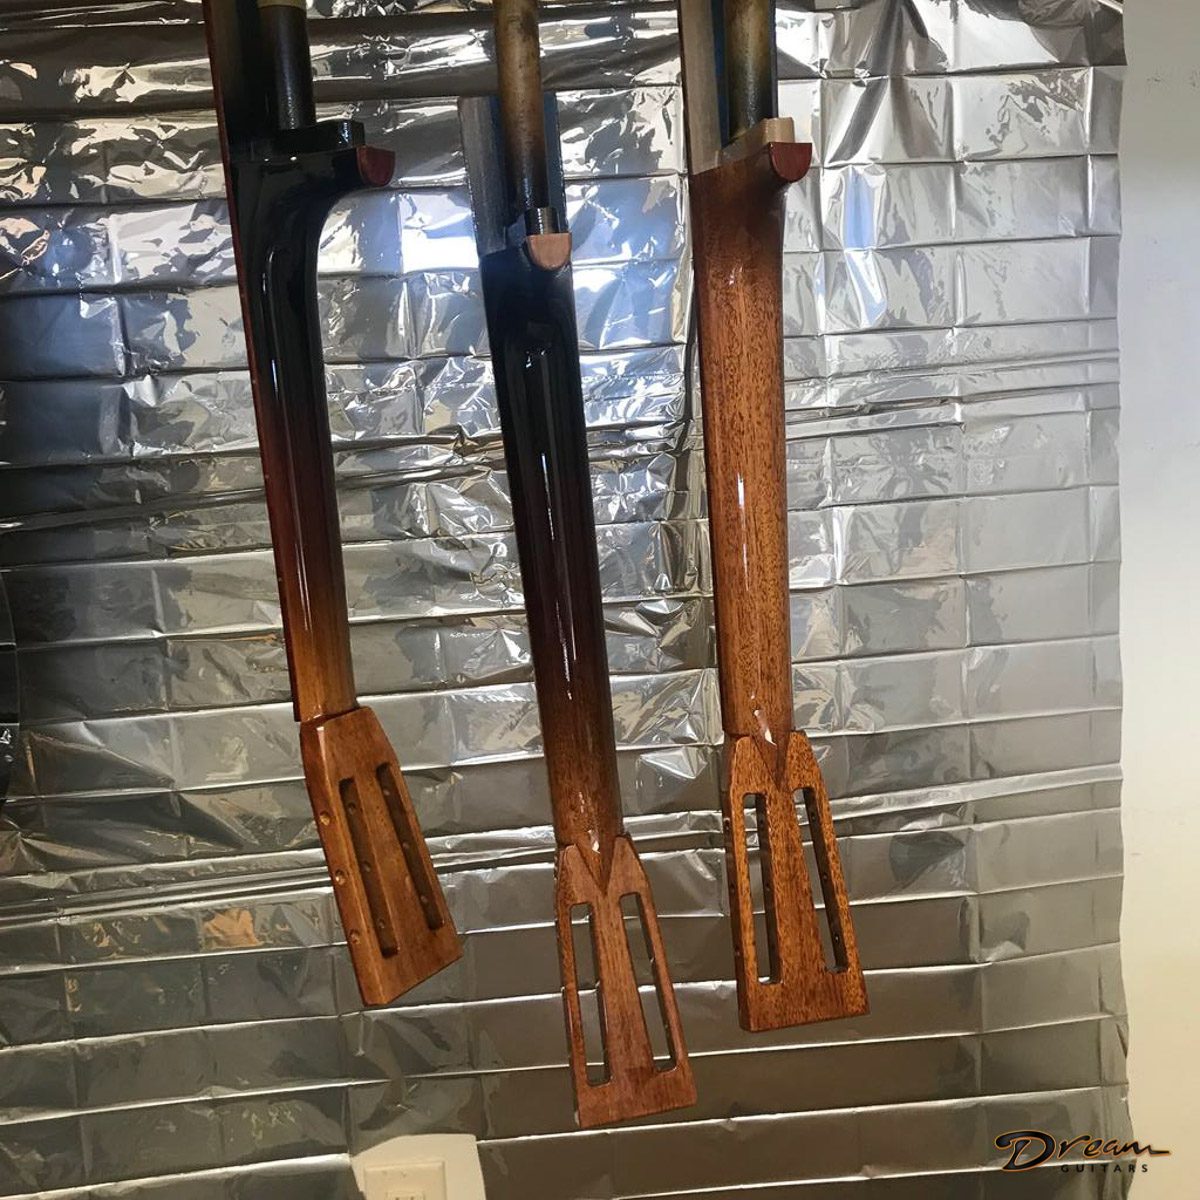
Headstock: Slotted with Bird’s Beak
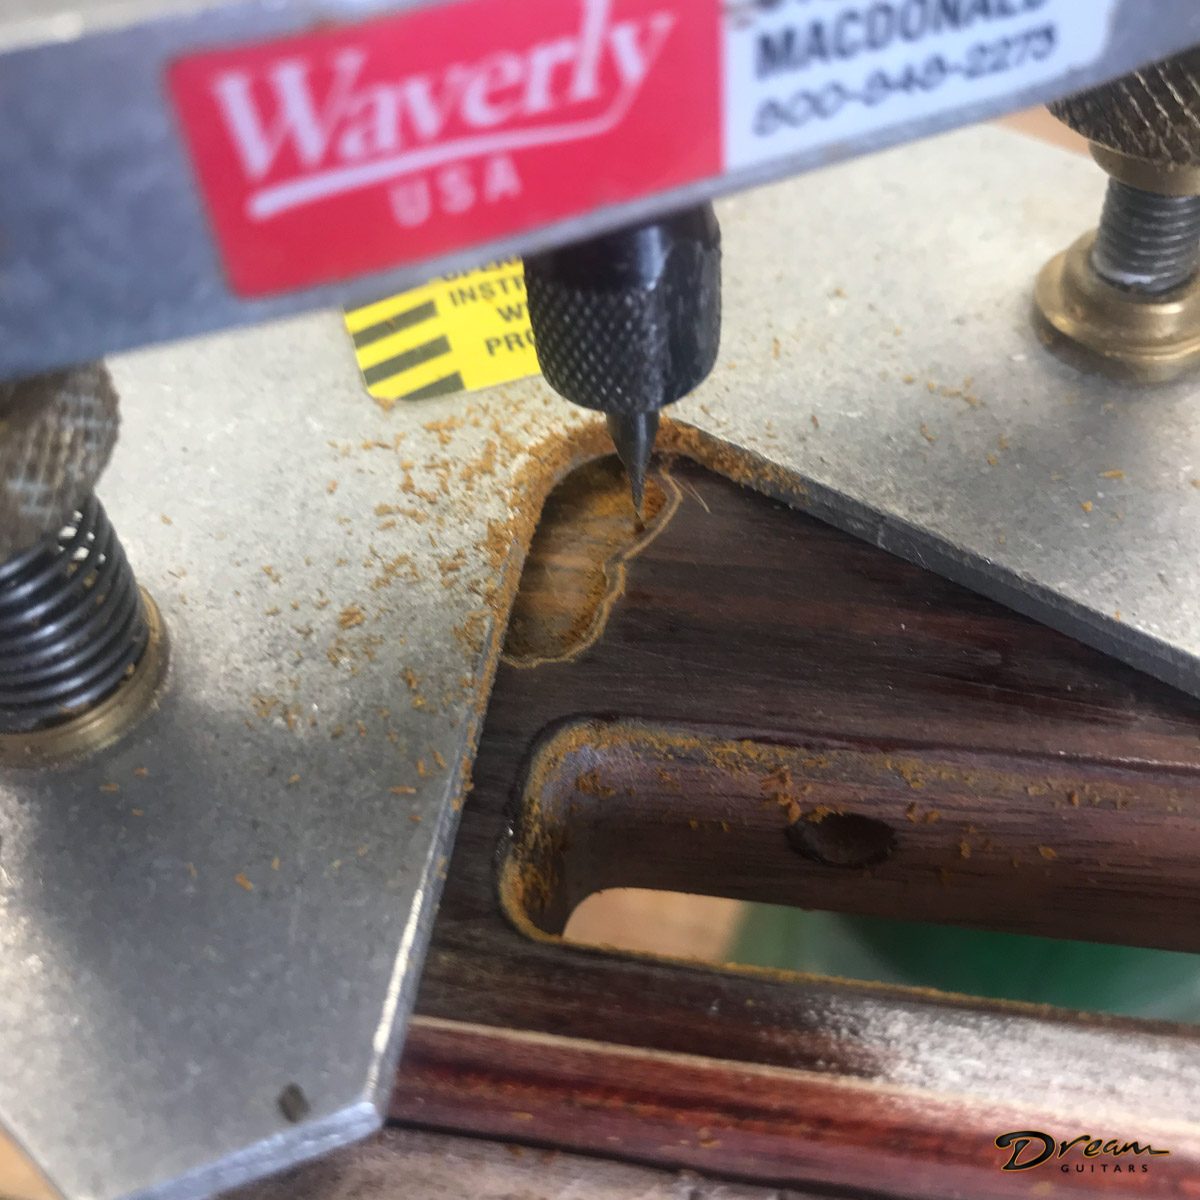
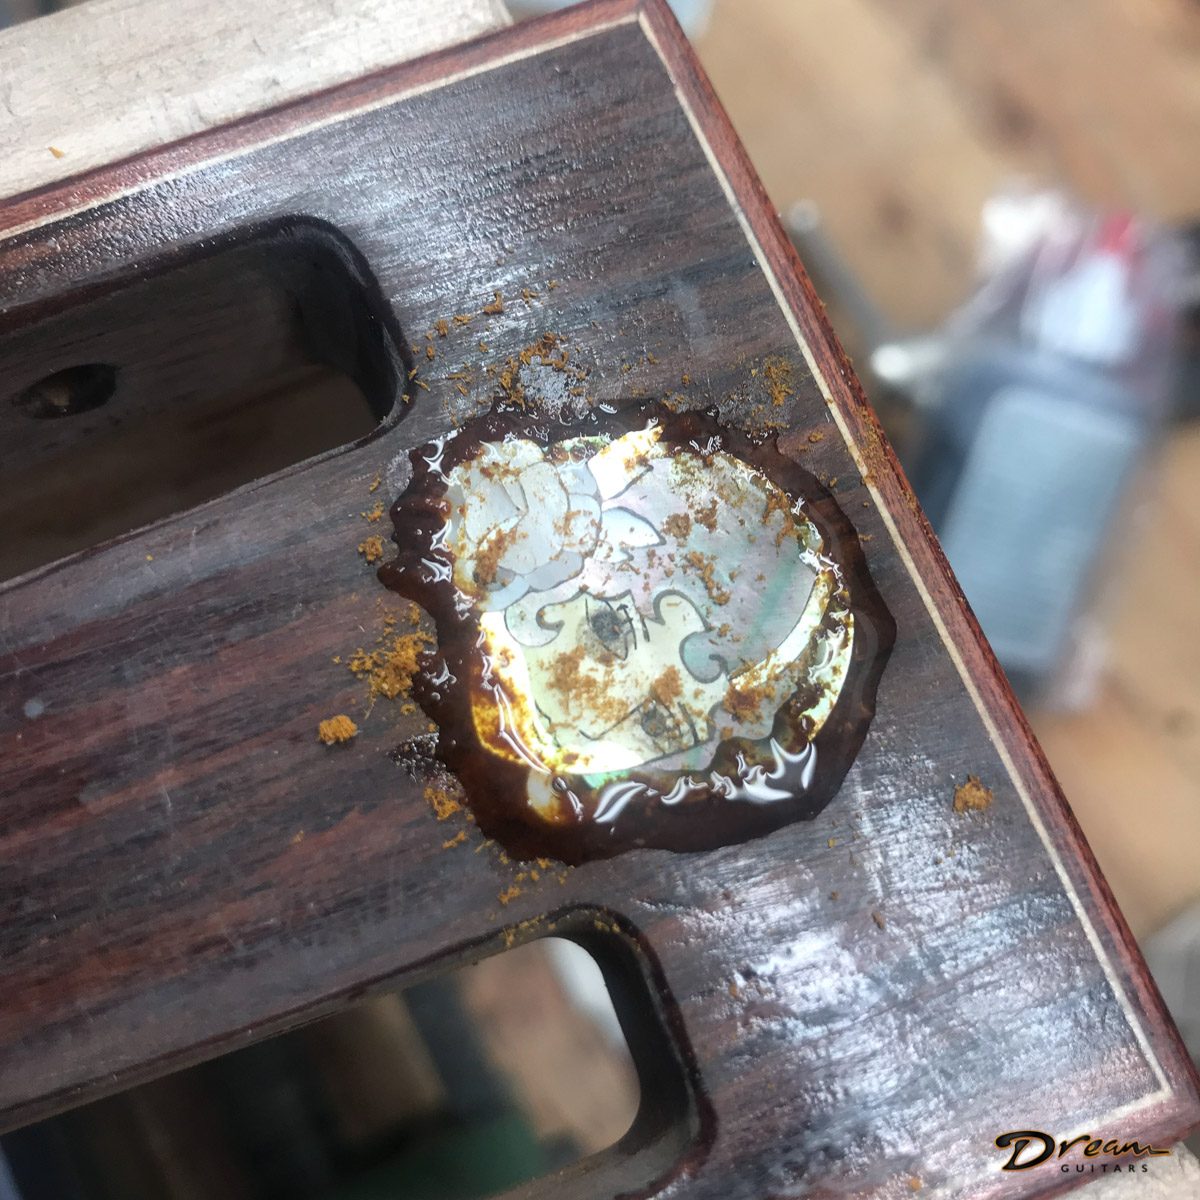
Headstock Inlay: Big Hollow Girl
Headstock Veneer: Cocobolo
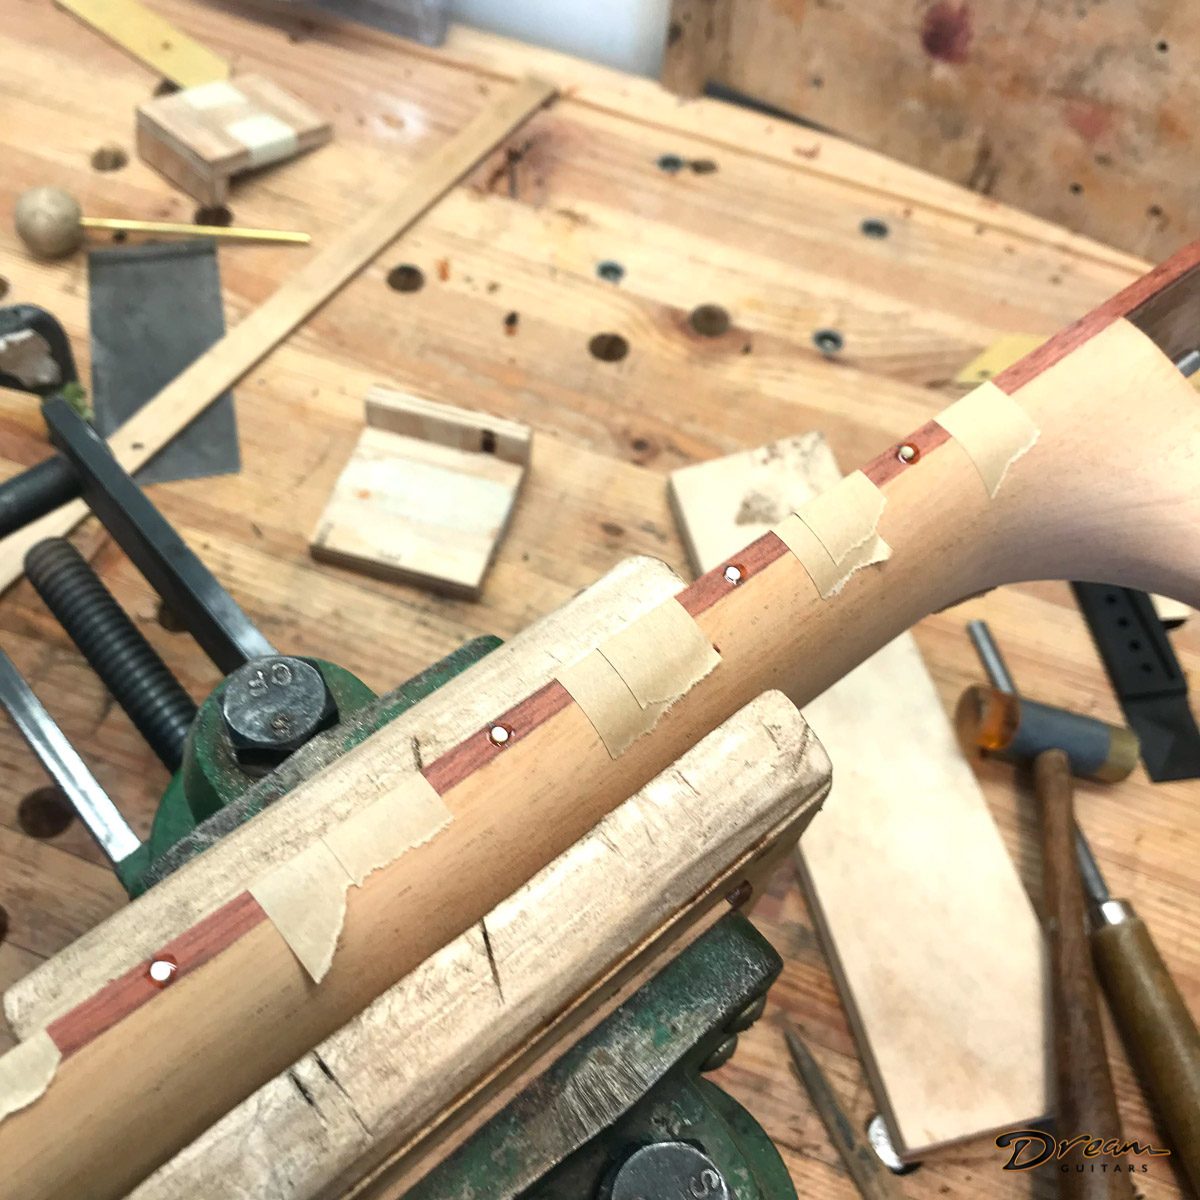
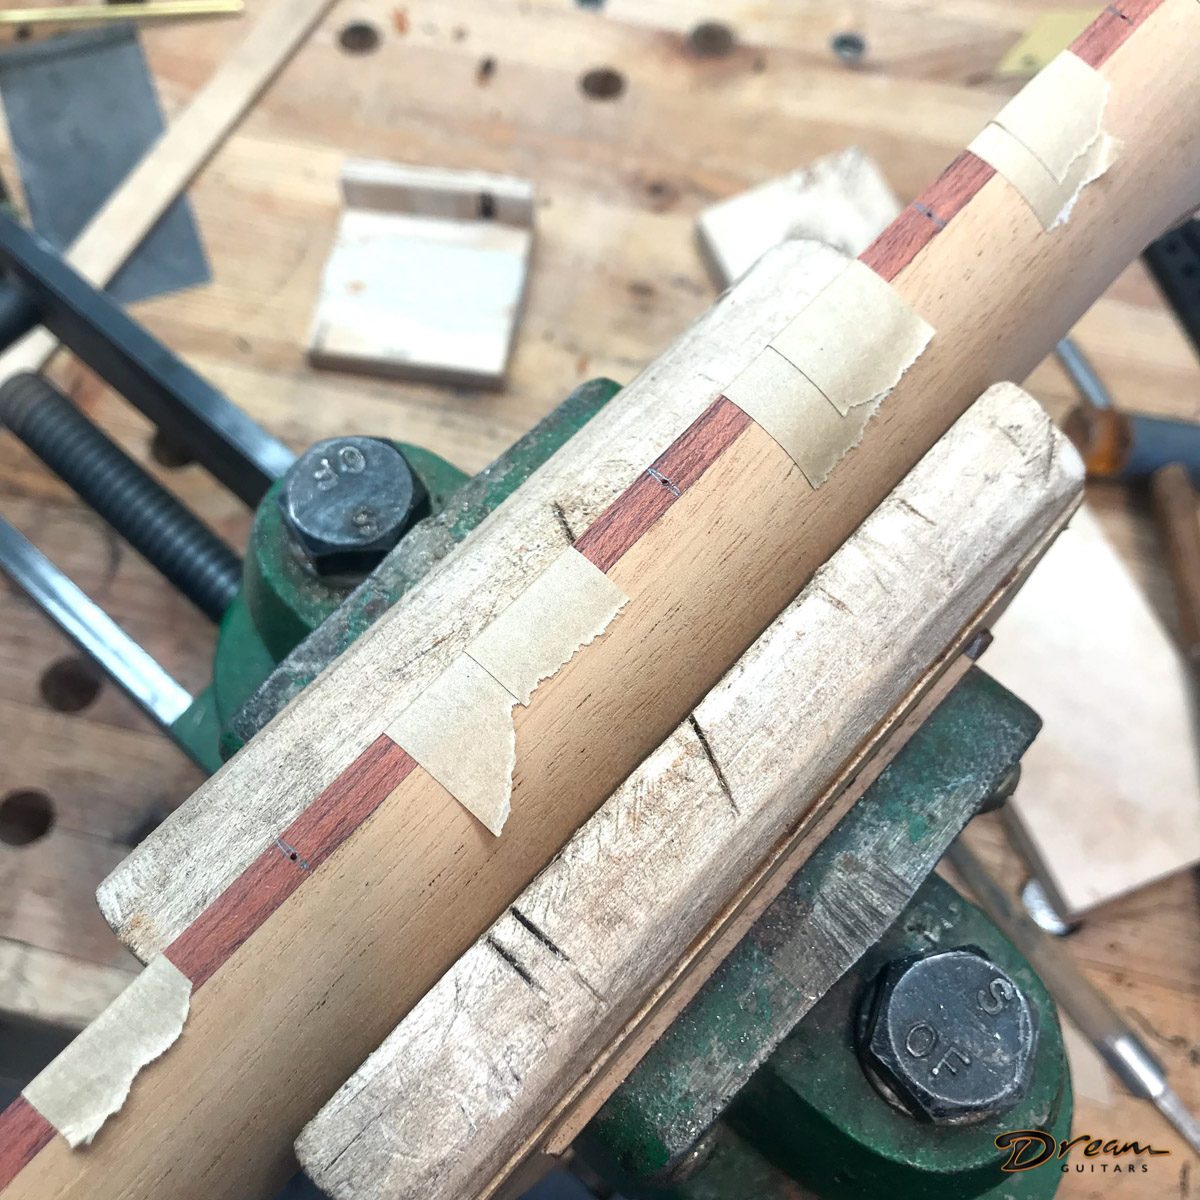
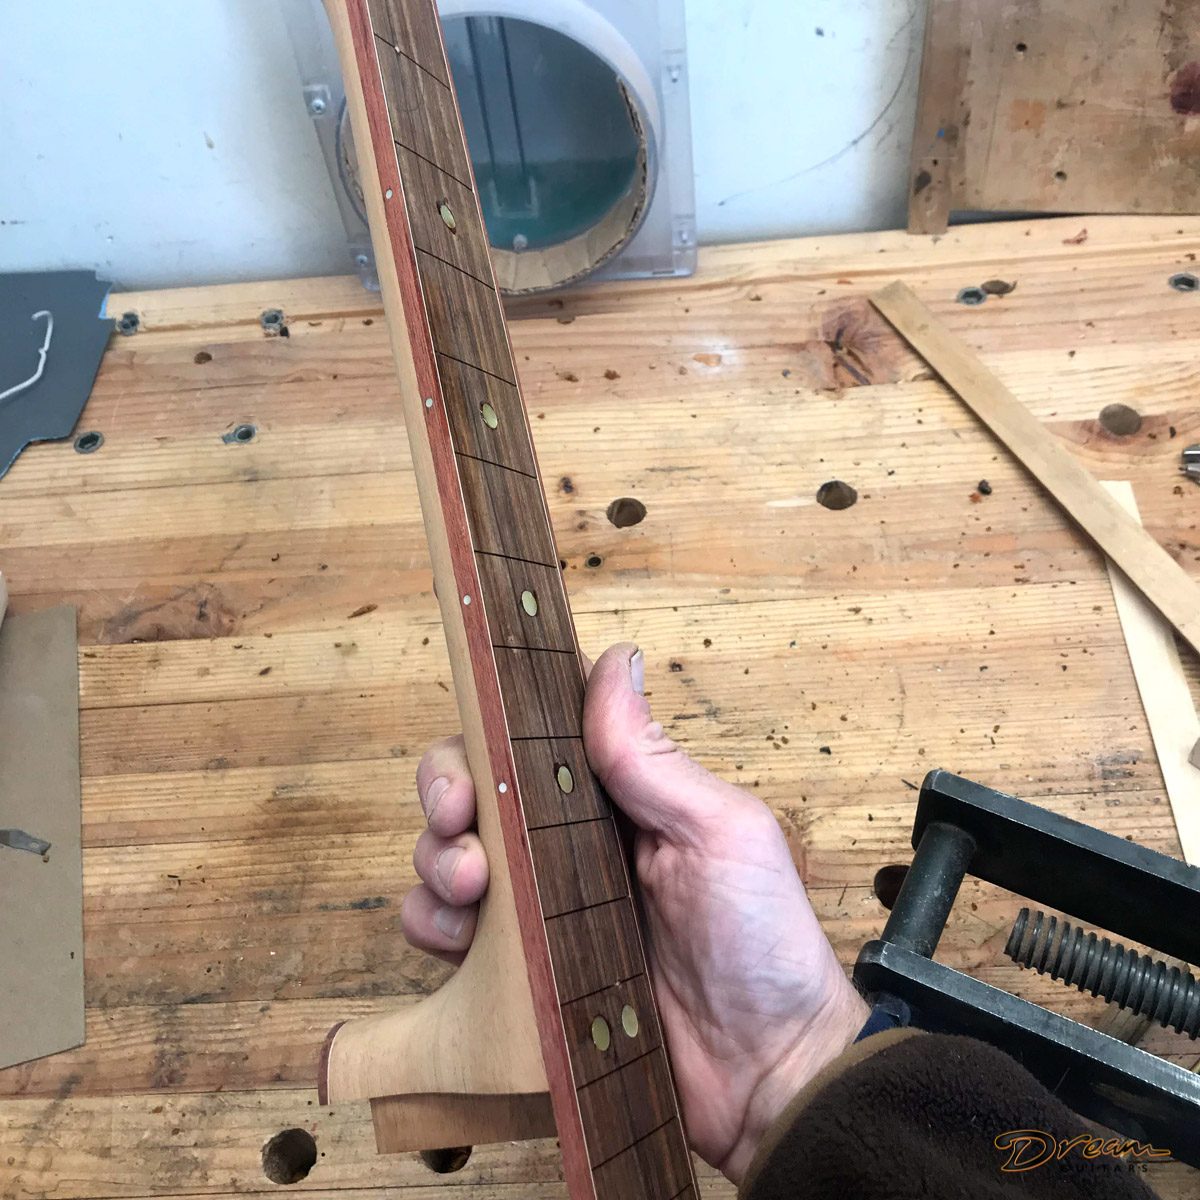
Fretboard and bridge: Cocobolo
Pins: Cocobolo
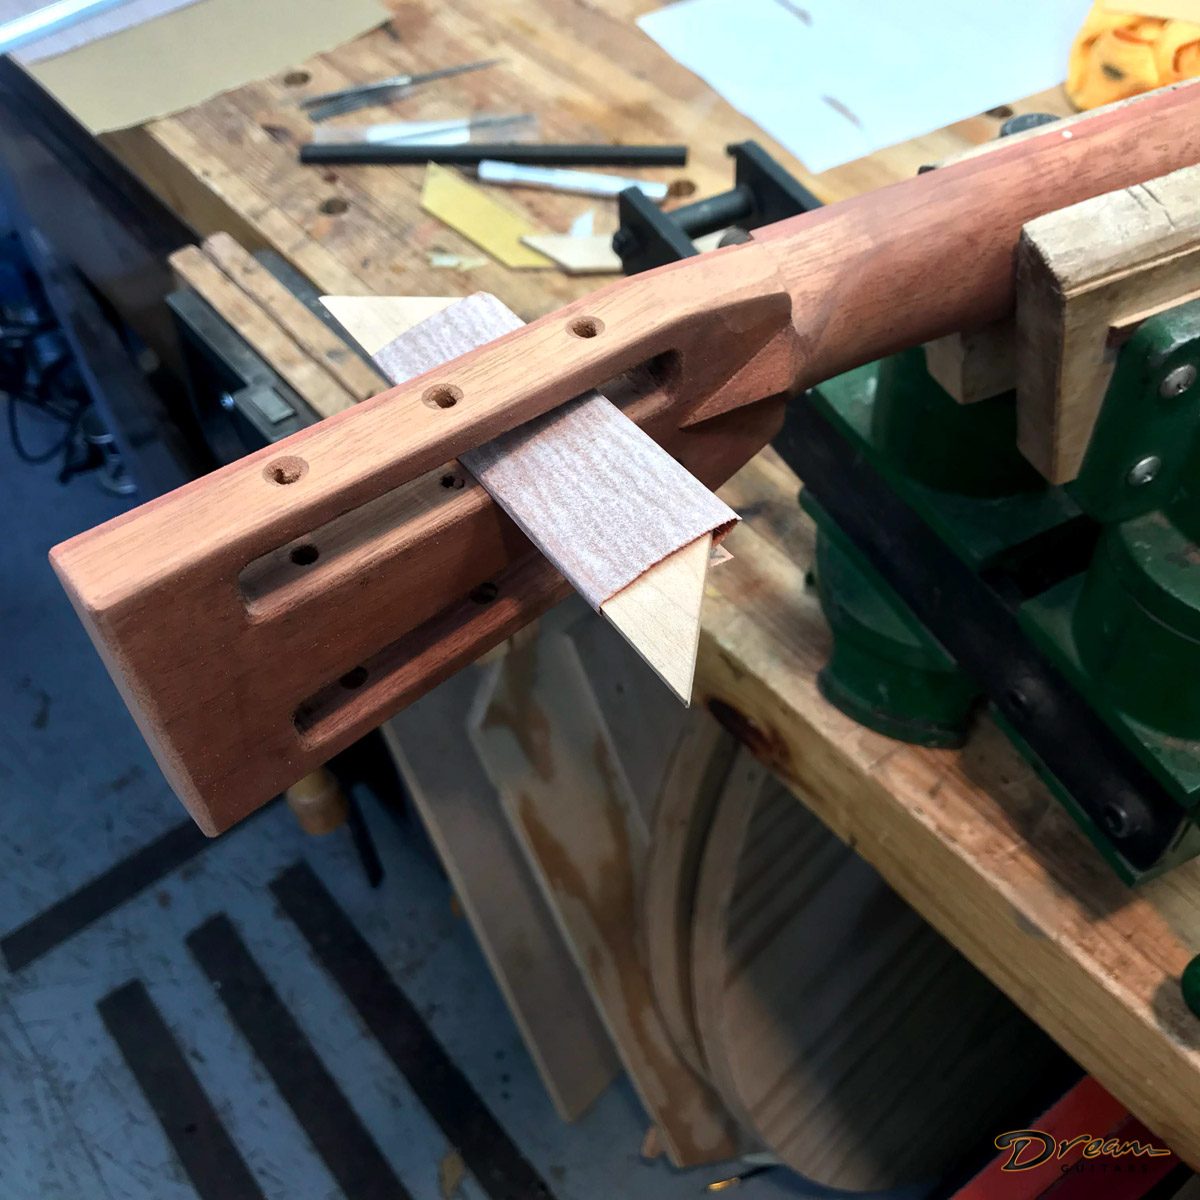
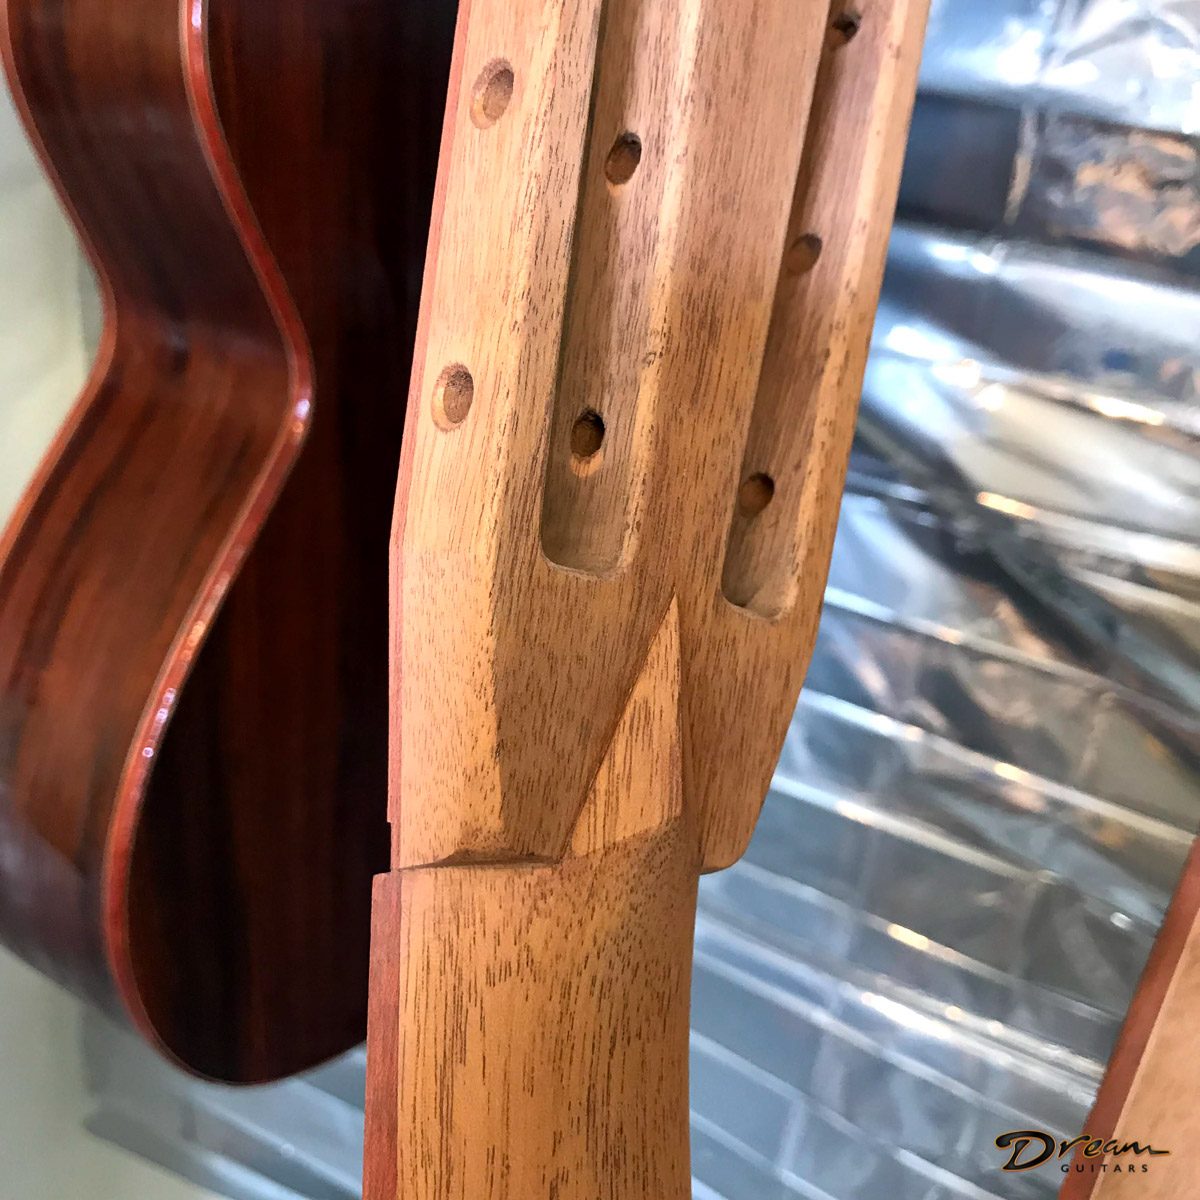
Neck Profile: Medium C, on the slender side
Inlay dots: side and front, 3,5,7,9 12 ( front only)
Case: Ameritage silver series custom fitted
Tuners: Waverly
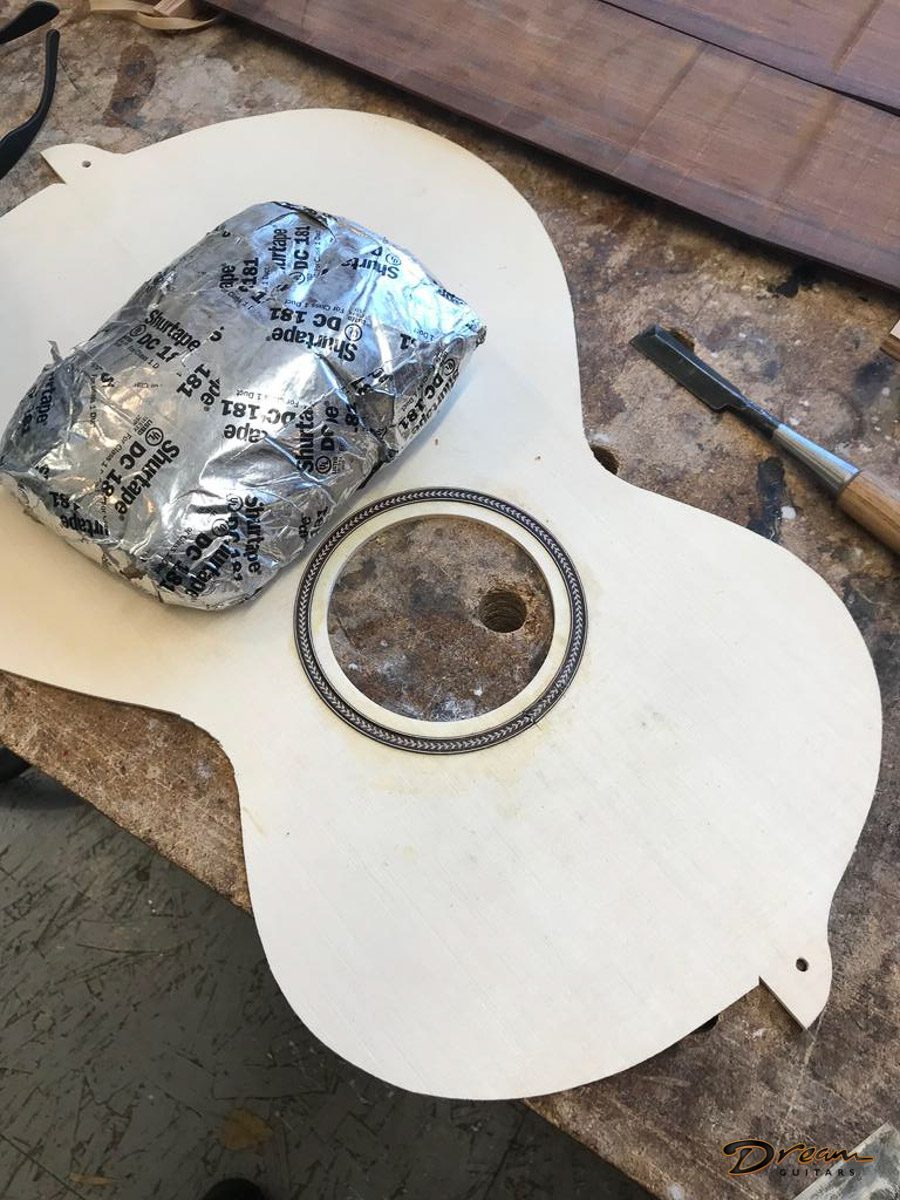
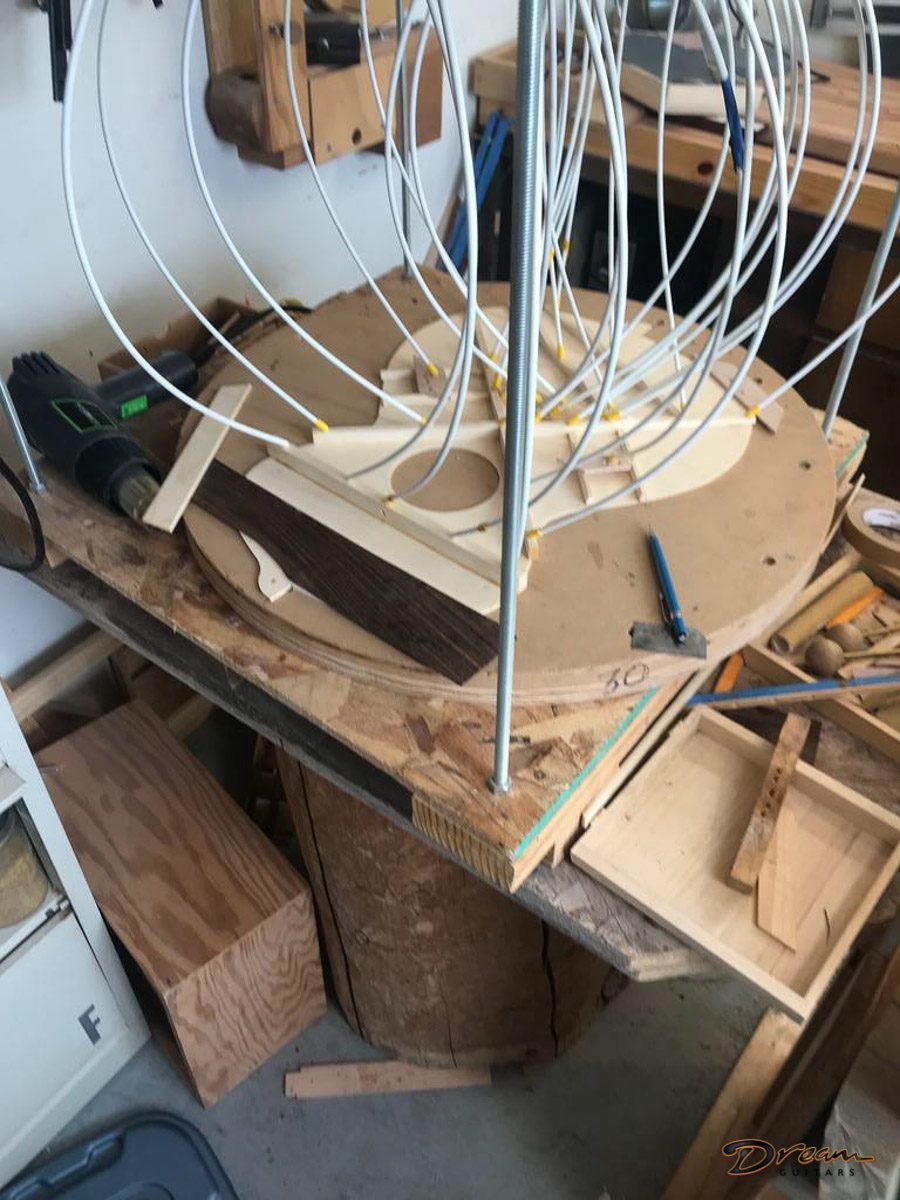
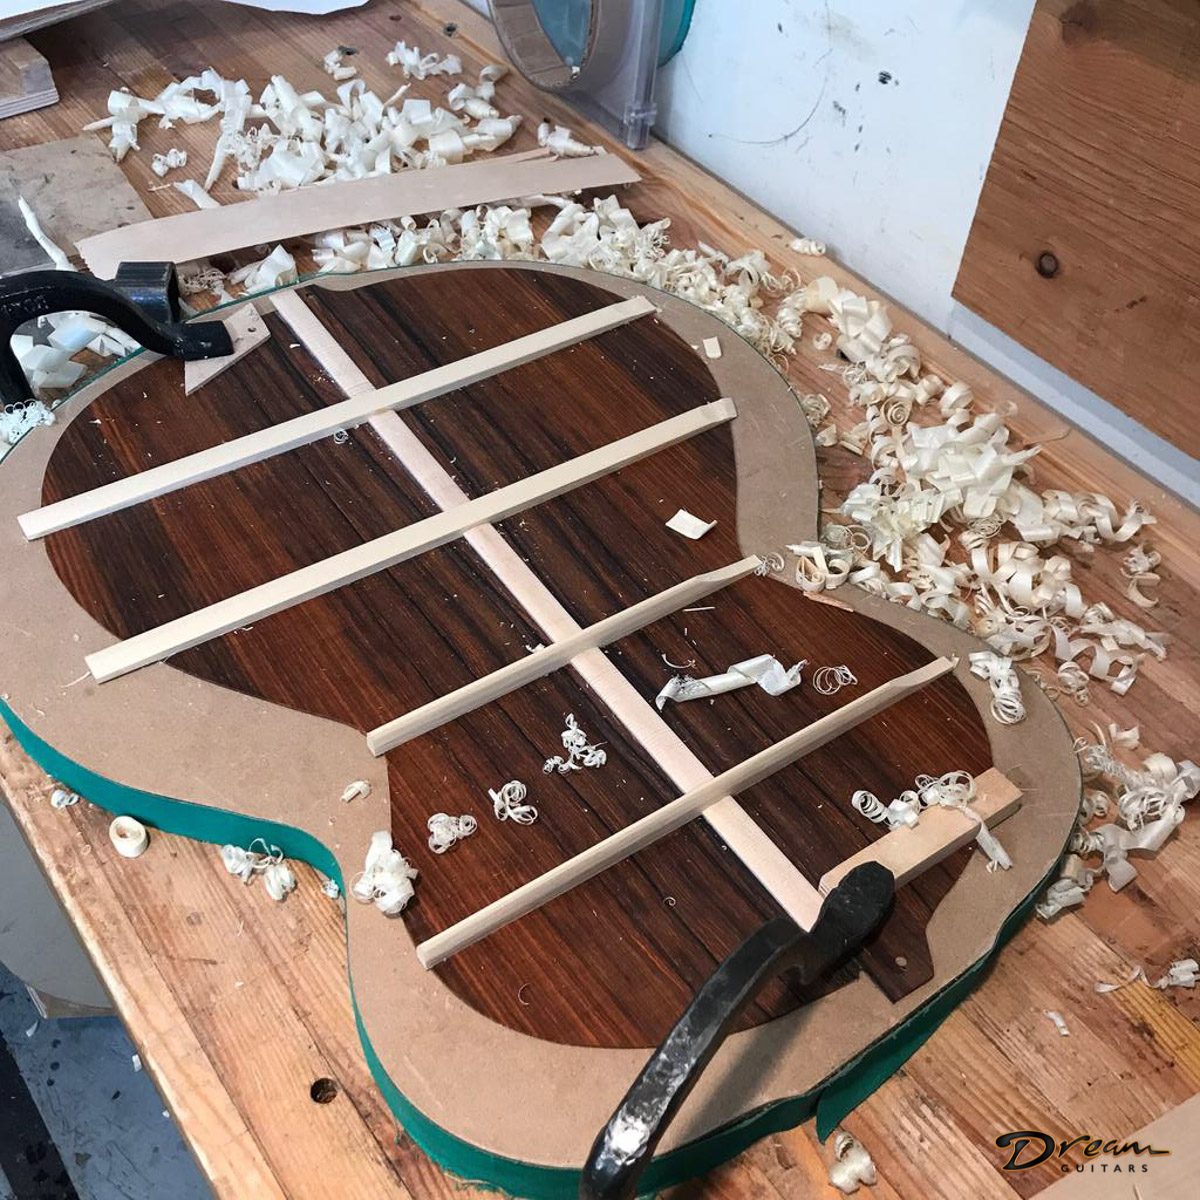
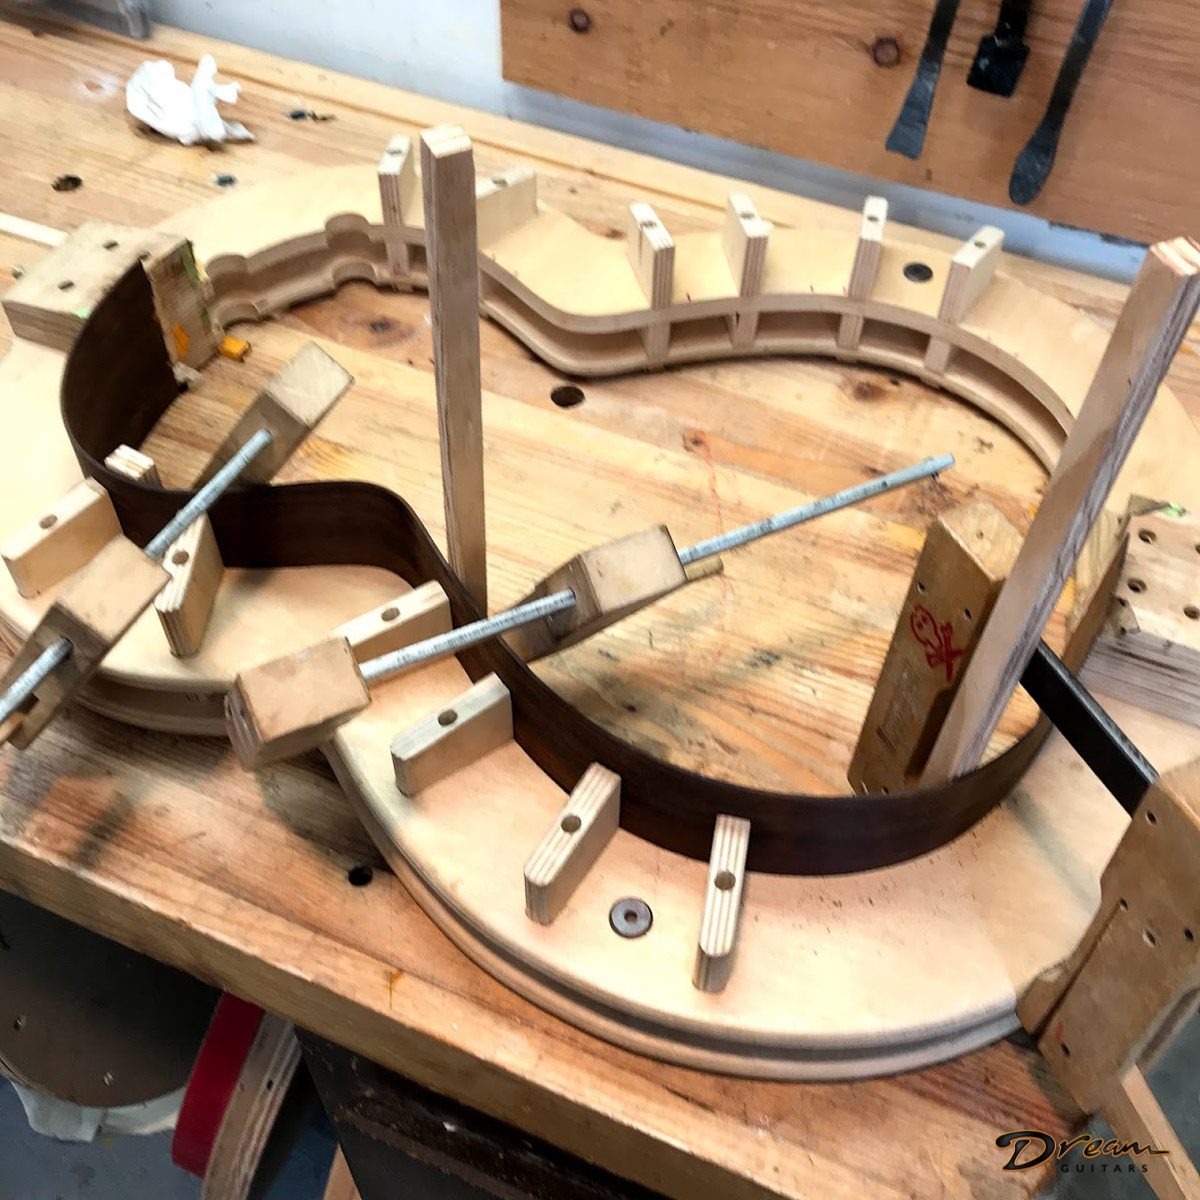
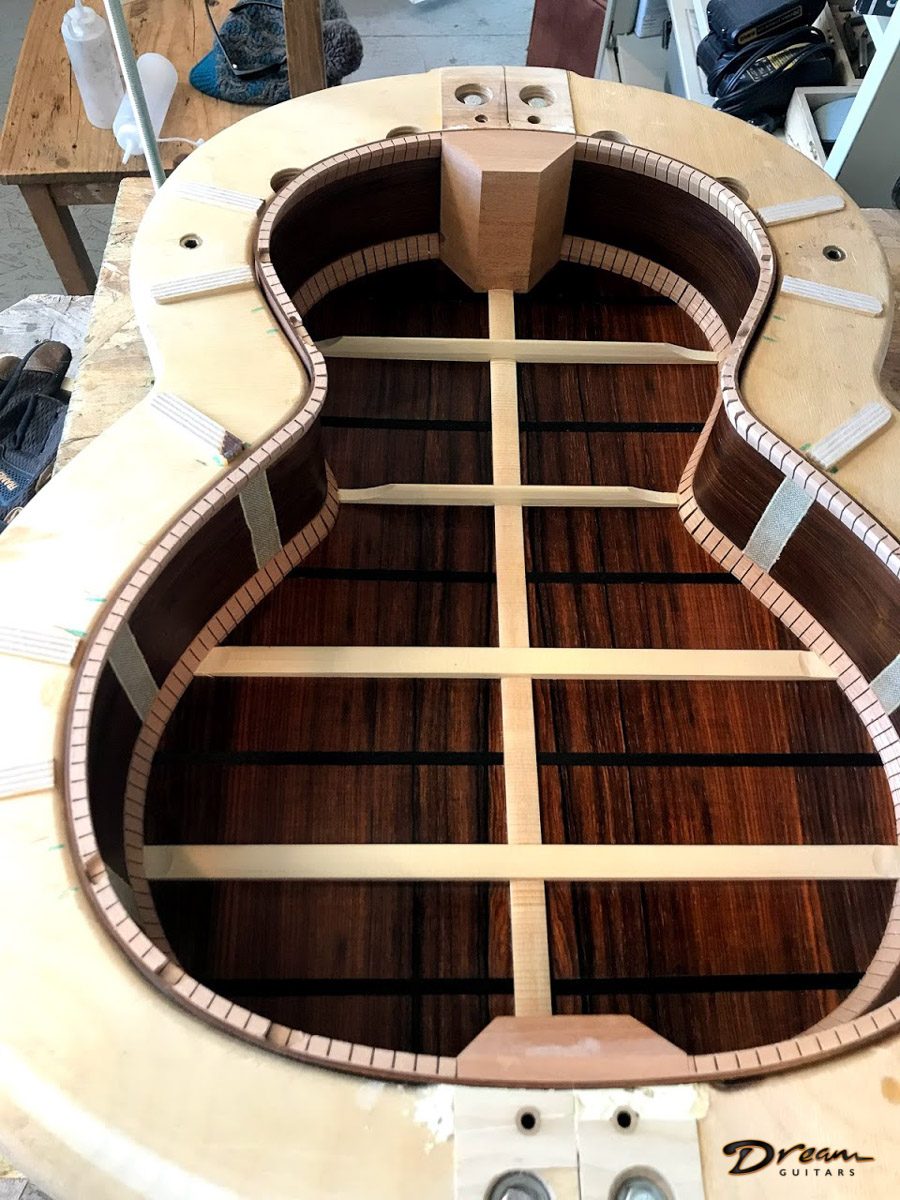
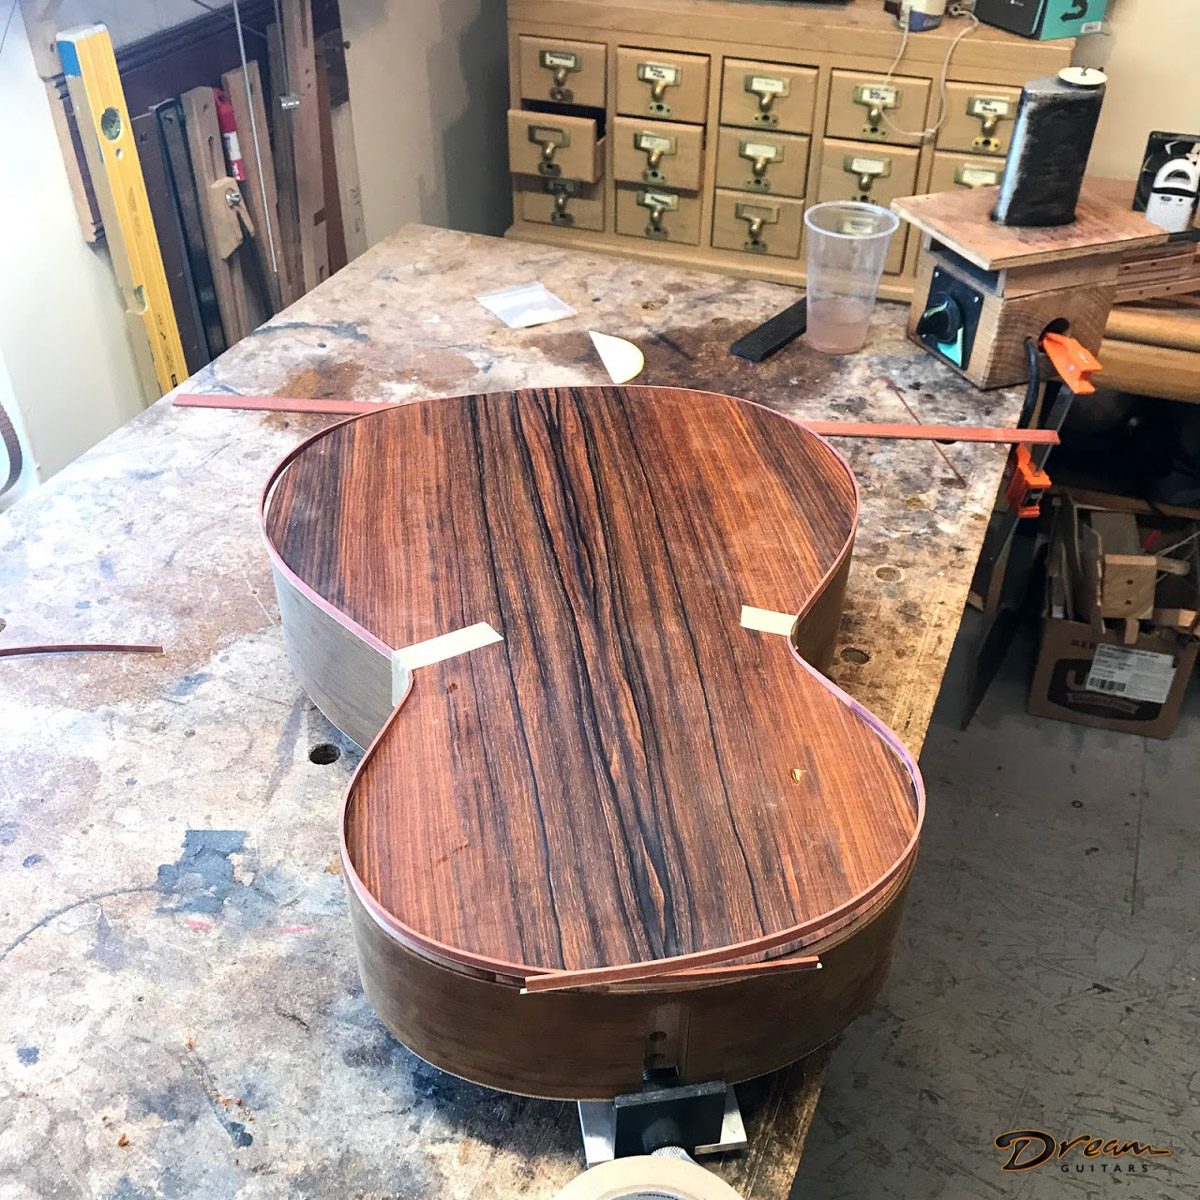
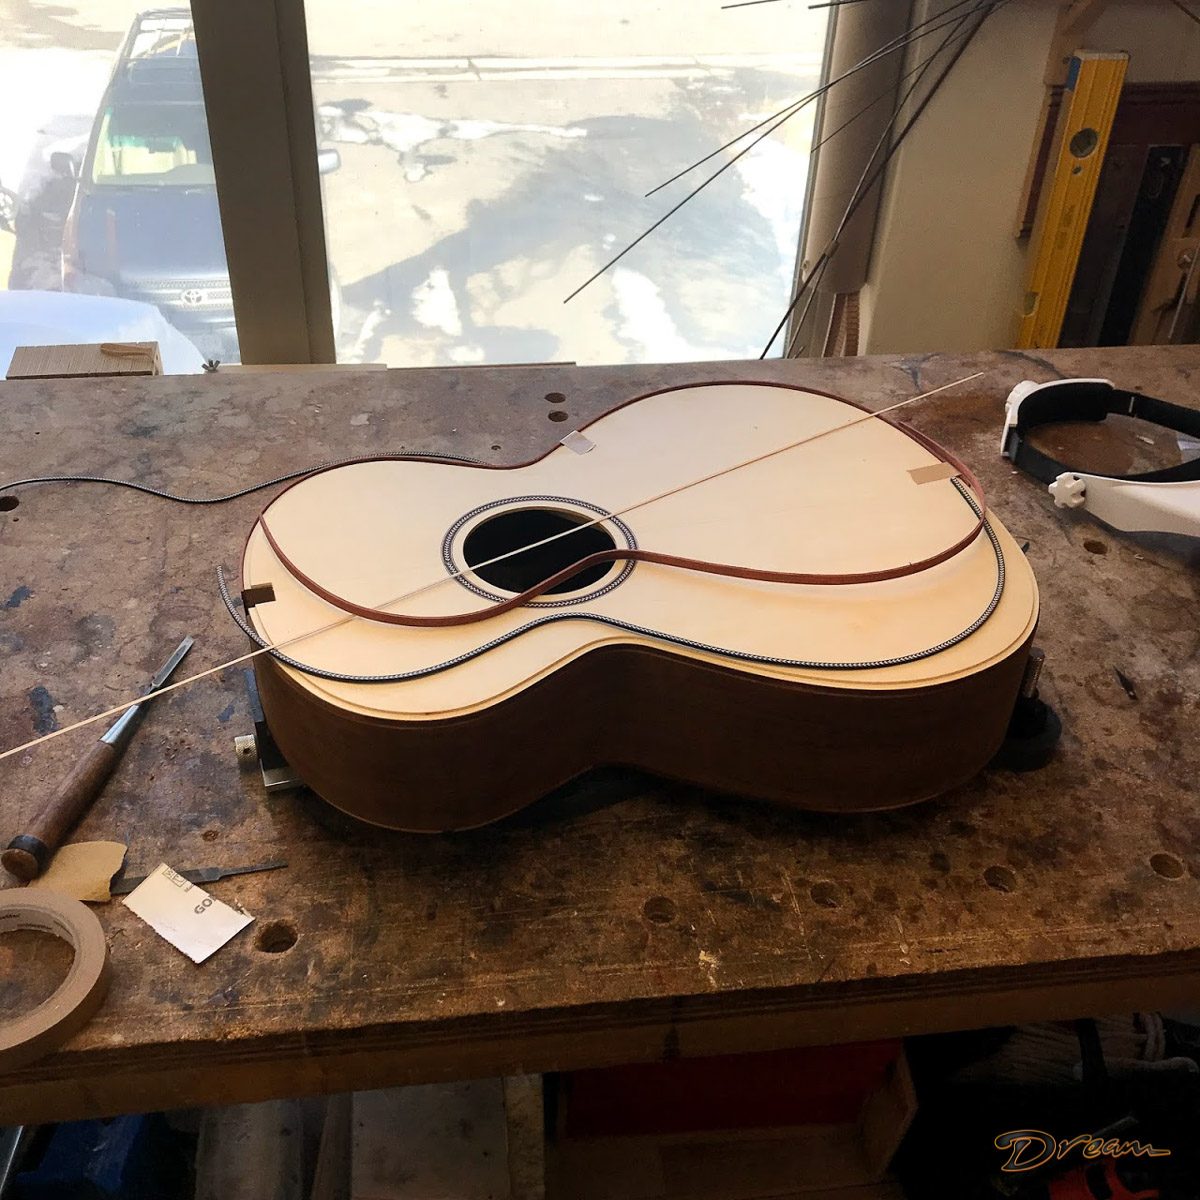
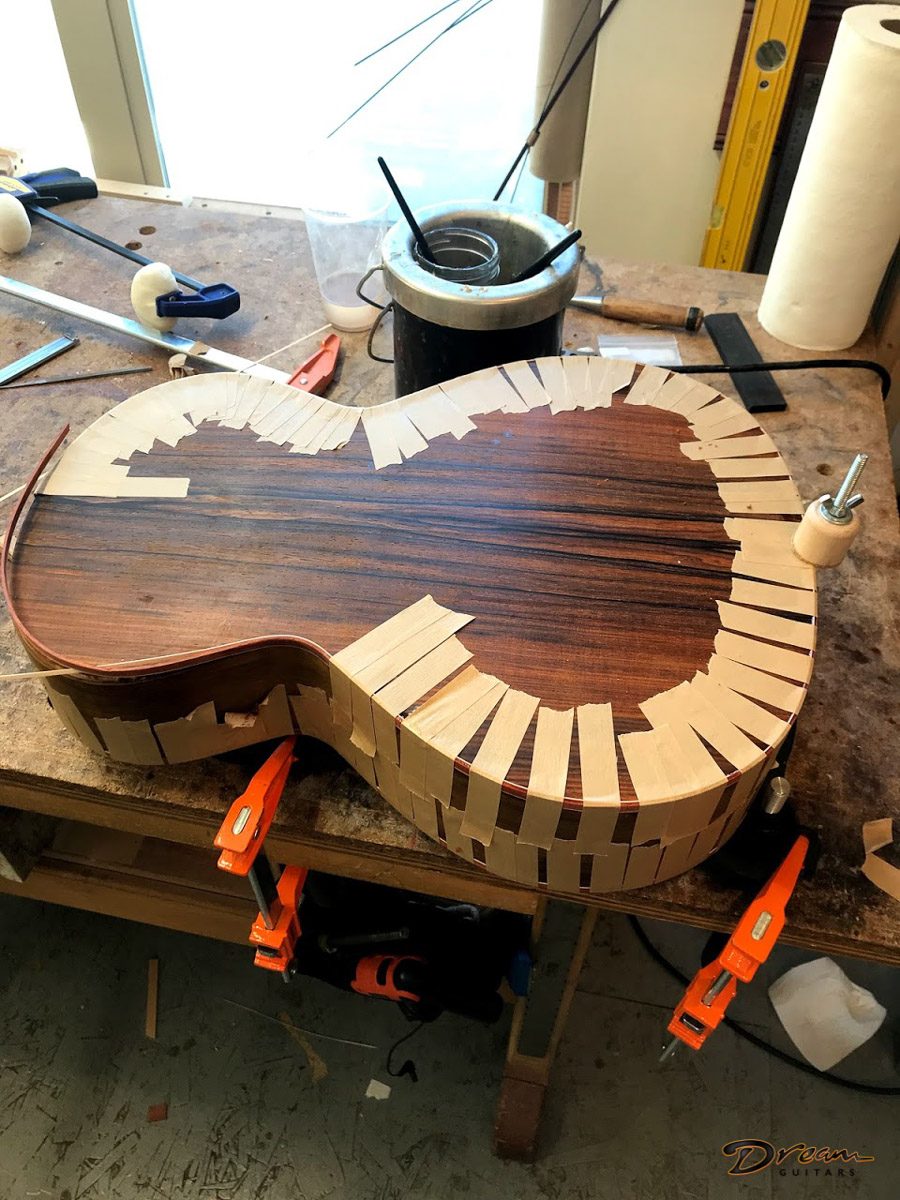
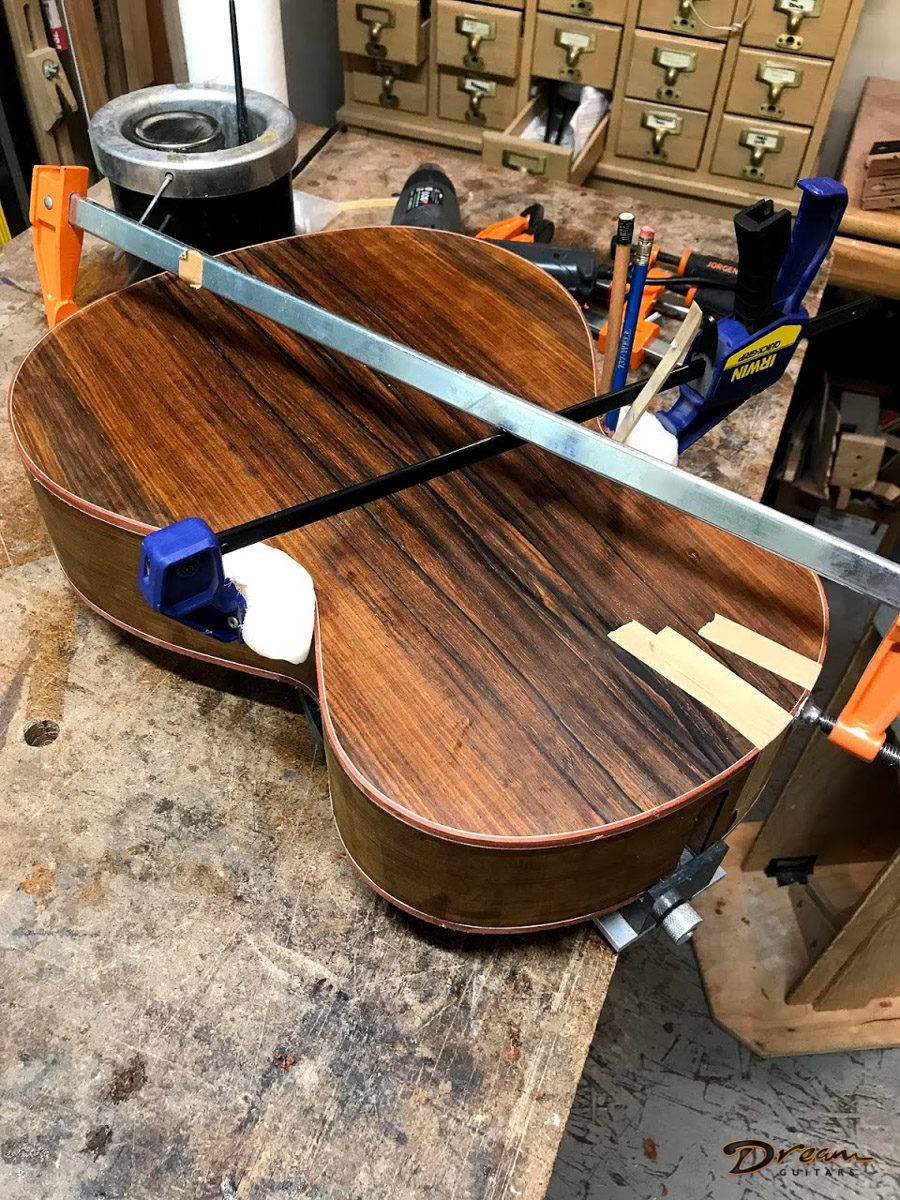
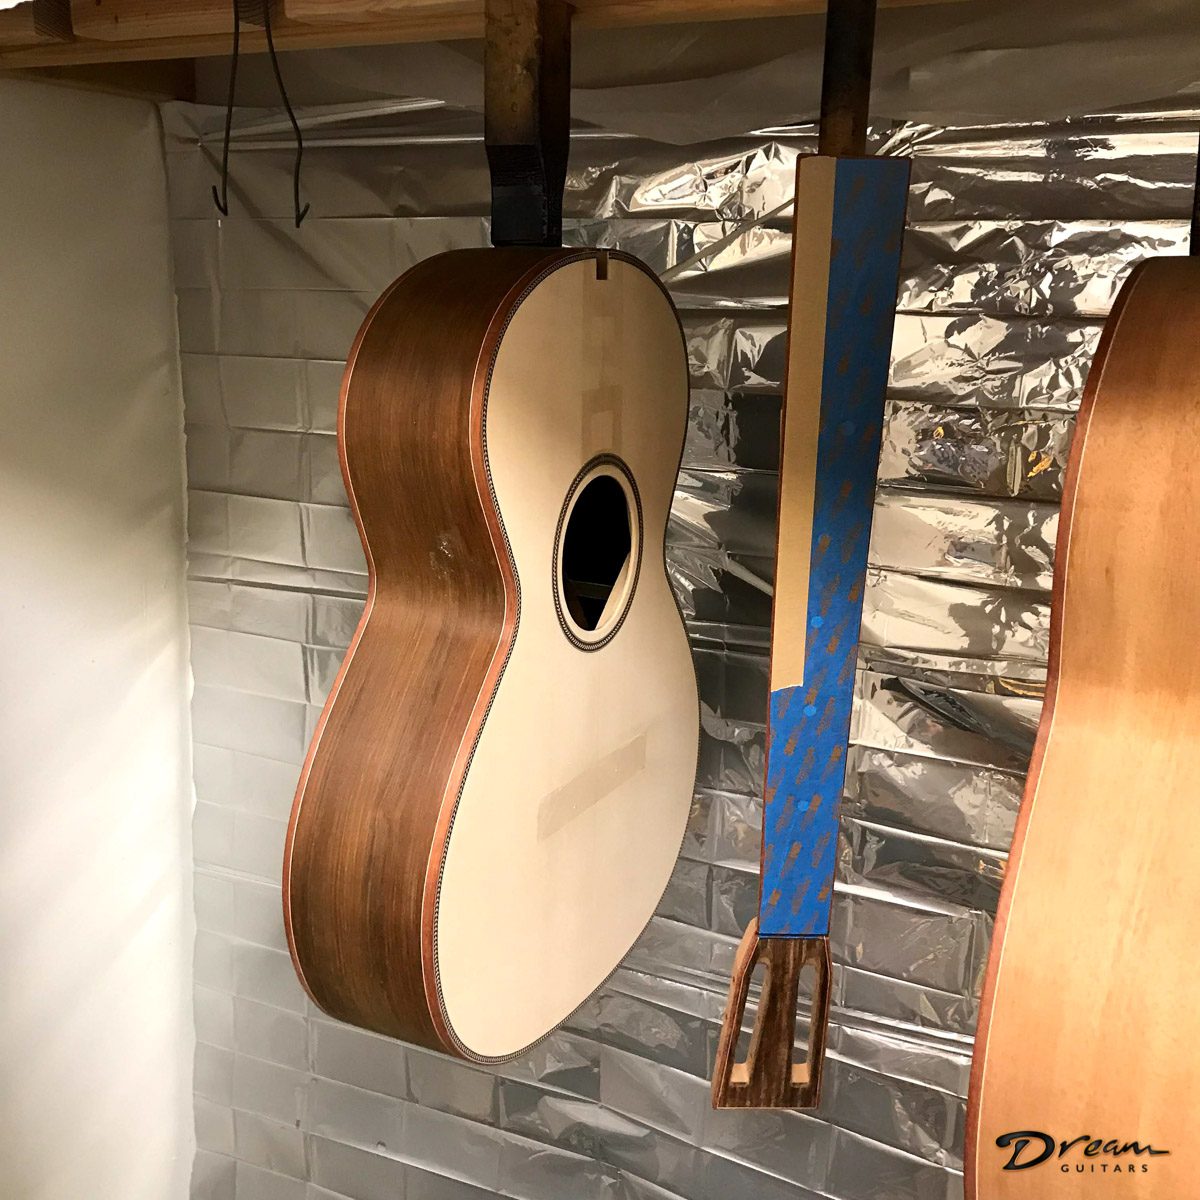
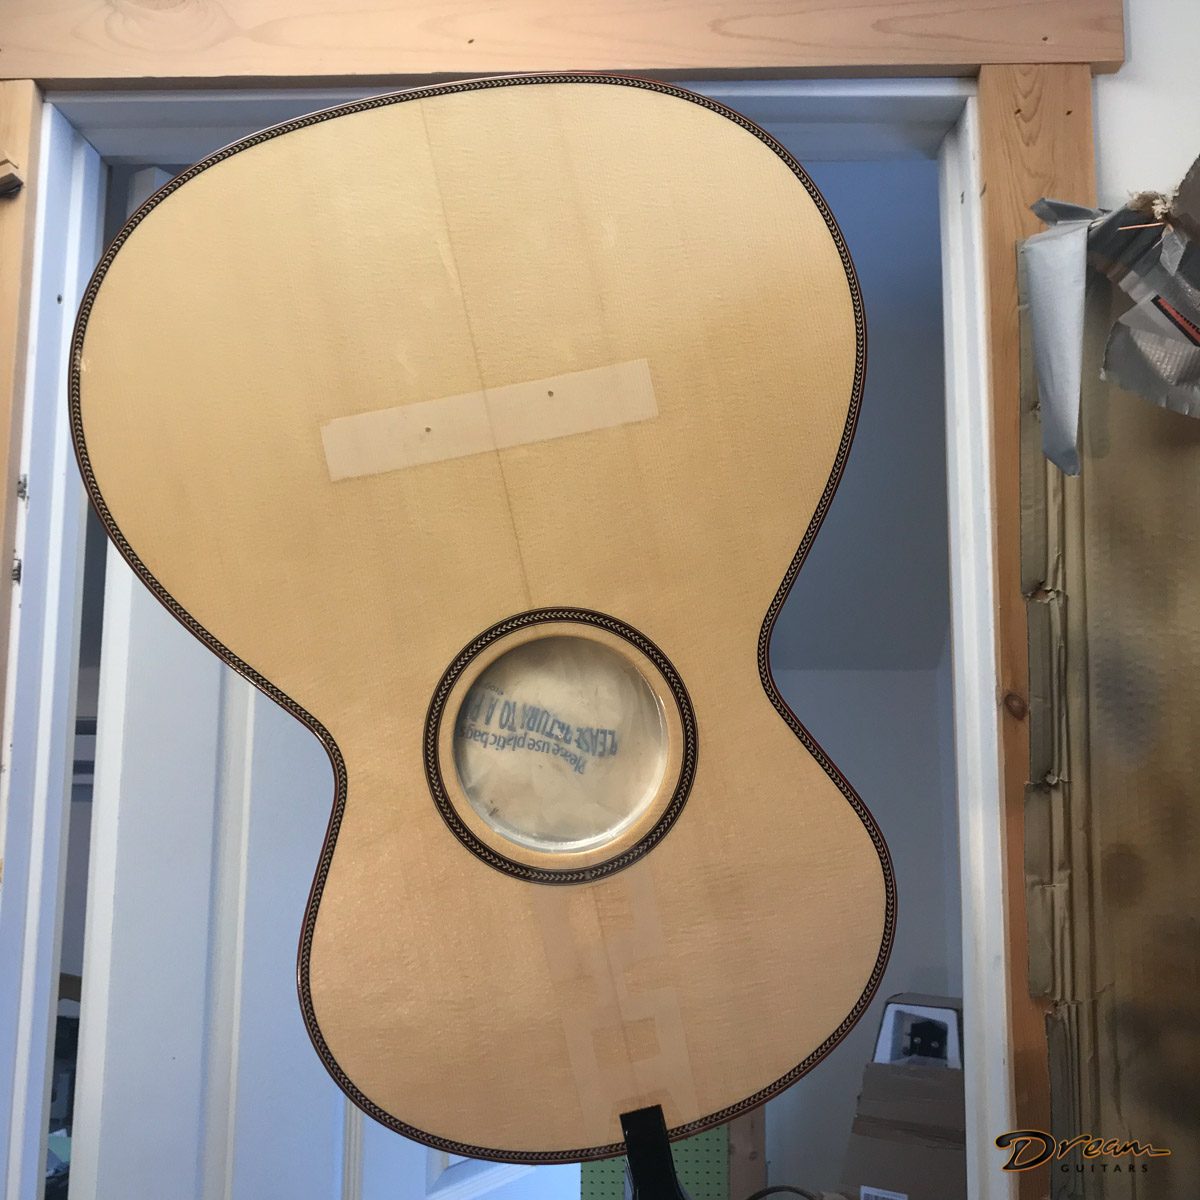
Bevan: “Here are a couple of shots from the end of the day today. I prepared and glued in the Moonspruce bracing for the back. I also installed the rosette.”
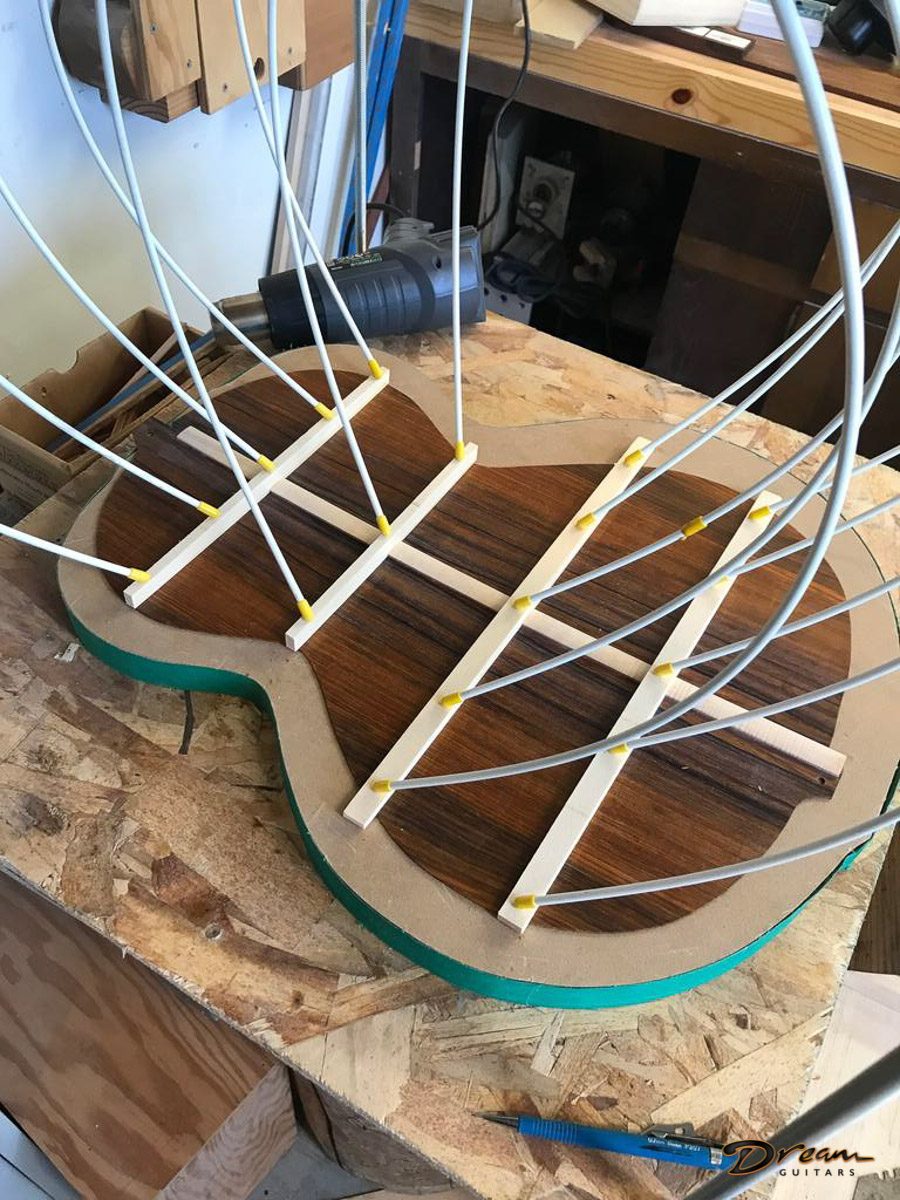
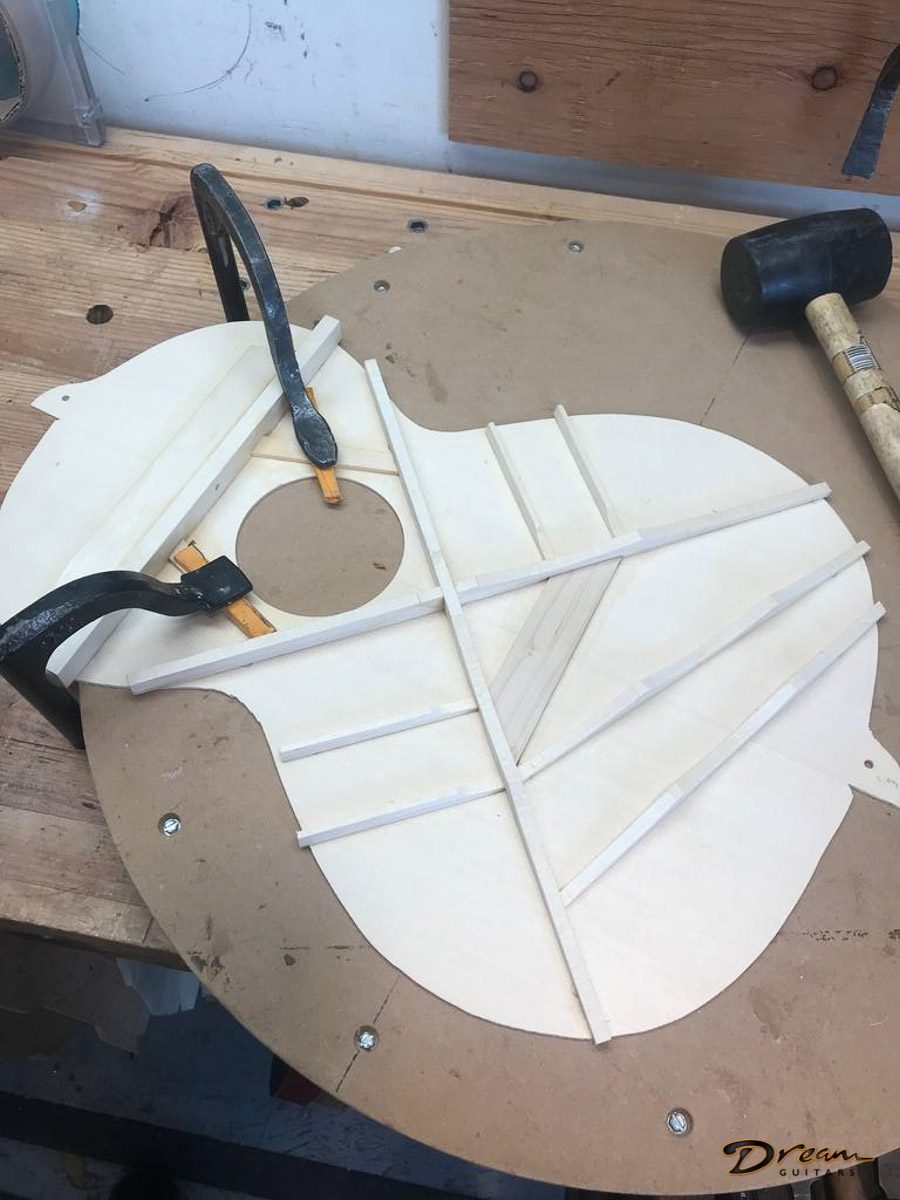
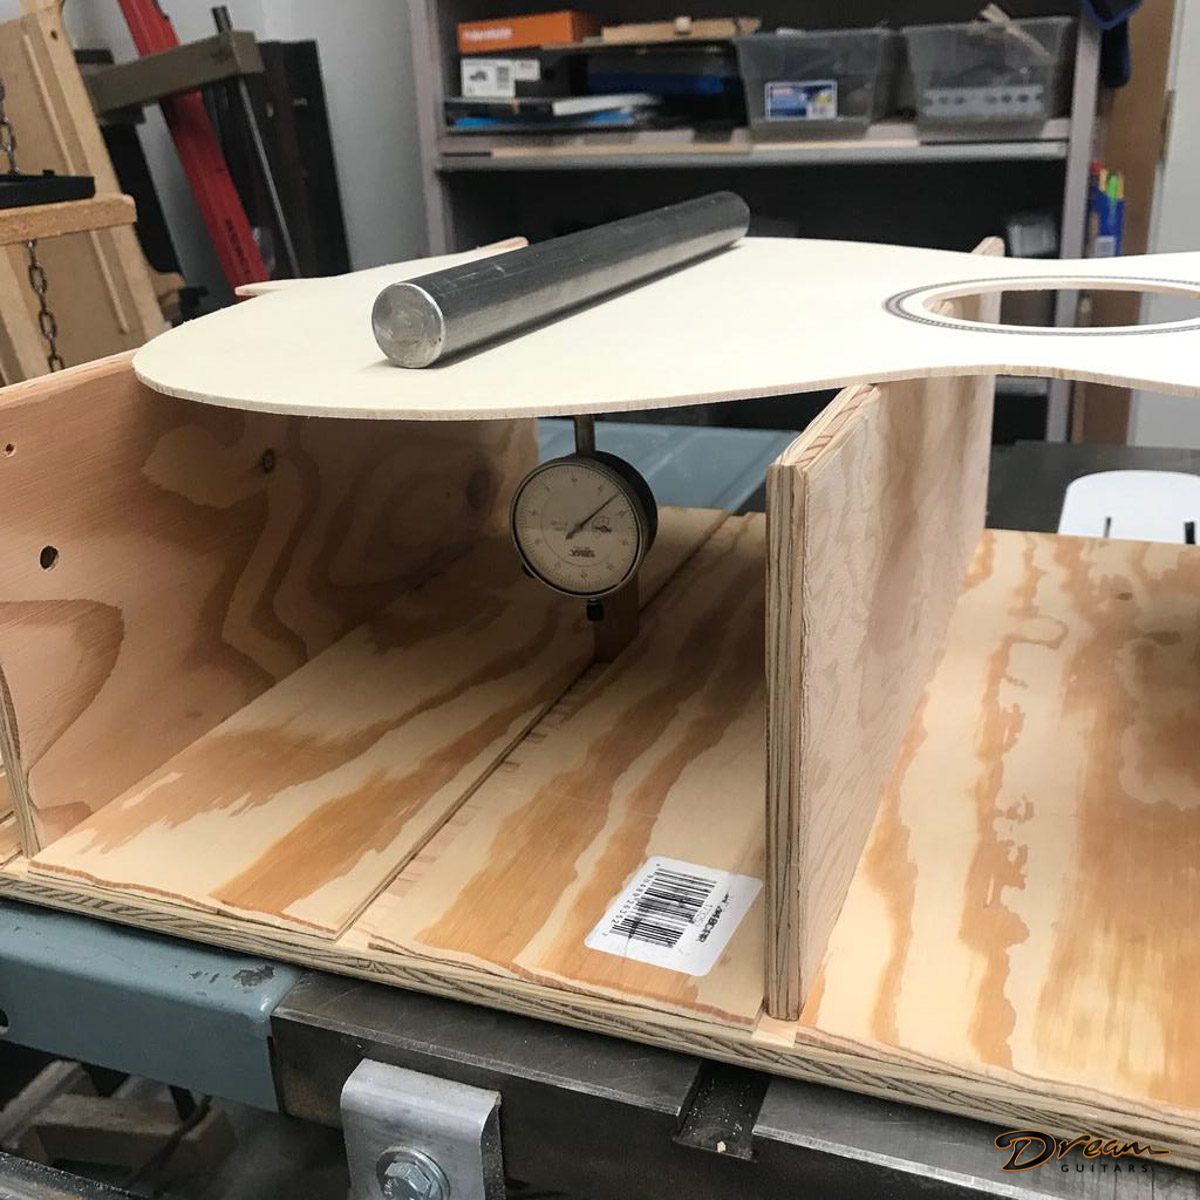
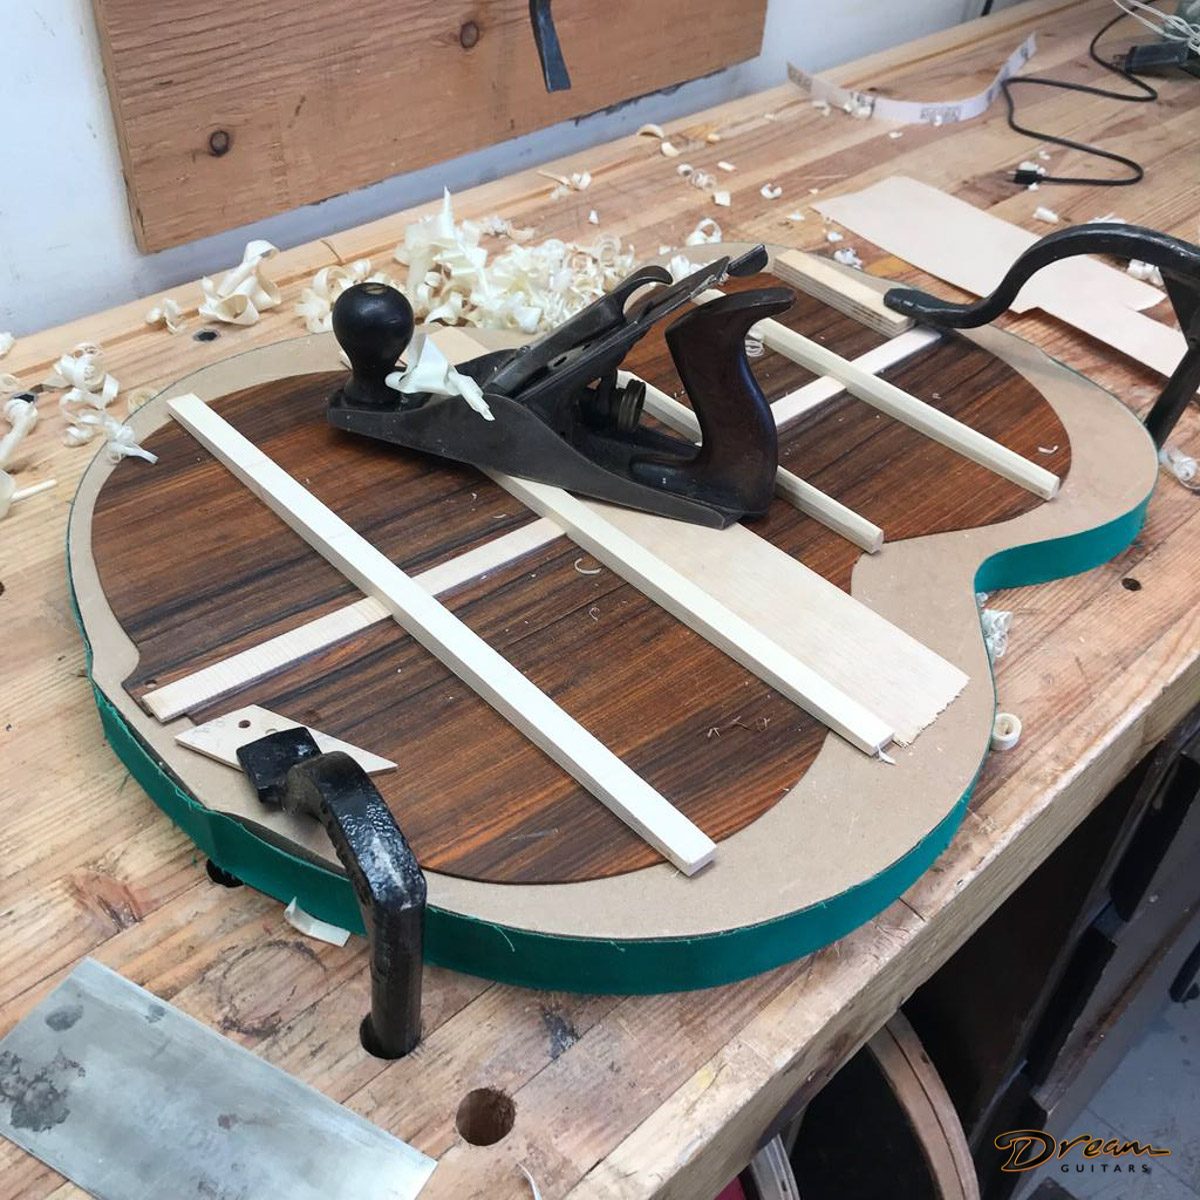
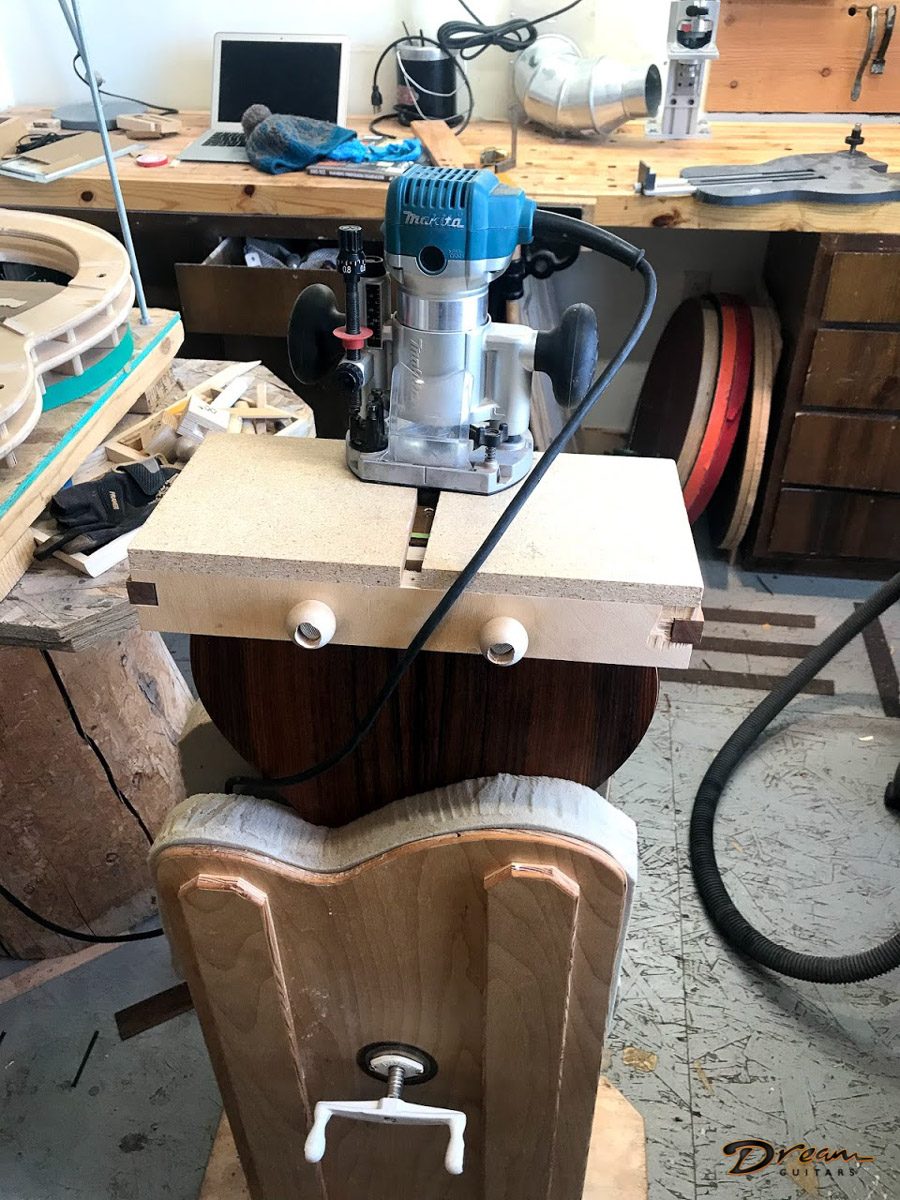
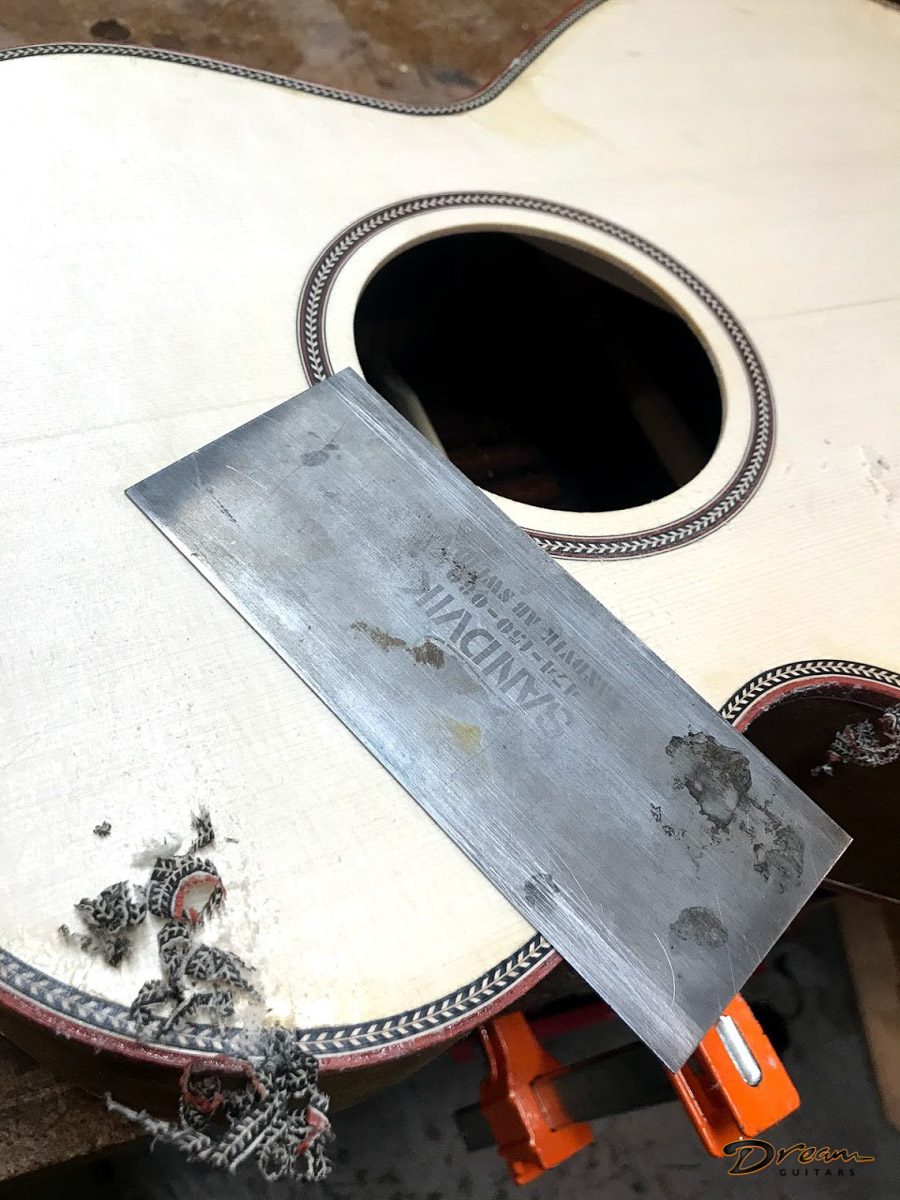
Bevan: “I set the stiffness of the top using the stiffness gauge. This top is stiff, I had to take it down to get the right flex. I cut all my braces out of Moonspruce stock, then glued them on the top. The next day I roughed in the brace carving. Later I will do a final session using the same stiffness gauge to set the stiffness on the top braces. I log the stiffness of each guitar top and use the data to create a benchmark.”
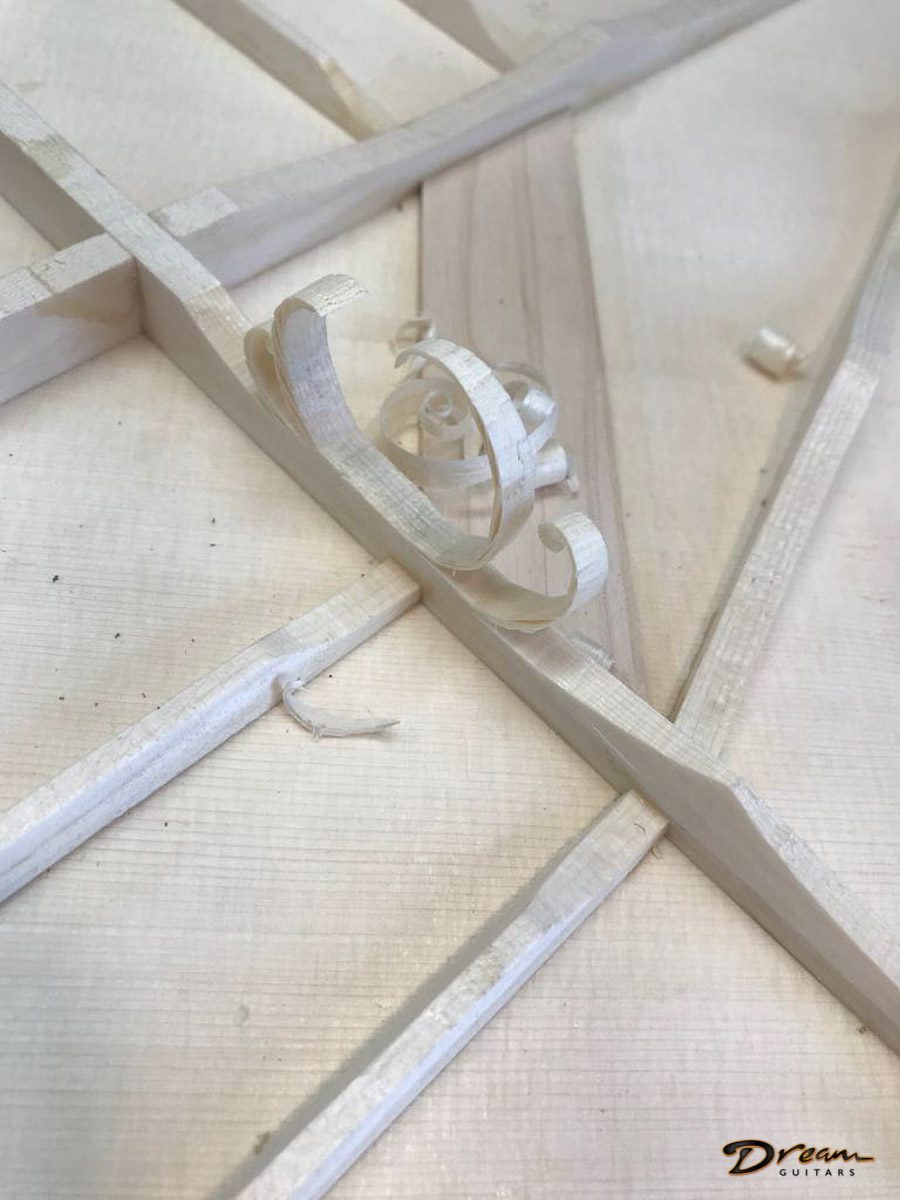
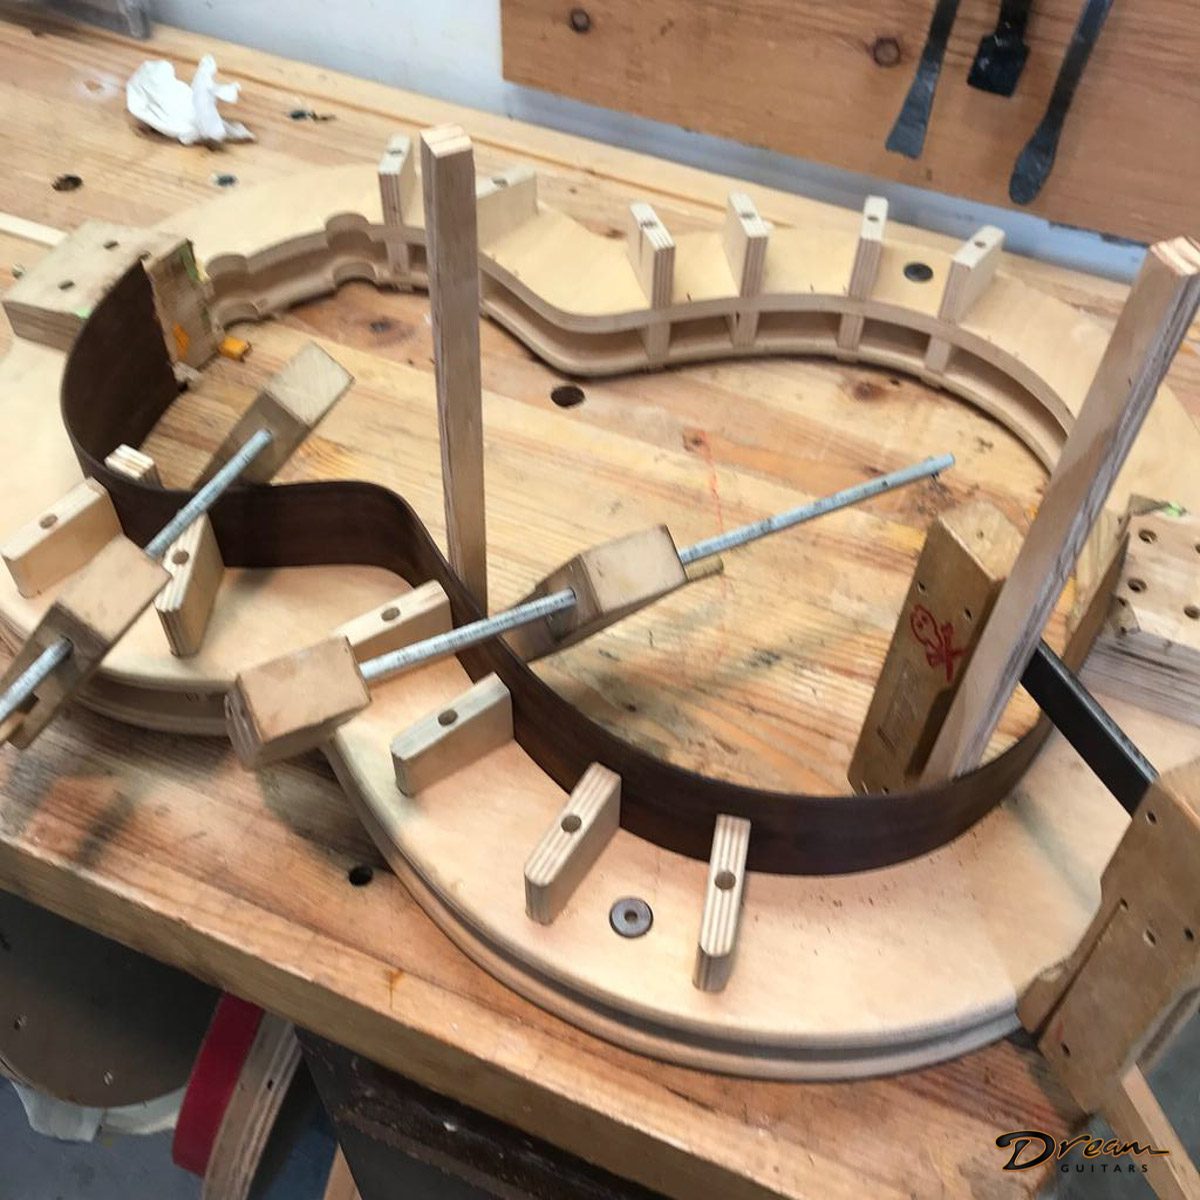
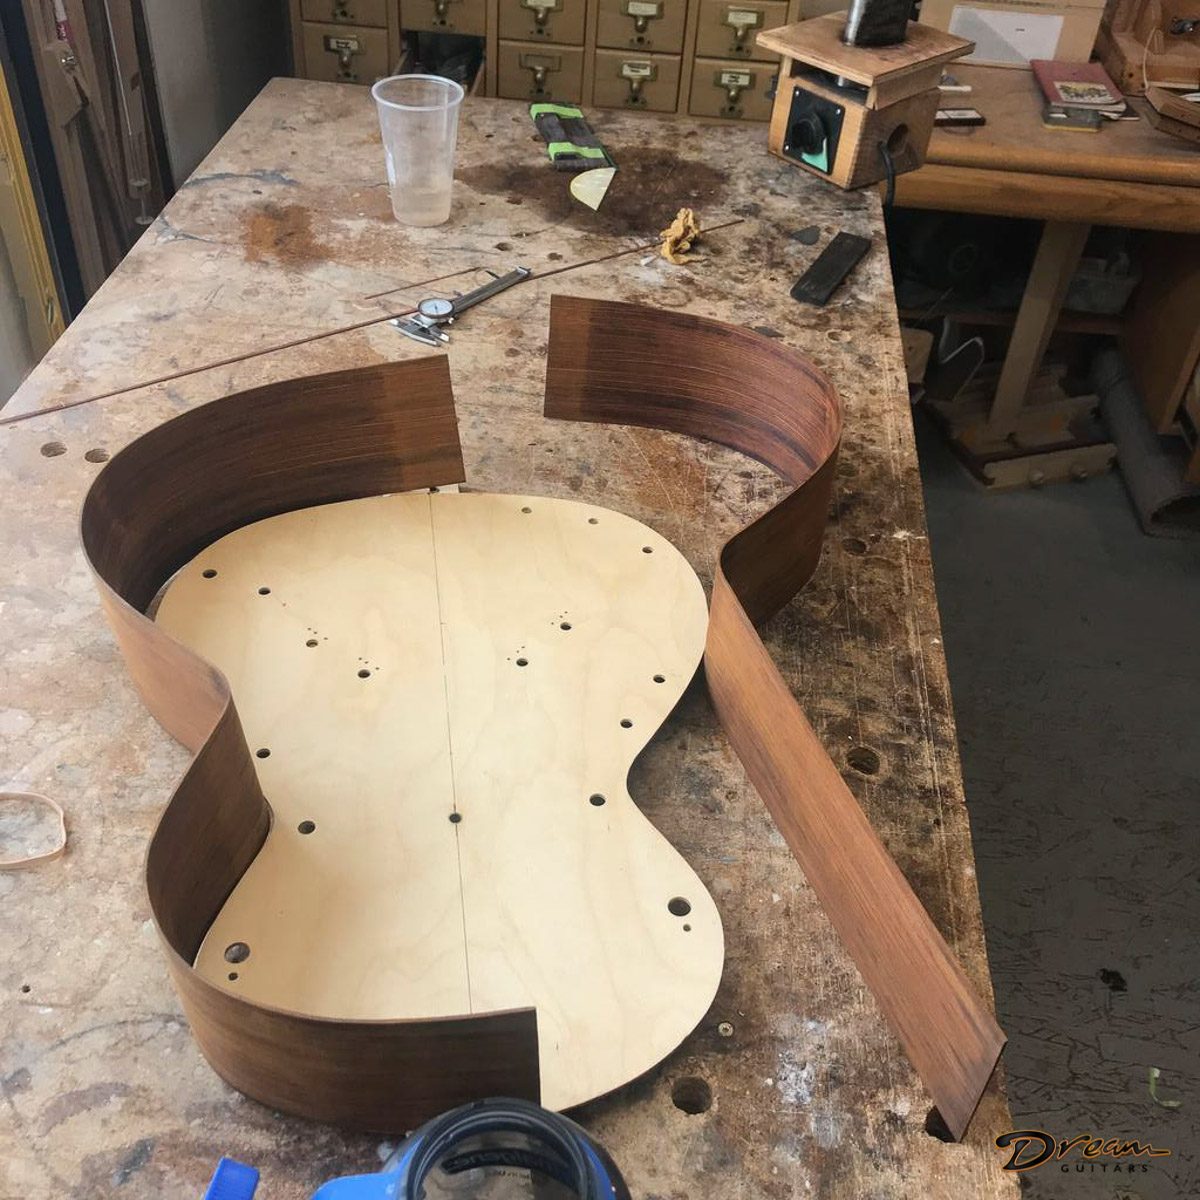
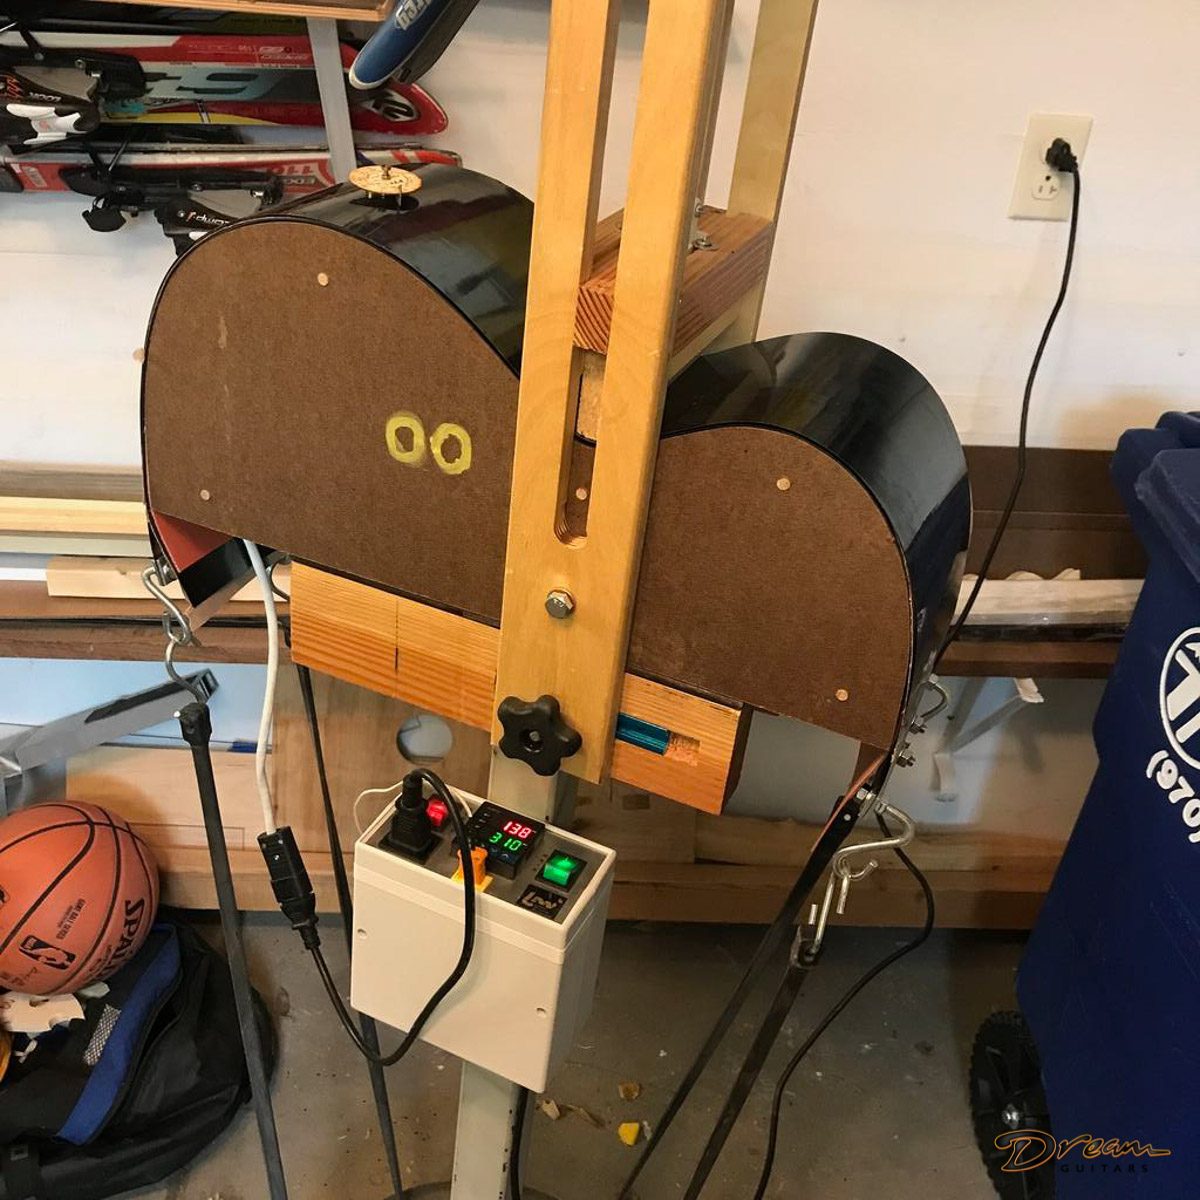
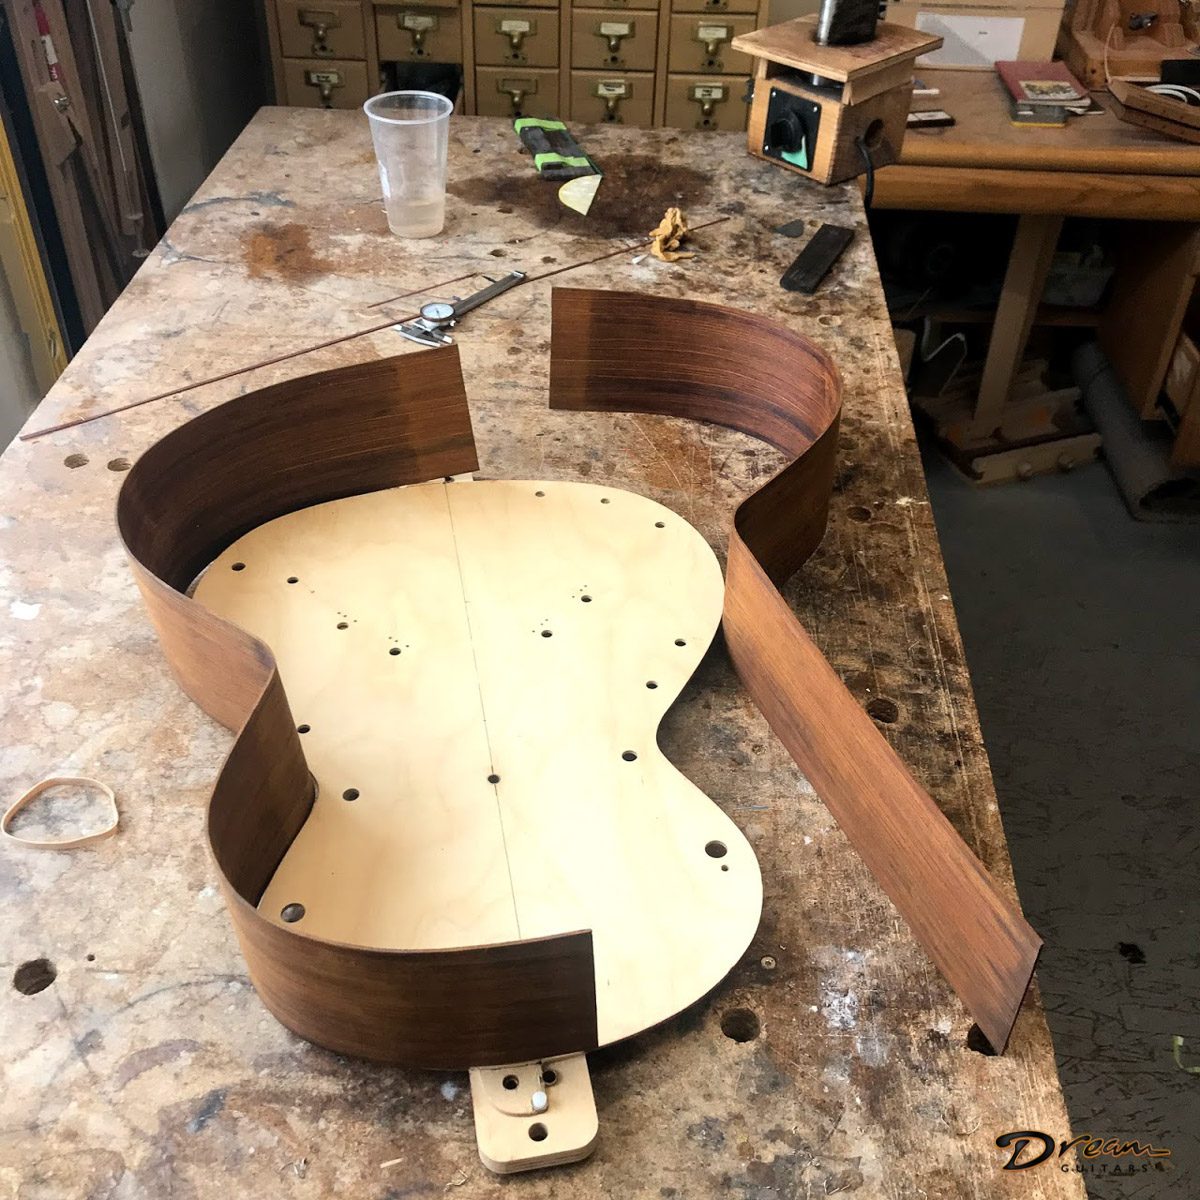
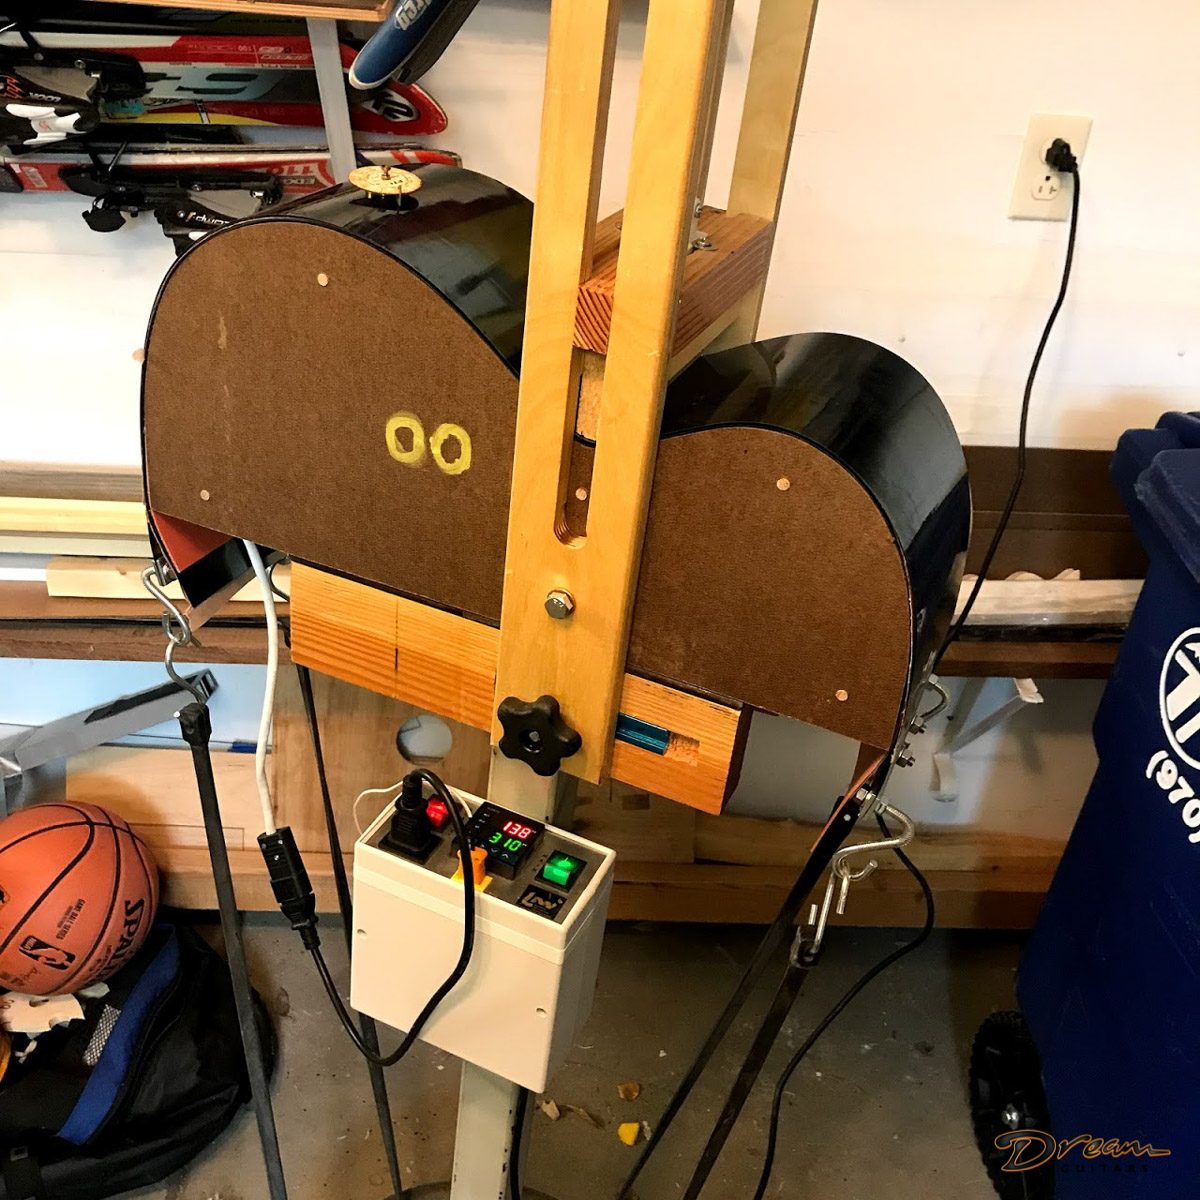
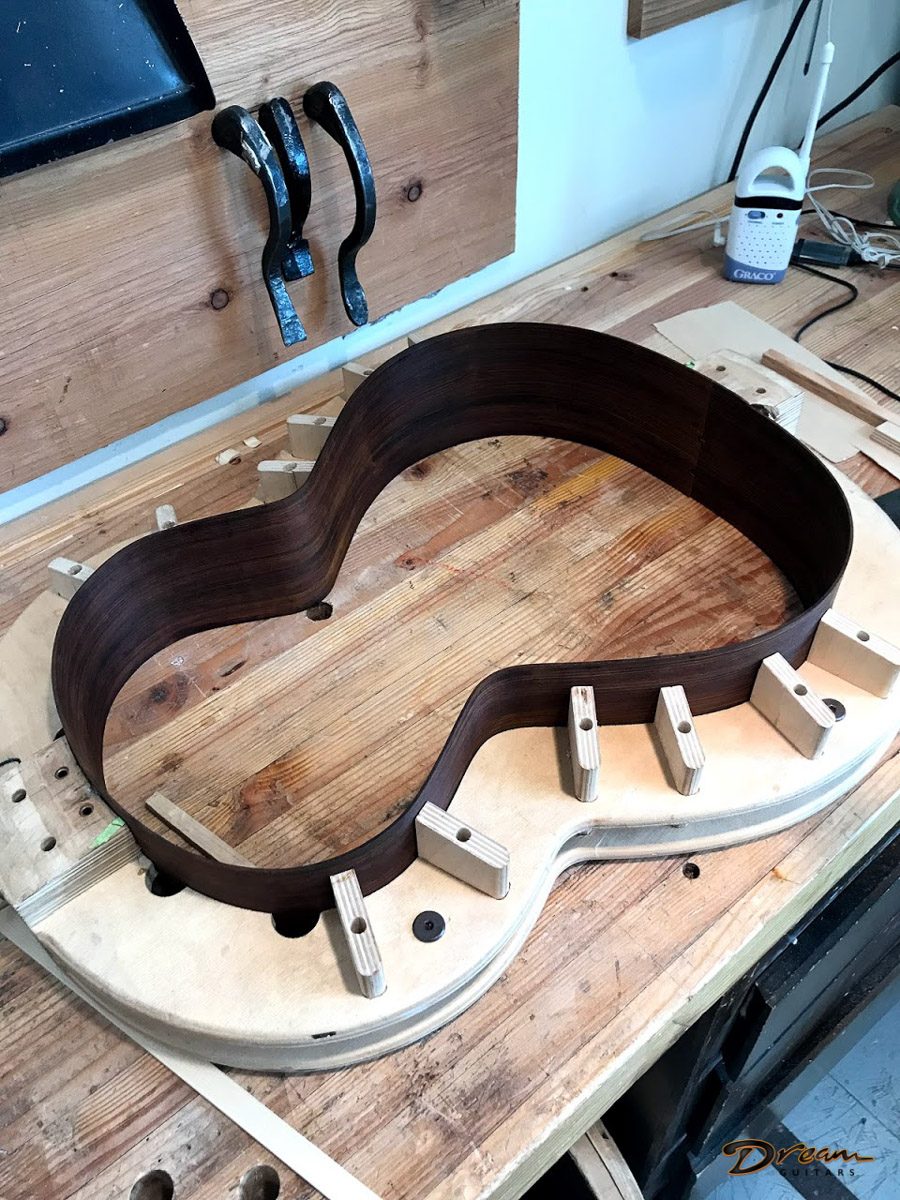
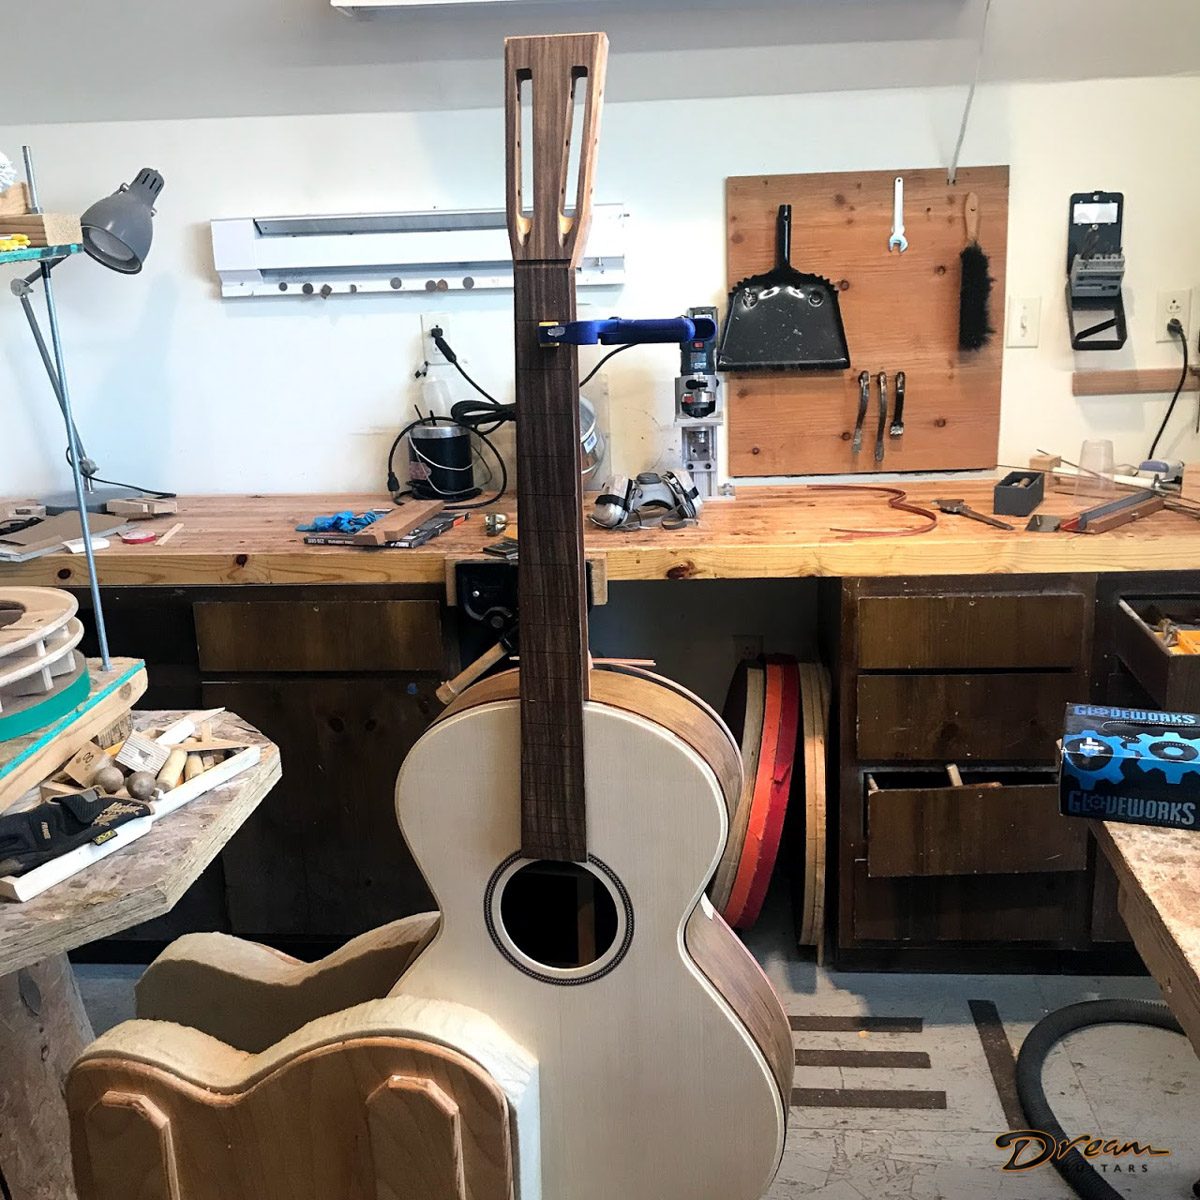
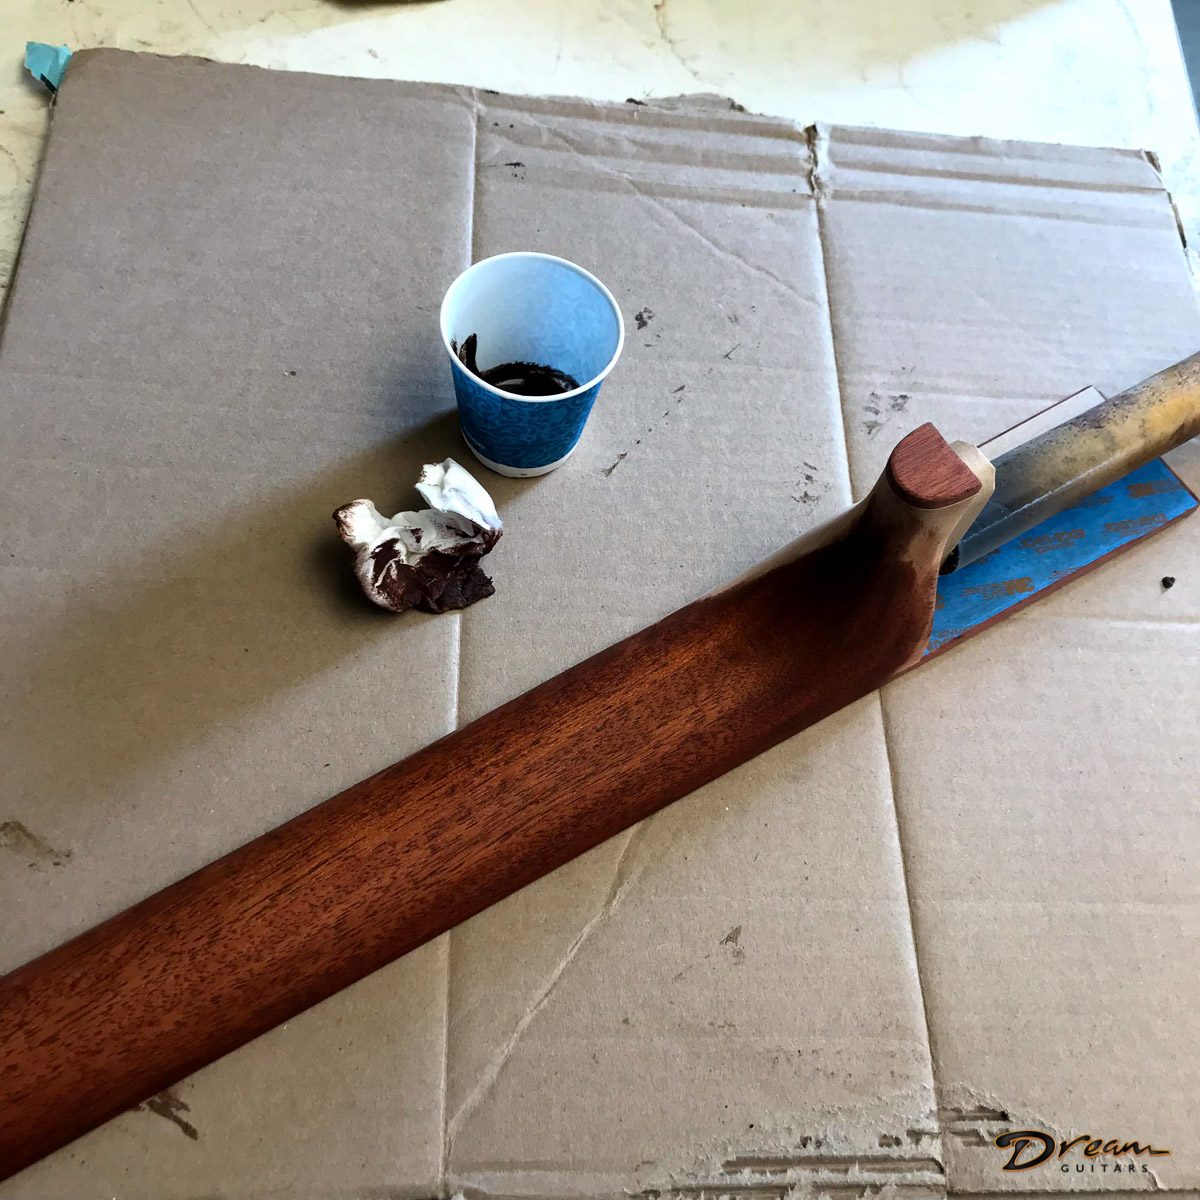
Bevan: “I bend the sides by hand on the iron in the background, but only pretty close to the shape. Then I load the sides in to my bending form, heat them up to 300 degrees, and then let them cool on the form and set to shape. I glue in the braces a bit oversize and then remove material using hand planes until the plate acts like it should. First snow here has lasted about four days. I don’t think the stuff in the shade will melt.”
11/12/19 Updates!

1/14/20 Update:

2/11/20 Update:
3/10/20 Update!